Useful information | Helps you unlock the correct process of greening planting construction!

1
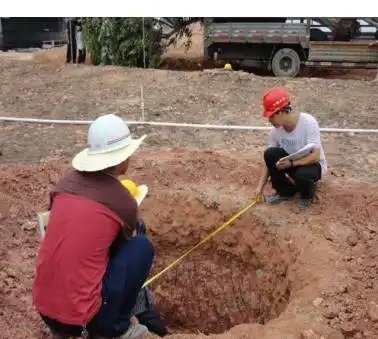
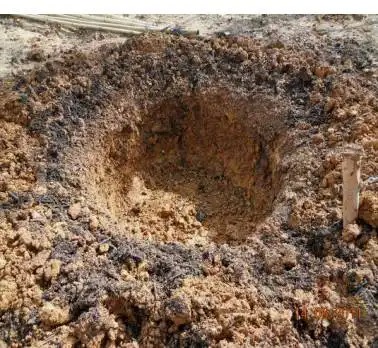
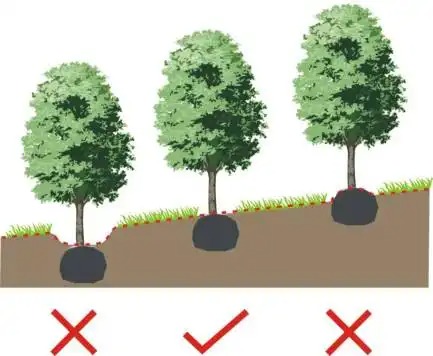
Planting hole digging
The excavation of planting holes has a direct impact on the survival and later growth of seedlings. The size and depth of the holes should be able to fully ensure space for the growth of seedlings.
Planting hole standards:
❶ The planting hole size should be 20cm larger and 10cm deeper than the soil ball diameter;
❷ The shape of the hole is generally round, and try to ensure that the upper and lower diameters are consistent.
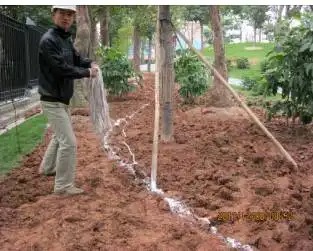
If soil improvement measures are required, pour the improved substrate evenly around the planting hole before backfilling and mix it with the planting soil.
▲Mushroom fertilizer has been spread
See the figure below for planting hole requirements:

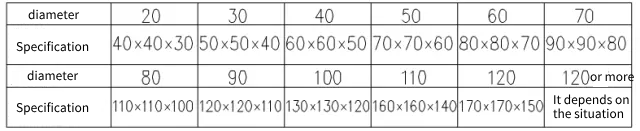
Tree pit specifications reference table:
2
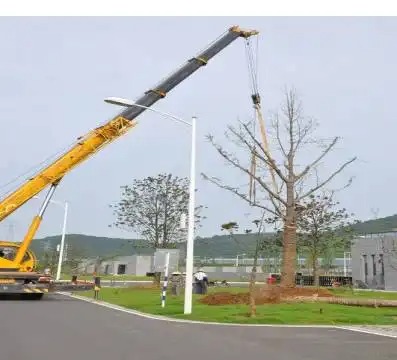
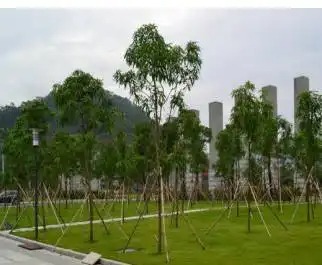
Tree planting
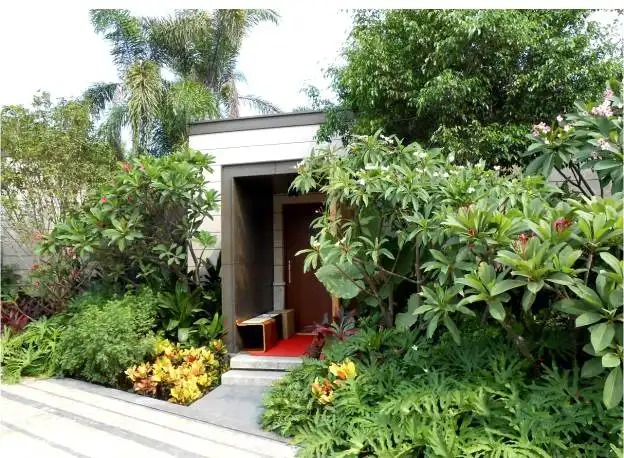
Arbors are the backbone tree species in gardens, playing a leading role both in function and overall effect.
1. Planting technology
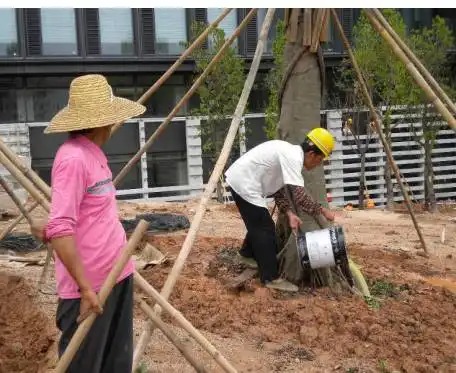
Formulate a planting plan → prepare for construction → lay out and position → dig a tree hole (replace the hole soil) → prune → place the tree in the hole → adjust the best viewing surface → backfill the soil → erect a support frame → water the roots → decide whether to hang an infusion bag according to the situation → clean up the site after work → enter the maintenance period.
2. Key points of quality control
❶ Before planting, the elevation must be strictly checked. It is strictly forbidden to have any situation where it does not connect smoothly with the subsequent terrain. If it is too high or too low, rework is required unconditionally;
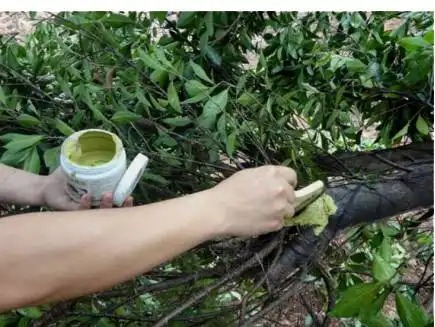
❷ Apply wound healing agent to the wounds of damaged branches to prevent the wounds from rotting;
❸ Cut off the small branches facing inward from the crown and determine the degree of pruning on site according to the principle of tree balance;
❹ Adjust and select the main viewing surface;

❺ Hanging planting: wooden boards must be nailed to the sling position and wrapped with padding to ensure that the bark is not damaged, the soil ball is not broken, and the planting effect is regular;
❻ a. Backfill soil and place ventilation pipes: fill soil in layers and compact it in layers. It is strictly forbidden to backfill garbage soil and gravel. For palm plants, more sand should be backfilled.
b. Root irrigation with rooting solution: prepare according to the instructions, with the concentration meeting the requirements, and apply immediately after planting.
❼ Separate sprinkler pipes should be installed for large trees and valuable trees. It is important to keep the trees moist in the early stages of planting.
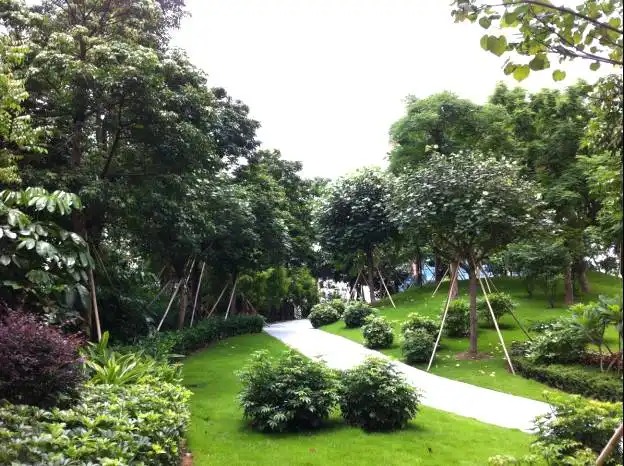
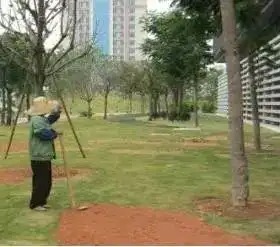
3
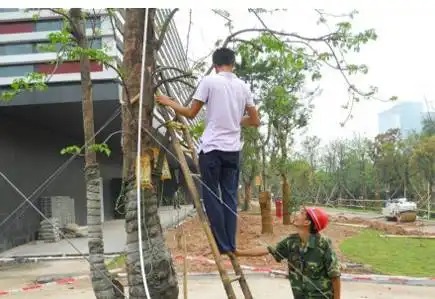
Seedling support
The seedlings can be supported and fixed after planting. The seedling support piles are required to be firm, not twisted, neat and beautiful, and play a practical supporting role.
1. Supporting visual requirements
❶ The supports used for trees of the same tree diameter must have the same height and uniform angle, and the diameter of the support poles should be uniform or at least close;
❷ All roadside trees must be supported at four corners; small-sized seedlings not planted in rows can be supported by triangles; small-sized seedlings planted in rows can be supported by "clotheslines"; and trees planted in groups can be supported by triangle nets;
❸ For extra-large seedlings, combined support methods such as four-leg support, steel ropes, and steel pipe riveting and welding can be used according to the actual situation on site.
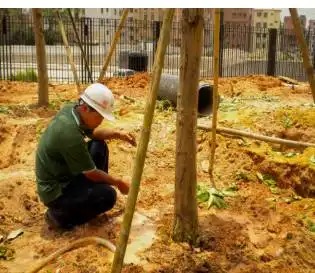
2. Standard requirements
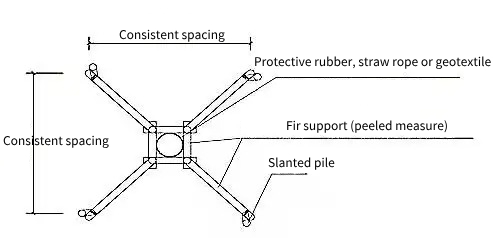
❶ Support height: Generally, the support point of seedlings is at 1/2 of the seedling height, and the support point of extra-large seedlings is at 2/3 of the seedling height. Special cases require specific handling.
❷Support pole setting direction: one support pole must be set in the main wind direction, and the other two must be evenly distributed;
❸ When the seedling height is above 6m, the tree crown is large, the soil at the planting location is soft, and the wind is strong, it is necessary to pull a steel wire rope to reinforce the support. Tie the steel wire rope with a rubber protective cover to the tree trunk and tighten it in three different directions. Finally, bury the end of the steel wire rope in the ground support stake;
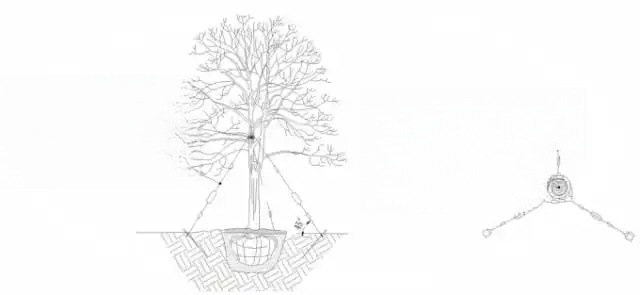
❹ Support rod tilt angle: The tilt angle is 45°-60°;
❺The support rods should be set firmly, without any deviation or hanging piles.
▲Support uniformity
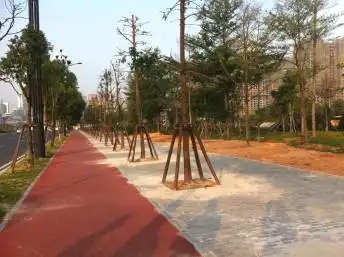
▲Four-corner support method
4
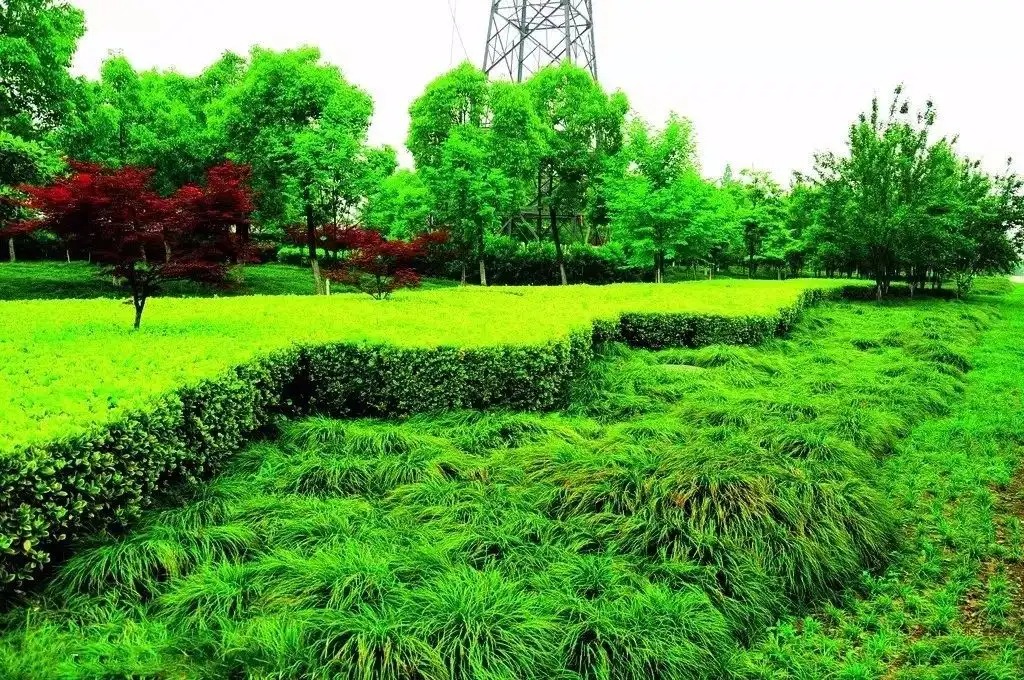
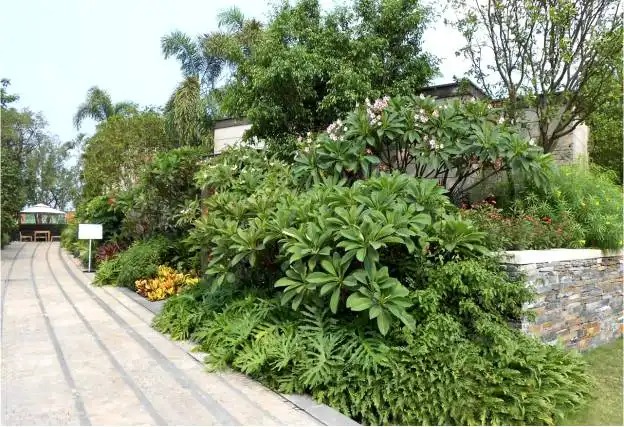
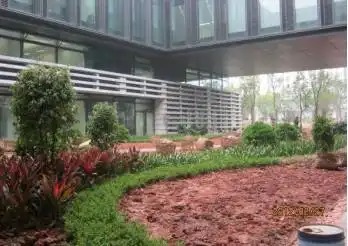
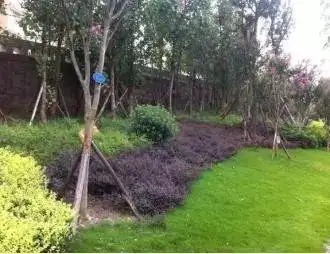
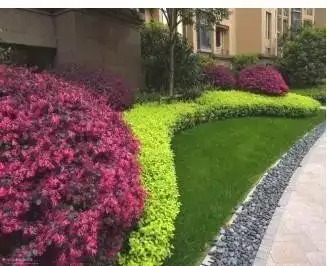
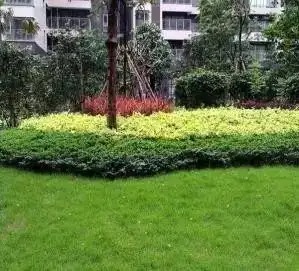
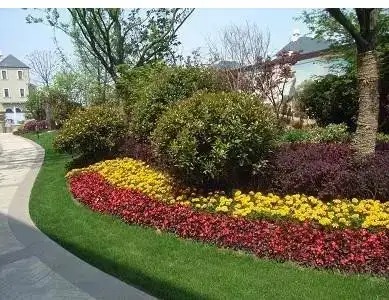
Shrub configuration
Shrubs are an important part of plant landscape. Through the rational selection and organic matching of shrubs, a landscape effect with a well-arranged density, staggered heights and clear layers can be created.
1. Regular planting
According to the needs of neat space, shrubs are planted in a regular pattern to create a green space with a strong sense of rhythm.
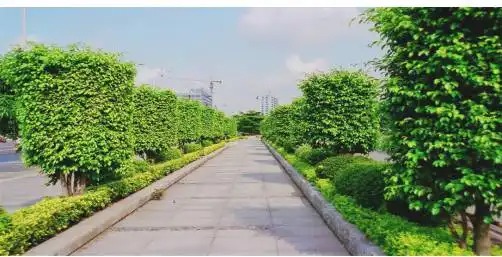
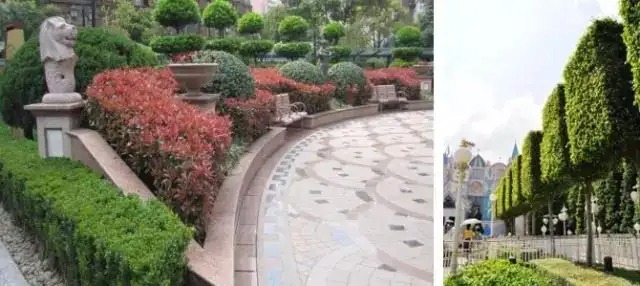
2. Combined planting
Use a variety of shrubs to create a harmonious and orderly natural landscape.
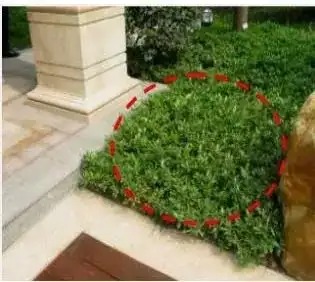
3. Common problems in shrub planting
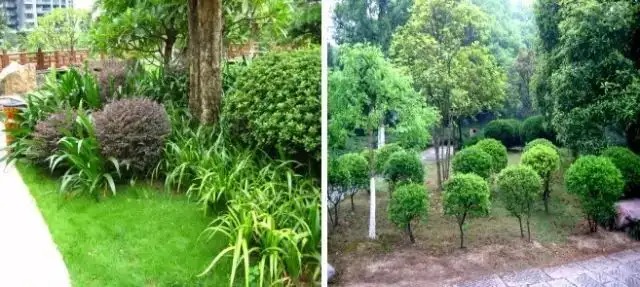
▲ Improper and messy planting positions affect the appearance
▲Try to be as comprehensive as possible when laying out on site, and make all-round scientific combinations. At the same time, avoid planting shrubs in straight lines or columns, and the planting relationship should be as triangular as possible.
5
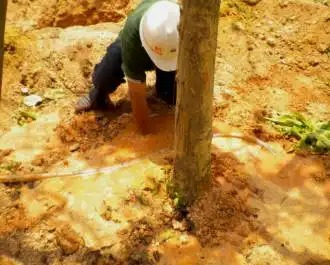
Watering the roots
All seedlings must be watered once on the same day after planting. The first "rooting watering" must be watered thoroughly, and sampling should be done to check whether the underlying soil is moist. Attention should be paid to the following:
❶ Water must be poured thoroughly. Use a water pipe to insert into the tree hole to allow water to flow in fully, ensuring that the soil fully absorbs moisture and the soil surface is moist. If conditions permit, rooting powder can be poured to promote rooting.
❷ When watering, pay attention to whether the ground has good drainage to prevent stagnant water from damaging the plant roots.
❸ As the soil sinks due to root watering, the seedlings and supports may be crooked. It is required to straighten the seedlings and protect the tree stumps while watering.
❹Plants planted during rainy season should also be watered thoroughly to allow them to take root.
❺Water the roots sufficiently and thoroughly.
❻ There are several ways to judge whether a tree is not watered enough or not fully rooted:
a. The trunk can be easily shaken (this method is suitable for seedlings under 10cm);
b. The water in the tree pond disappears quickly. If the rooting water is thoroughly applied, the water in the tree pond will not disappear for at least ten minutes.
6
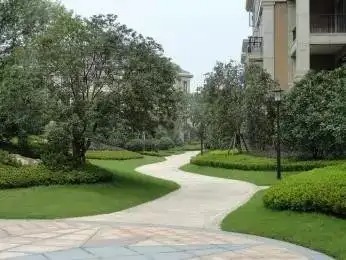
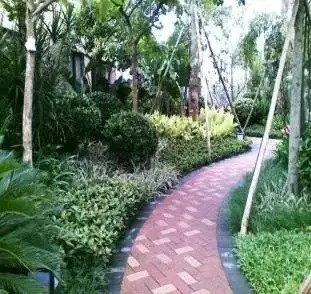
Ground cover planting
After the ground cover seedlings are transported to the site, they should be checked and accepted in time, and the placement time should not be too long. When planting, adjust the planting effect according to the height difference of the plants and the height control requirements of low outside and high inside.
1. Planting technology
Site cleaning and leveling → terrain preparation → deep plowing of soil → laying out and sampling → ground cover planting → root watering → site cleaning after work → maintenance.
2. Planting points
1. Locate the planting area according to the design drawings and use slaked lime powder to define the outline ;
2. The planting materials should have well-developed root systems, be disease-free, and have specifications that meet design requirements;
3. According to the size differences of the plants, the planting density should be reasonably controlled to ensure the compact effect of "leaf on leaf";
4. Pay attention to whether the ground drainage is good to prevent stagnant water from damaging the plant roots.
3. Ground Cover Planting
❶ Common problems : The ground cover is not laid smoothly, affecting the appearance;
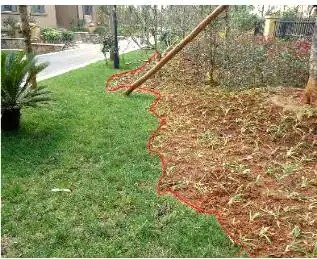
▲There are many broken lines on the ground cover boundary, and the effect is poor
▲ The lines of the floor are not grand and smooth
Solution : When laying out, keep the arc smooth, first plant the edge ground cover in a linear shape, and then increase the density of planting to outline the edge line.
▲ The border is natural and smooth, and the effect is beautiful
❷ Common problems : insufficient planting density, resulting in exposed soil;
▲ The Rhododendron hairyii has exposed soil and needs to be replanted
▲ Insufficient density, needs to be increased
Solution : When reviewing the drawings, focus on checking whether the specifications and density of the plants are appropriate. If there are any unreasonable ones, point them out in time; seedling quality control must be in place.
▲The ground cover is “leaf-to-leaf”, the effect is immediate
▲ No soil exposed, improving the quality of the effect
❸Common problems : Ignoring the morphology and color characteristics of the plant itself, connecting the same color and confusing leaves with similar shapes;
▲ Adjacent to the same color (Golden Ligustrum lucidum and Golden Fragrant Willow)
▲Both the flat bamboo orchid and the kidney fern have strip-shaped leaves, but the effects are mixed
Solution : Pay attention to the classification of varieties, avoid similar color blocks as much as possible, and avoid repeated color blocks.
▲ Similar red blocks are separated by yellow
▲ The shapes of adjacent ground covers are obviously different
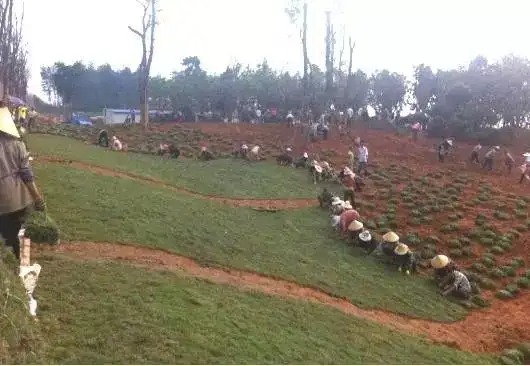
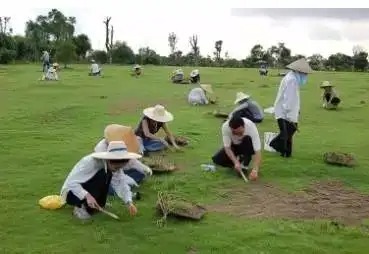
7
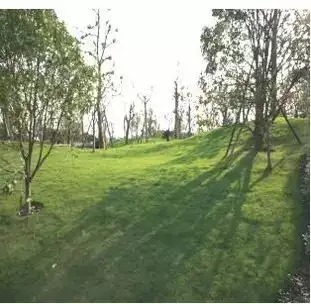
Lawn Planting
Turf planting is the finishing touch of landscape engineering, and its laying quality is very important to the overall effect. The lawn can clearly divide the space, guide the sight, and fully reflect the beauty of the terrain. At the same time, it can also regulate the temperature and air humidity. It is an indispensable part of the green landscape.
1. Planting requirements
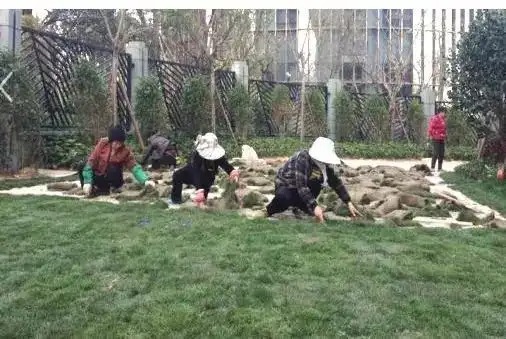
❶ Before planting, remove debris and stones. If necessary, lay medium sand to ensure flatness.
❷ Generally, the seams should be close and connected without leaving any gaps, but they should not overlap; areas with larger slopes should be staggered and fixed with bamboo sticks. The three pieces of turf at the edge of the lawn must be intact and not damaged.
❸The boundary line between lawn and ground cover should be kept smooth and round.
❹At the junction with the curb, the lawn base should be 2-3cm lower than the curb, but the height of the lawn after mowing can be higher than the curb.
❺After planting, water thoroughly and pat each piece firmly to ensure that it is completely in contact with the soil.
▲ The effect after manual rolling
▲ After laying sand, the site can be finely leveled
▲Laying in one direction saves time and effort, and the site does not need to be leveled twice
▲The effect after laying
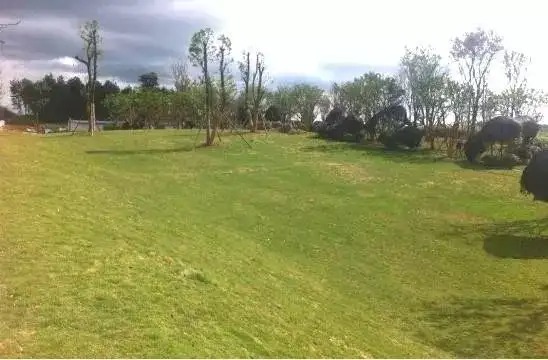
2. Turf laying
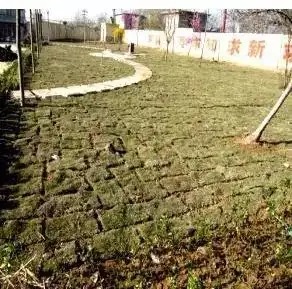
❶Common problems : The site is uneven and the turf is not flat, which affects the landscape effect;
▲ It is strictly forbidden to lay turf on unleveled grass
▲Uneven settlement of the site led to later rectification
Solution : The terrain must be leveled carefully before paving. If a sand cushion layer is required, compact the sand before paving.
▲ Soft and smooth effect
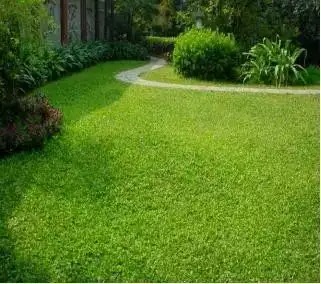
▲ High flatness and good texture
❷ Common problems : Failure to take proper drainage measures leads to serious waterlogging on the grass;

▲ The site is flooded
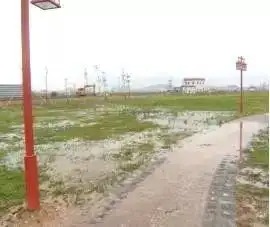
▲ Severe waterlogging on the site
Solution : Pay attention to drainage issues during drawing review and improve rainwater drainage design in a timely manner; during construction, pay attention to drainage direction and it is best to combine the terrain to prevent water accumulation.
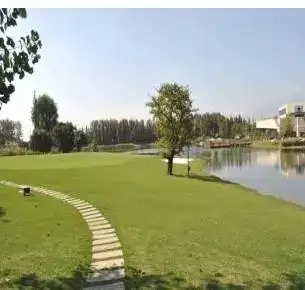
▲ The terrain is undulating and there is no water accumulation

▲ Streamline terrain, smooth drainage
❸Common problems : The gaps between the turf are too wide and the turf is not compacted enough, which affects the survival rate of the turf.
▲ The grass gap is too wide, affecting the appearance
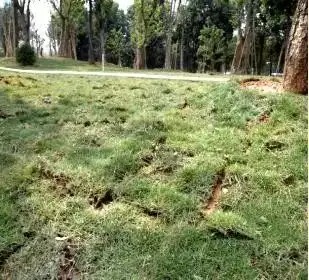
▲ The turf is not compacted in time, which affects the survival
Solution : The gap width should be controlled according to the design requirements; water the turf thoroughly after laying, and pat it firmly to make the turf and soil tightly combined so that it will turn green as soon as possible.
Plant Frontier (ID:pl-frontier)
People who study are here
Plant Frontier (ID:pl-frontier)
People who study are here