Three DIY Vertical Gardening Ideas for Small Spaces
Idyllic life
■ Not everyone has a garden, but there are always many unused small spaces. Vertical gardening is the best way to save space. With a little creativity, almost any container can be transformed into a vertical garden. These vertical gardens will definitely add a lot of interest to balconies, patios, walls, or fences. Even in small spaces, you can grow vegetables, herbs, or flowers.
Wooden bracket herb garden
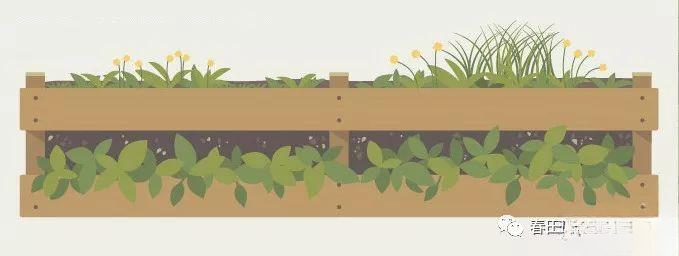
Wooden brackets, as a type of large packaging material, have been seen recycled in suburban areas and old wood markets. As a result, they are often used to make containers for planting and have even become a new favorite material for interior decoration.
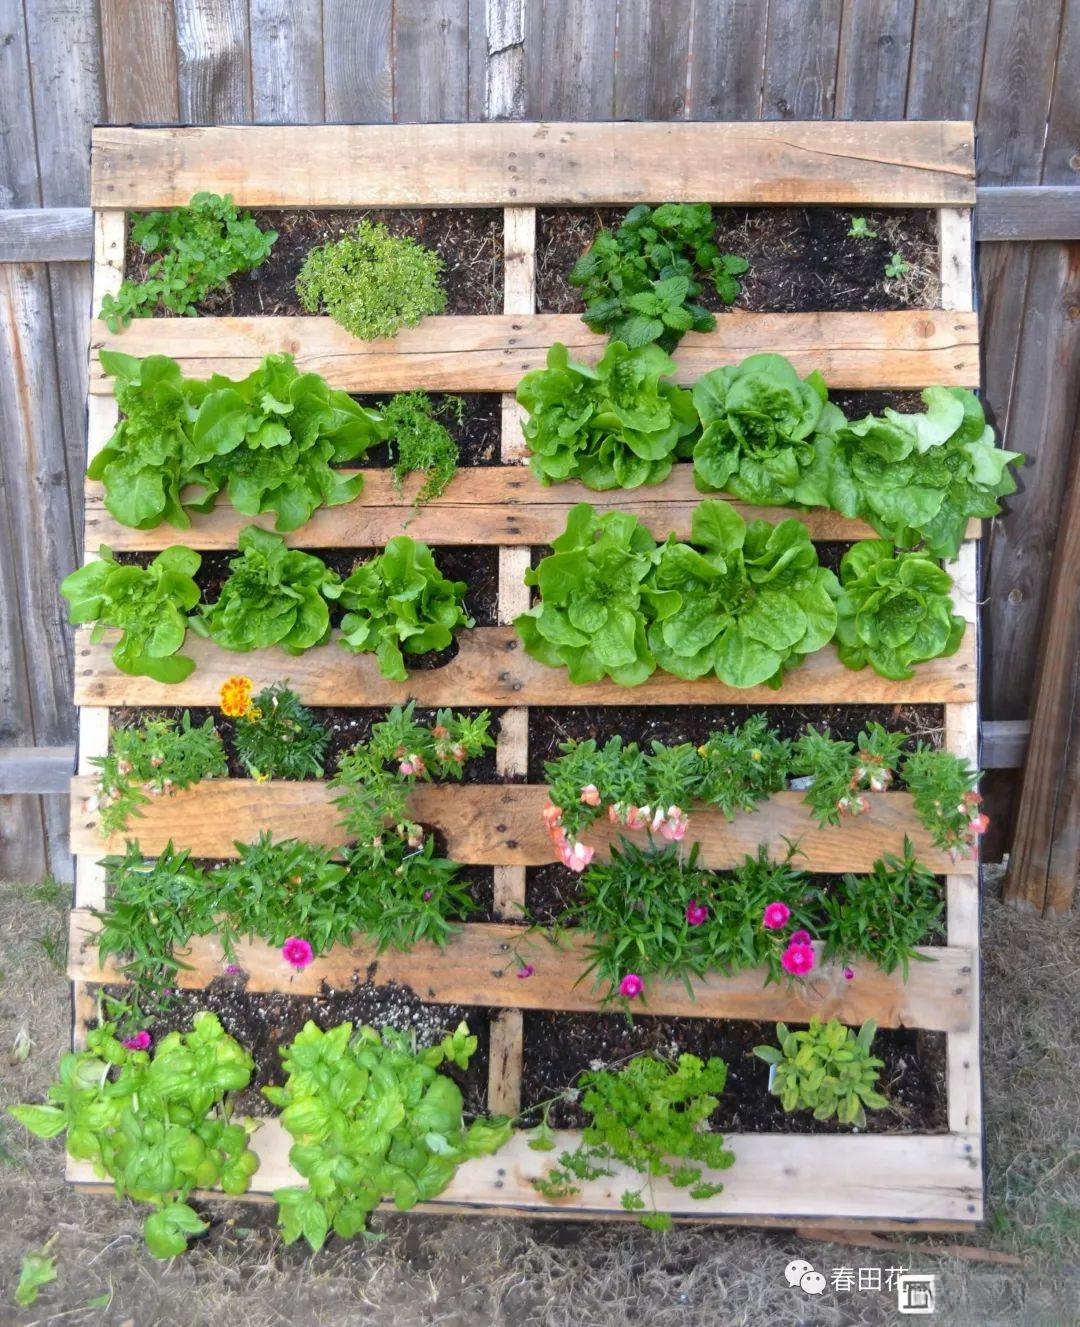
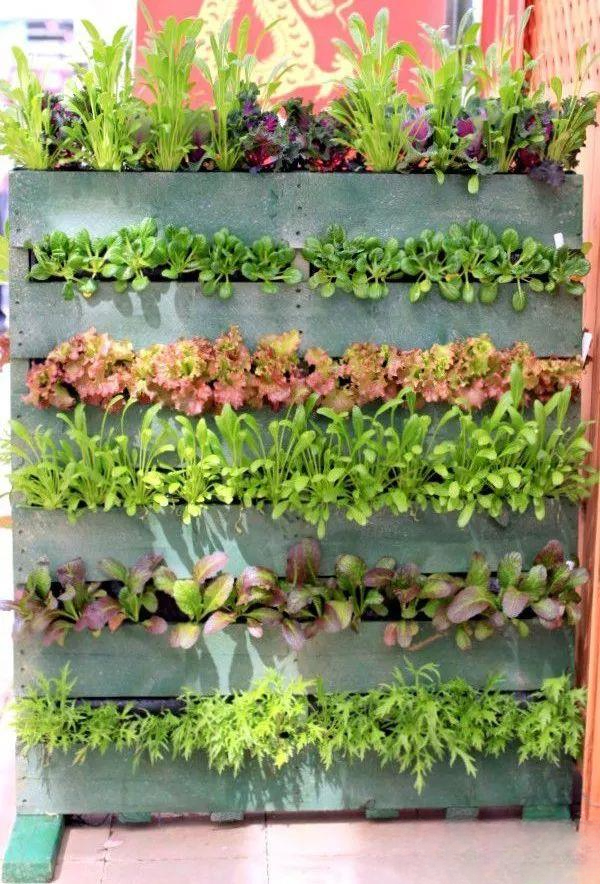
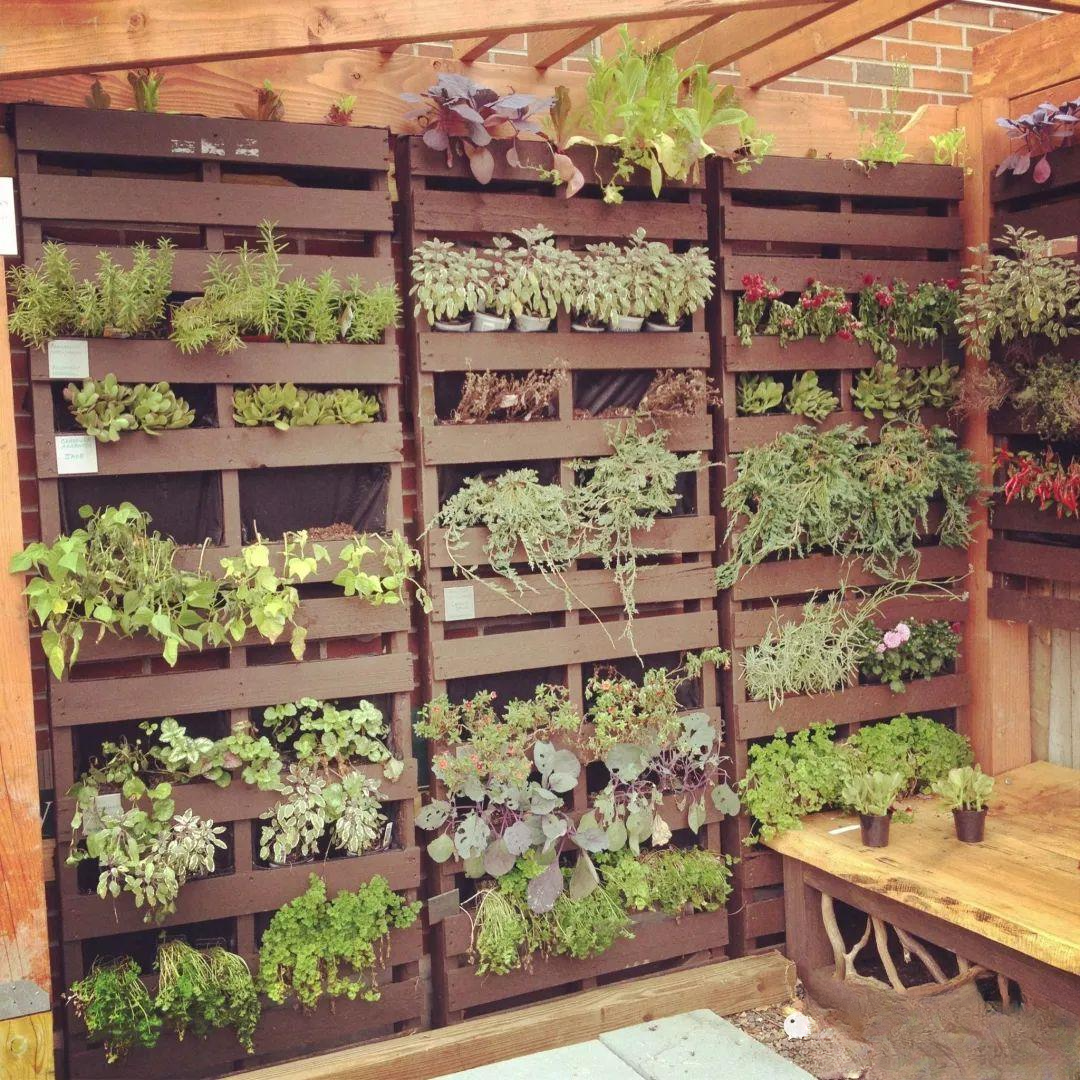
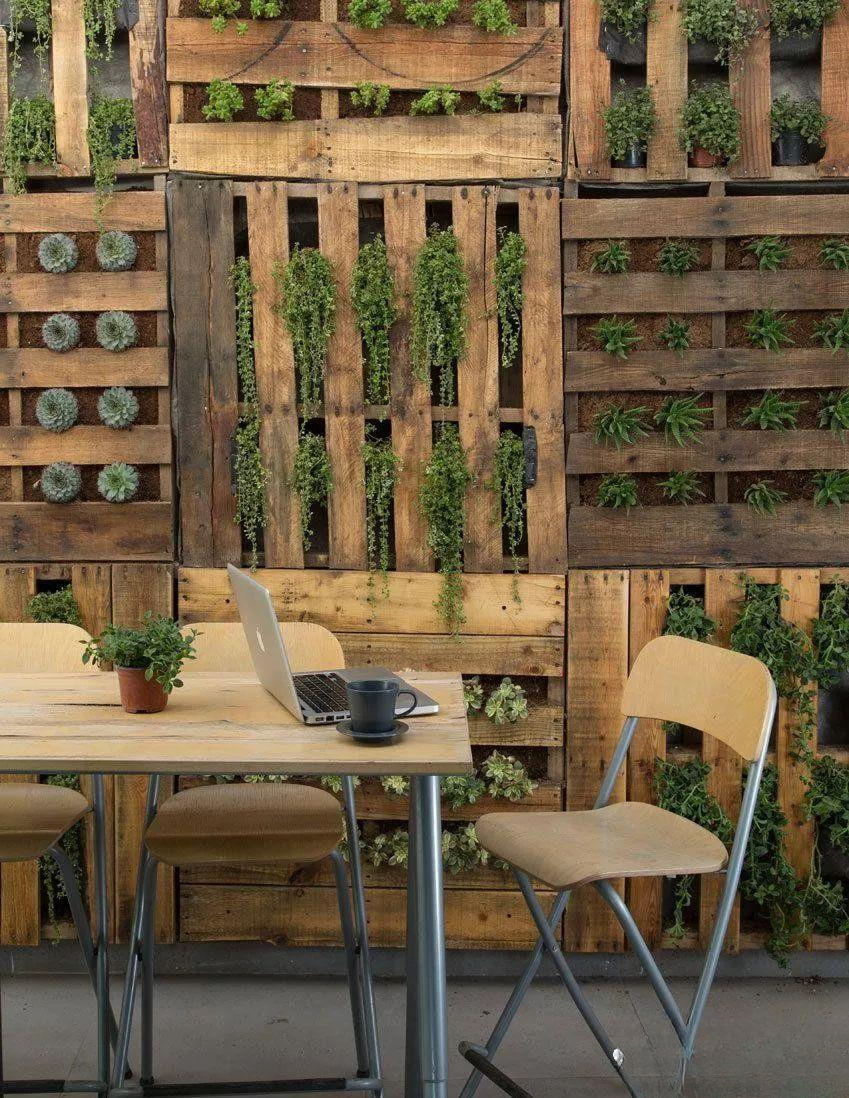
Below, we will show you how to DIY a small vertical planting wall using wooden brackets.
1. Materials and tools:
1. Wooden bracket in good condition
2. A small roll of nonwoven fabric
3. Hammer, nails
4. Stapler
5. Sandpaper
6. Two large bags of planting soil or nutrient soil
7. Potted plants or seeds
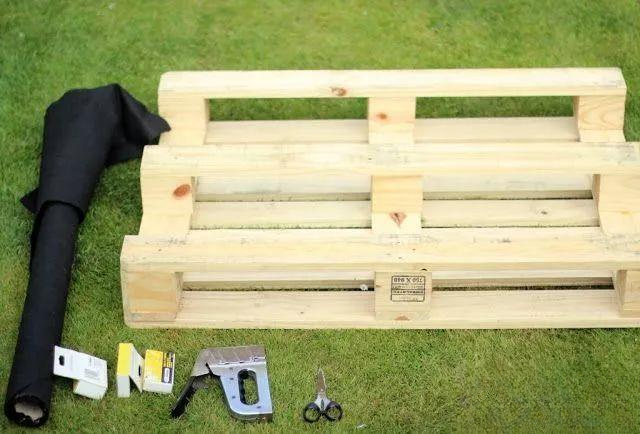
2. How to make it:
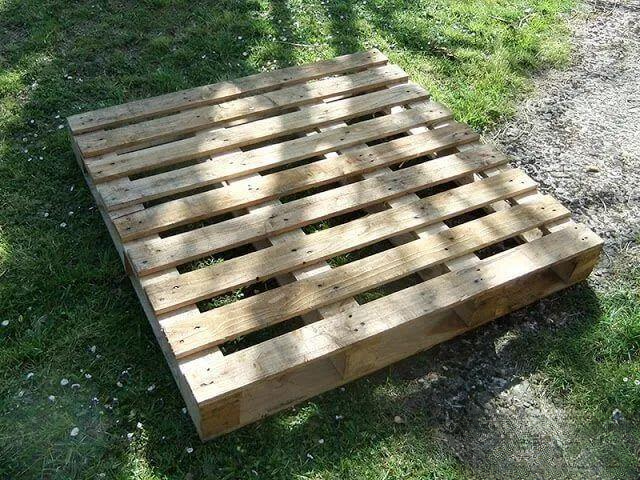
1. Find a wooden pallet. Consult large lumber recycling centers or building material suppliers. Ensure the pallet has not been treated with chemicals (fumigation, preservatives, etc.). If unsure about treatment, it's best to plant ornamental plants, such as flowers or succulents, rather than edible plants.
2. Pull out the loose nails, polish the tray, clean it with soapy water, and let it dry.
3. Place the bracket face down and cover the bottom and sides with two layers of non-woven fabric. Tighten the fabric and fix it to the wooden board with a stapler.
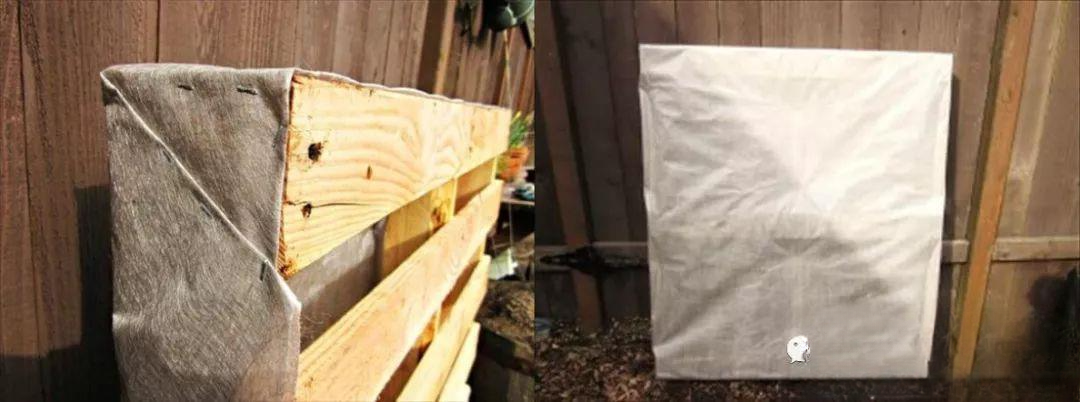
4. Turn the bracket over and fill it with potting soil. It will be heavy, so it's best to fill it near the final position.
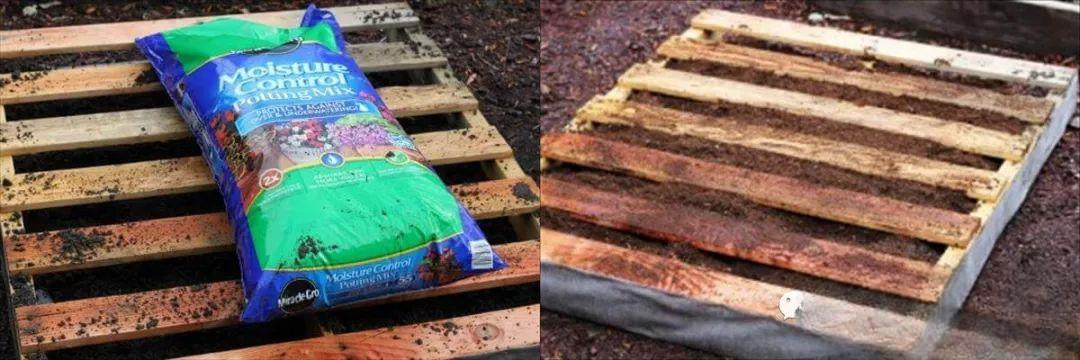
5. Prepare various vegetable or herb seedlings, and plant and decorate them on the surface of the wooden frame according to their color, texture, and height.
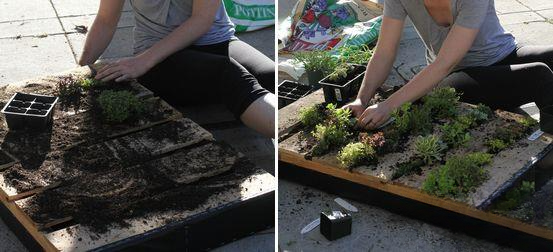
6. Leave the support flat in place for several weeks, watering it daily to encourage the plant roots to grow downwards.
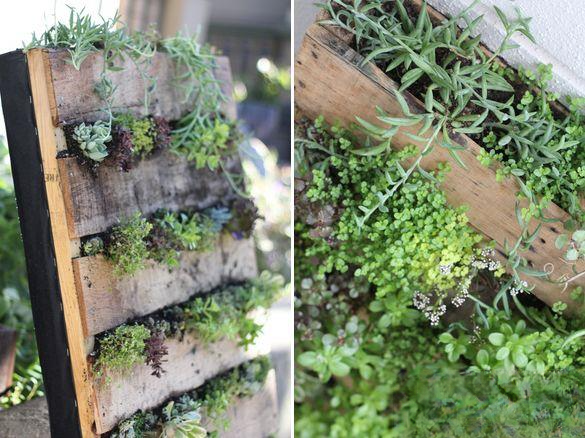
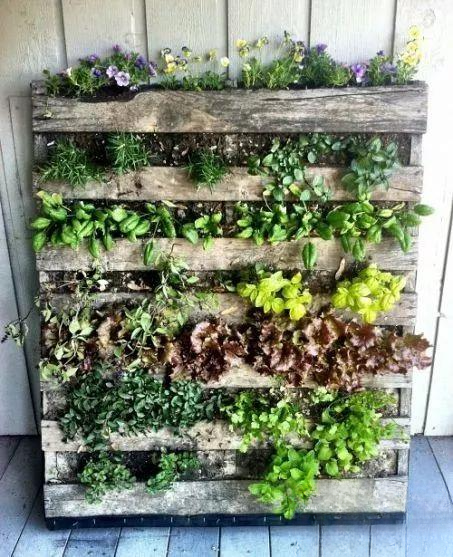
7. Lift the wooden support and lean it against the side of the building or fence. Water daily, fertilize regularly, and enjoy fresh vegetables and herbs!
Drainage pipe vertical potted plant
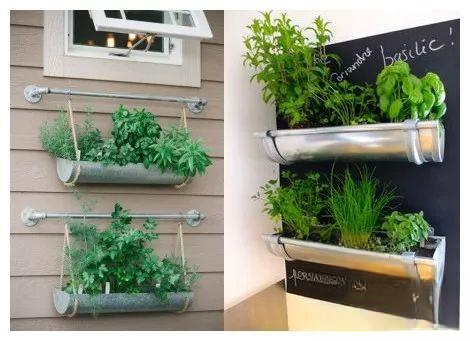
Hanging such potted plants in the kitchen or outdoors will surely add a relaxing touch of greenery to the space. While cooking, you can easily pick some cilantro, rosemary, basil, mint, or fennel to add to your food and enhance its flavor. Try to place the plants in a sunny location, or you can remove them and place them in a bright spot to promote photosynthesis.
1. Materials and tools:
1. Metal drain pipe
2. Drainage pipe side cover
3. Drain pipe hooks or ropes
4. Screws
5. Electric drill or screwdriver
6. Nutrient soil
7. Herbs or seeds
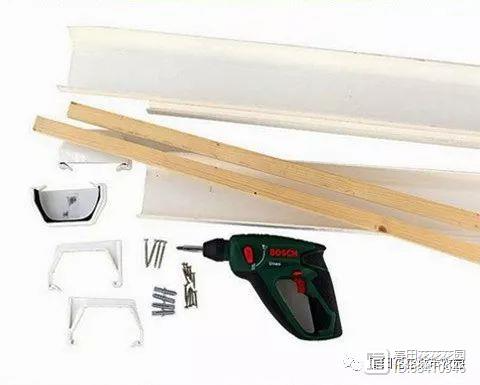
2. How to make a potted planter with drainage pipes:
1. Design 3-4 rows of drainage pipes according to the wall surface to be installed, and estimate the required size, quantity and height of the drainage pipes.
2. Cut the sink to the designed dimensions using a metal cutter, or ask the seller to process it when you buy it.
3. Turn the drain pipe over, drill some drain holes at the bottom with an electric drill, and cover both ends with side plates and glue them on.
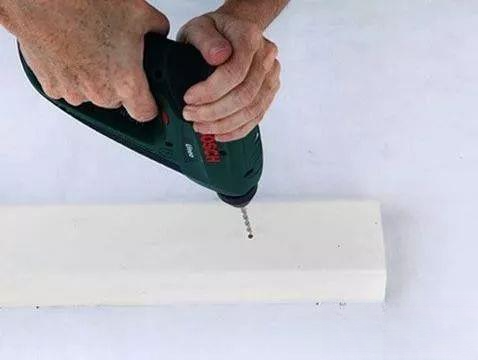
4. Use an electric drill to fix the wooden strip to the wall, then fix the hook to the wooden board, and place the drain pipe on the hook.
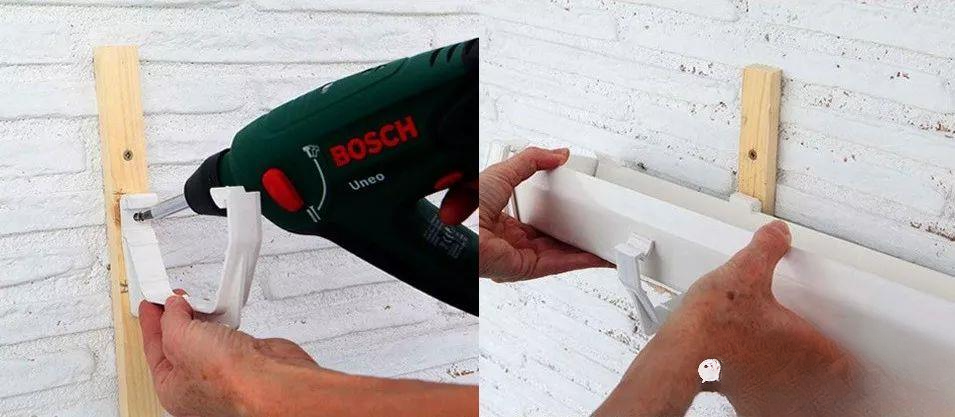
5. Fill the drainage pipe container with potting soil, or you can directly plant container seedlings. Fennel, thyme, or strawberries are all good choices.
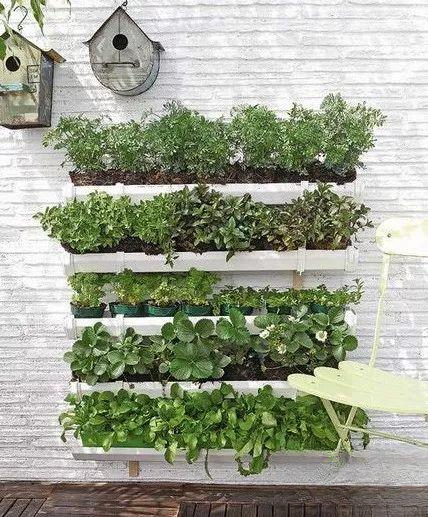
With two bird nests and a chair, you can now enjoy your afternoon tea time with nature.
A breathing green wall
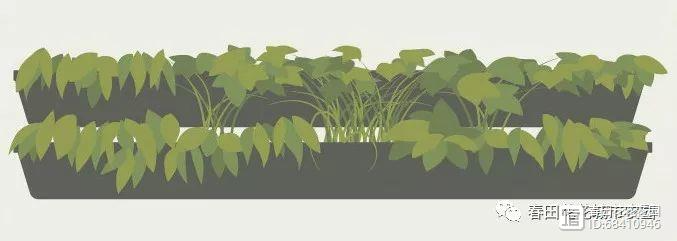
Even without planting space, gardeners can use vertical gardening to transform an inanimate wall into a living, breathing wall.
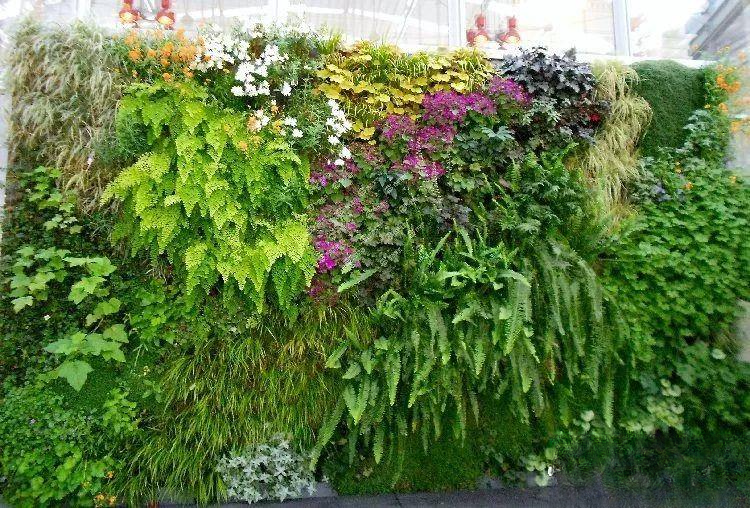
Although there are many artificial green walls available now, real green walls can produce ecological effects that artificial products cannot: absorbing heat, improving air quality, reducing noise, and even comparable to beautiful works of art.
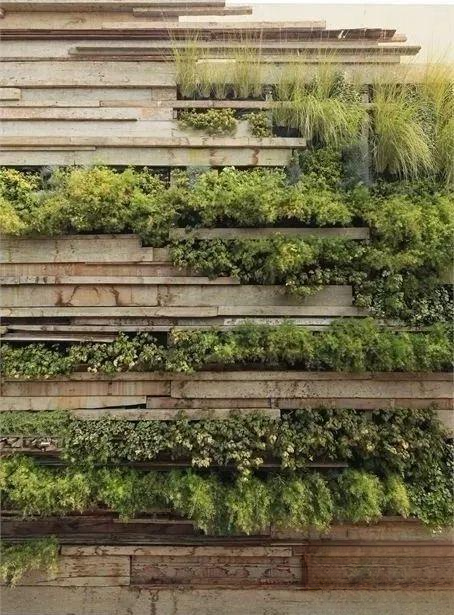
There are many types of panels and materials used for large green walls:
Some manufacturers offer pallets with sloping slots, which are assembled together by a frame.
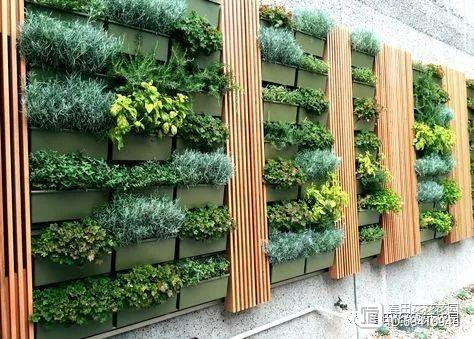
Some pallets and frames are assembled as a whole.
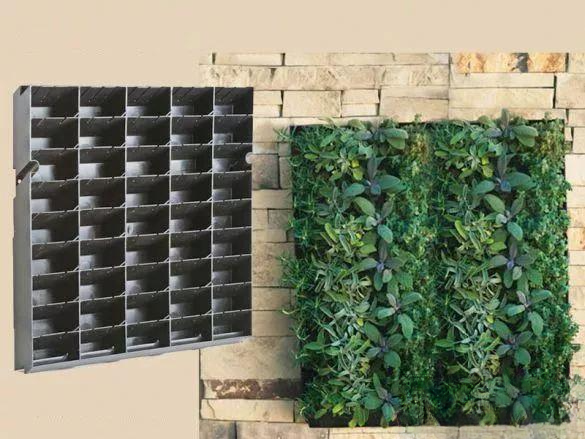
Some have moisture-proof mats or irrigation systems to help distribute moisture evenly.
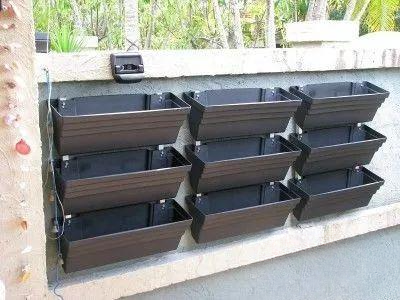
Some are assembled and installed together using non-woven bags, which reduces costs and lightens weight.
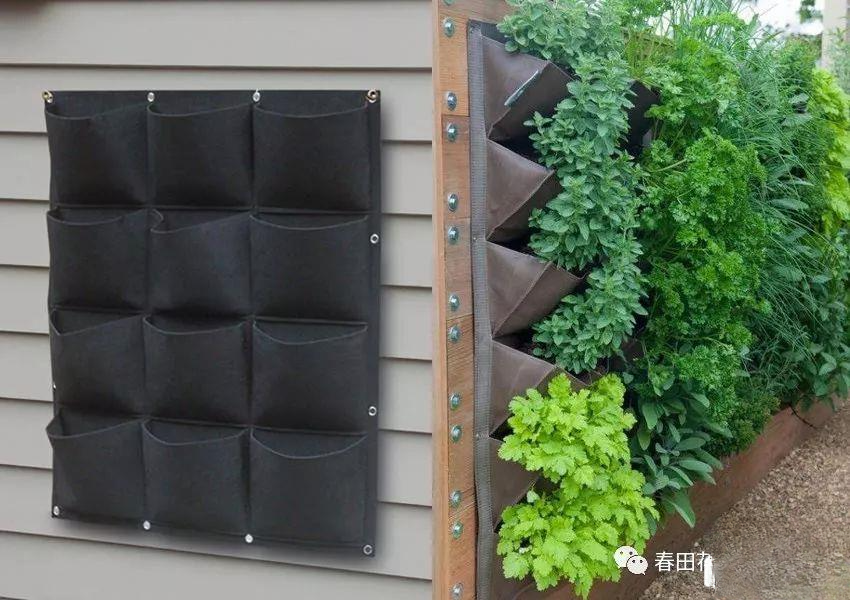
After reviewing the above materials, do you feel that building a green wall requires purchasing a lot of materials and the cost is not low? Below, we will introduce a low-cost green wall project that you can DIY yourself.
1. Materials and tools:
1. Discarded wooden frame
2. Wooden strips
3. Nails, electric drill
4. Stapler
5. Non-woven fabric
6. Nutrient soil
7. A huge number of succulent seedlings
2. How to build:
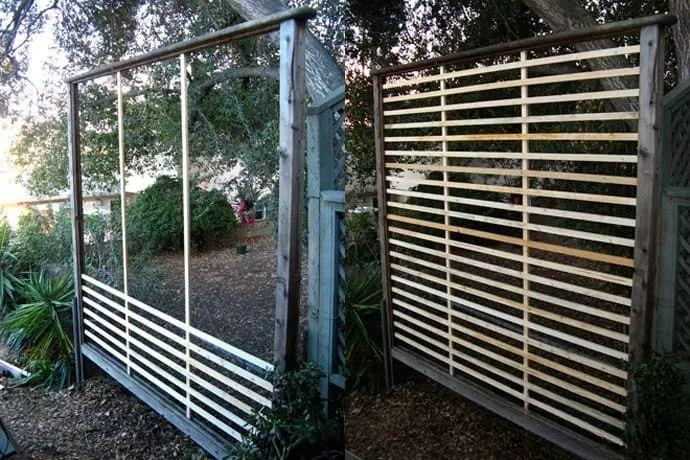
1. First, install two vertical wooden strips in the middle of the wooden frame, and then install horizontal wooden strips at equal intervals of 10cm.
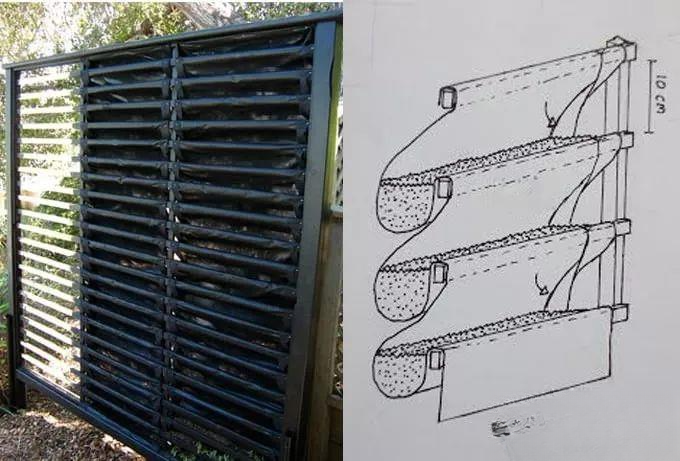
2. Attach the three sections of non-woven fabric to the wooden strip using nails and a stapler, as shown in the diagram.
3. Fill the recessed space in the non-woven fabric with nutrient soil, and plant small succulents according to the pre-designed pattern.
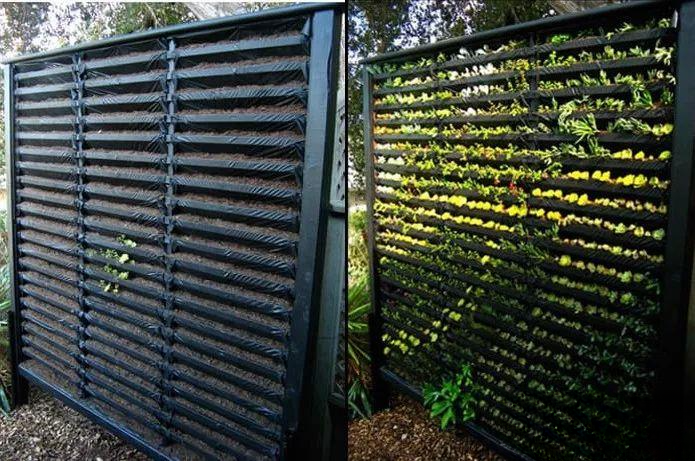
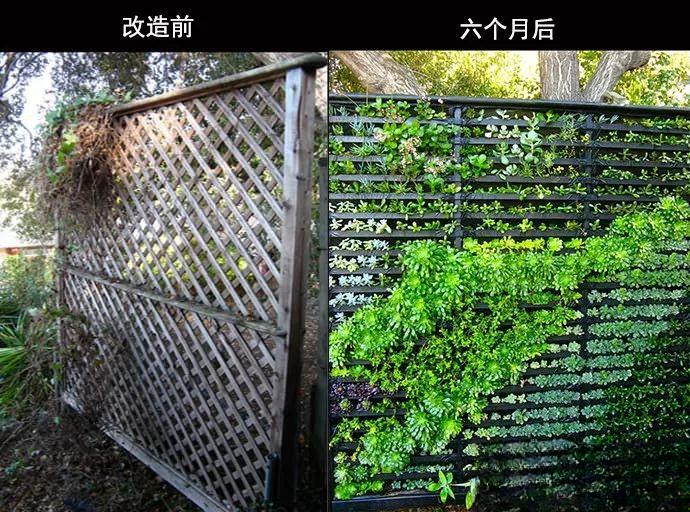
4. Six months later, the succulents grew bigger.
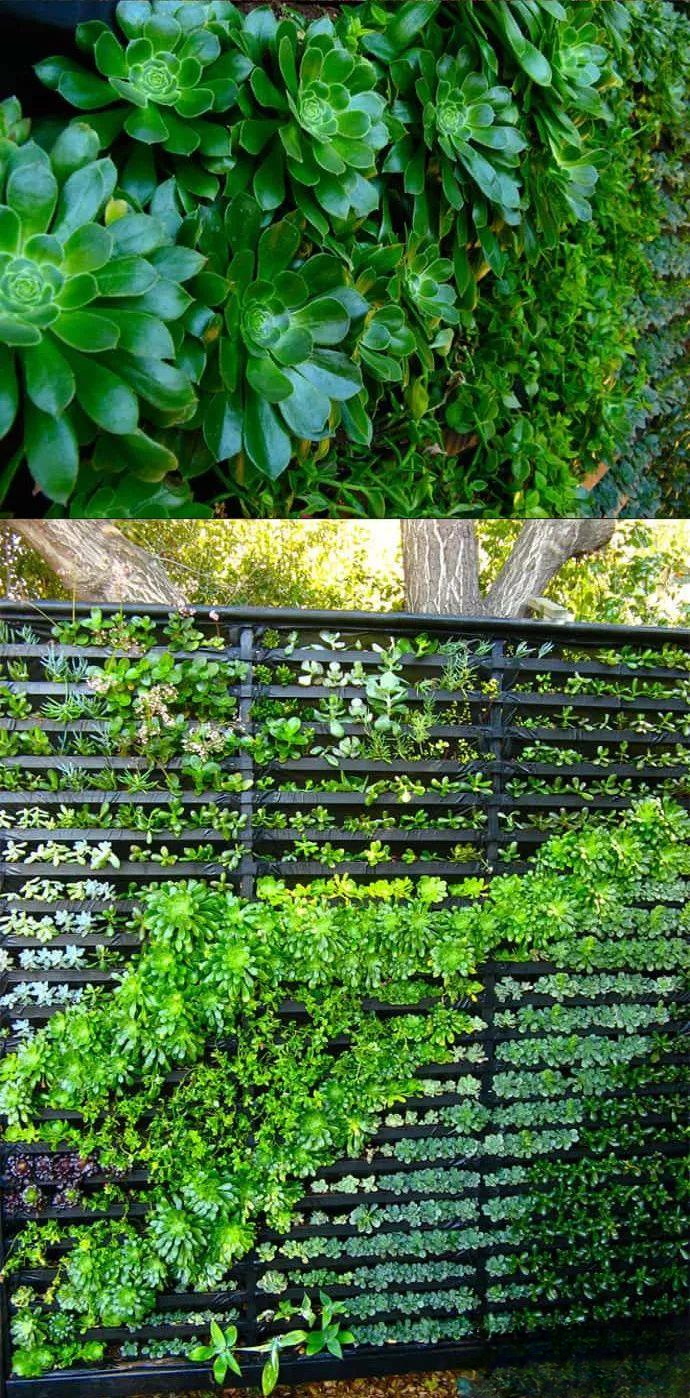
Take a look at the before and after comparison. Doesn't it feel like it instantly went from tacky and low-class to high-class and sophisticated?
One last thing
The good condition of the plants,
To a large extent
It reflects people's friendly attitude towards it.
Remember to water it regularly!
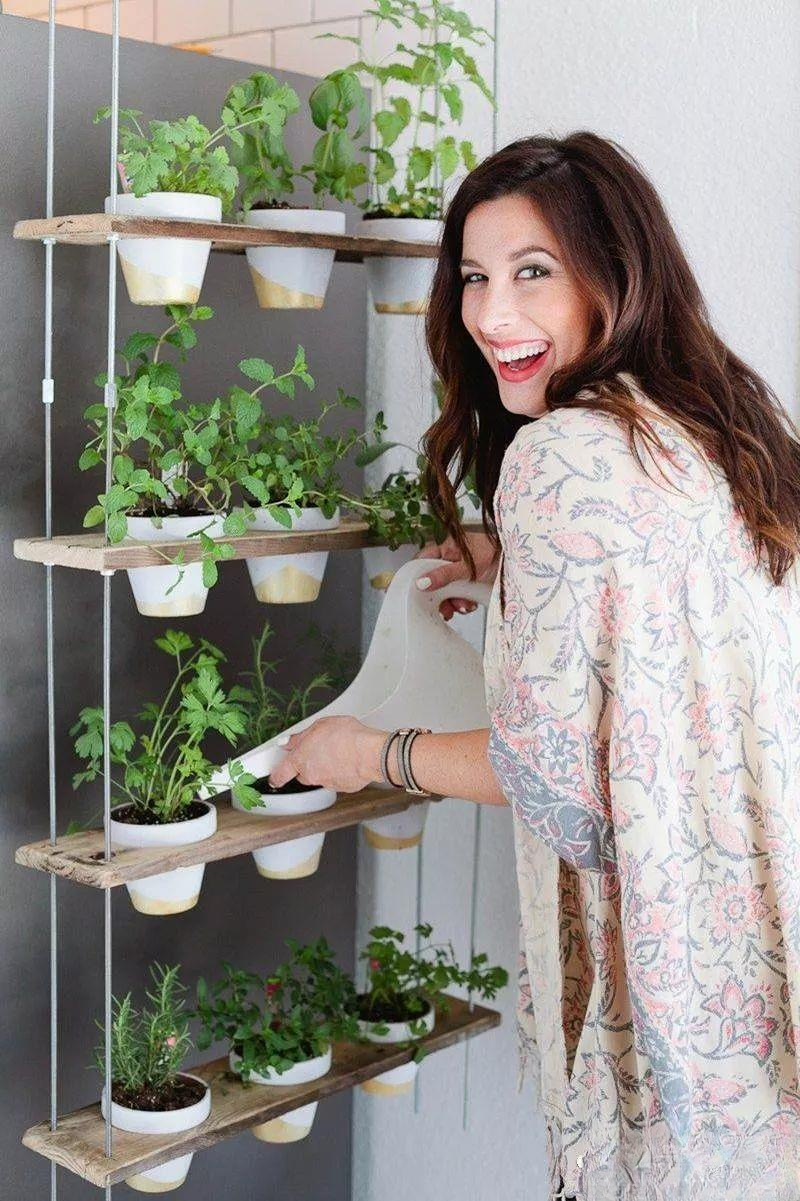
Whether it's reusing old wooden brackets, cleverly utilizing drainage pipes, or renovating courtyard fences, as long as you unleash your creativity and imagination and put it into practice, you can obtain a lush green space with as little money as possible.