The production process of the Mingstyle redbud wood stool
After I made the first small stool for the children on Children's Day, I prepared to make another one. This time, I used redbud wood, which was a round log I found in the mountains a few years ago.
It might be unique to the southwest region. I don't know if there are such trees in other regions. The wood is very good, heavy and oily.
The panel has been made for two months, and I just finished the rest of the work today.
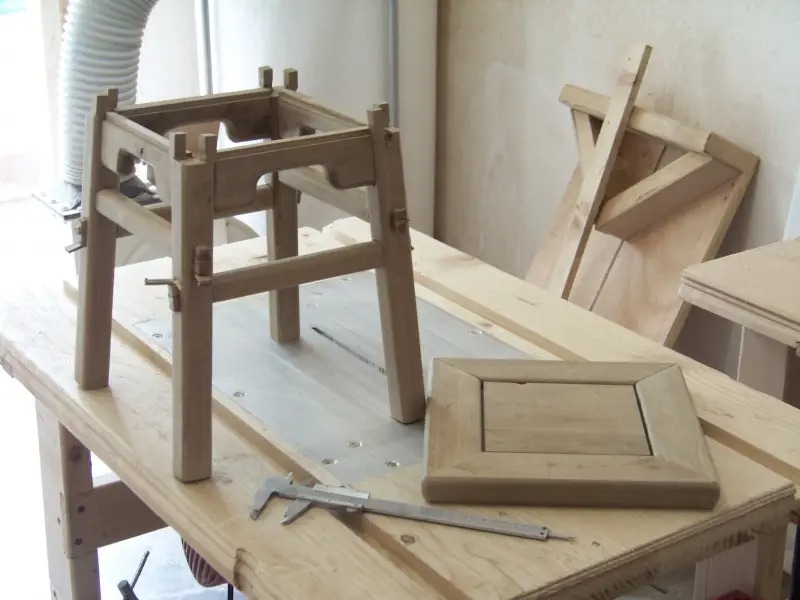
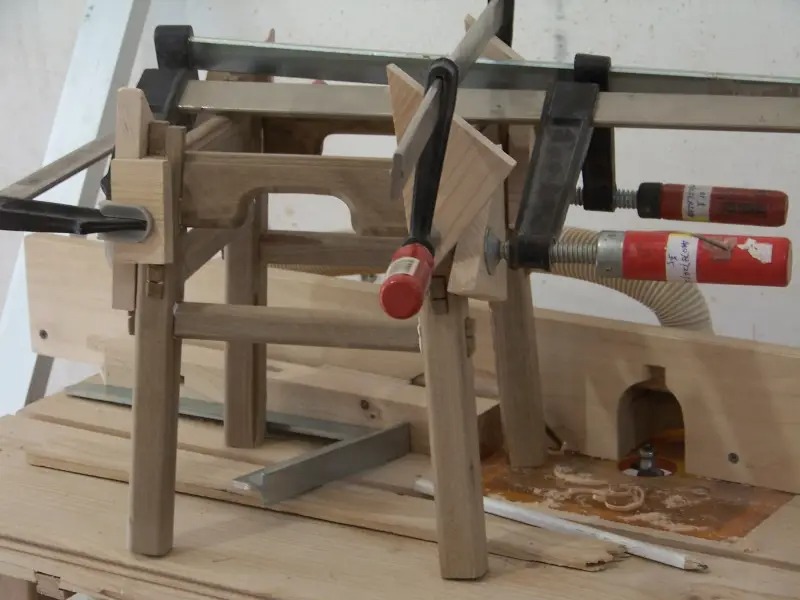
This time, I learned from the last lesson. I first put the feet, tooth strips and crossbeams together, and then drew the positions of the eyes on the panel according to the tenons after they were glued and dried.
I trimmed the tooth strips and made them fit perfectly with the feet. I hope it will be the same after installation. Haha 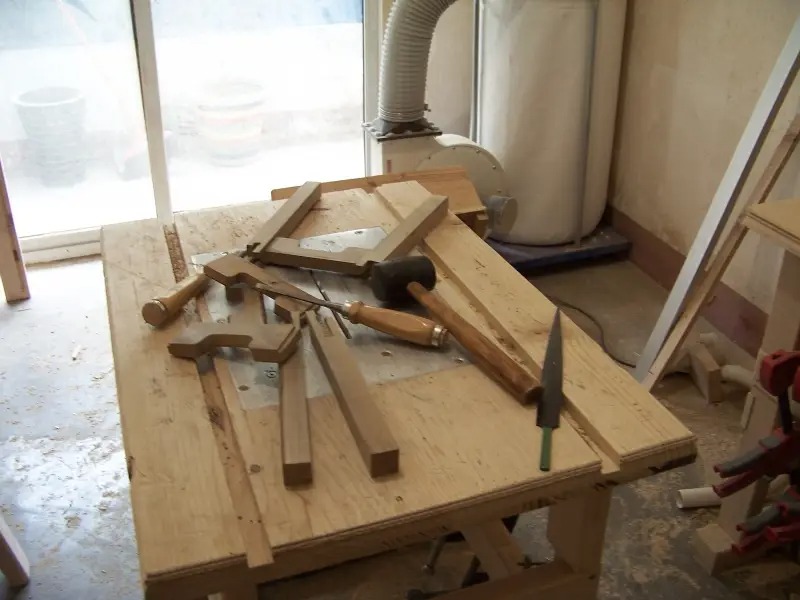
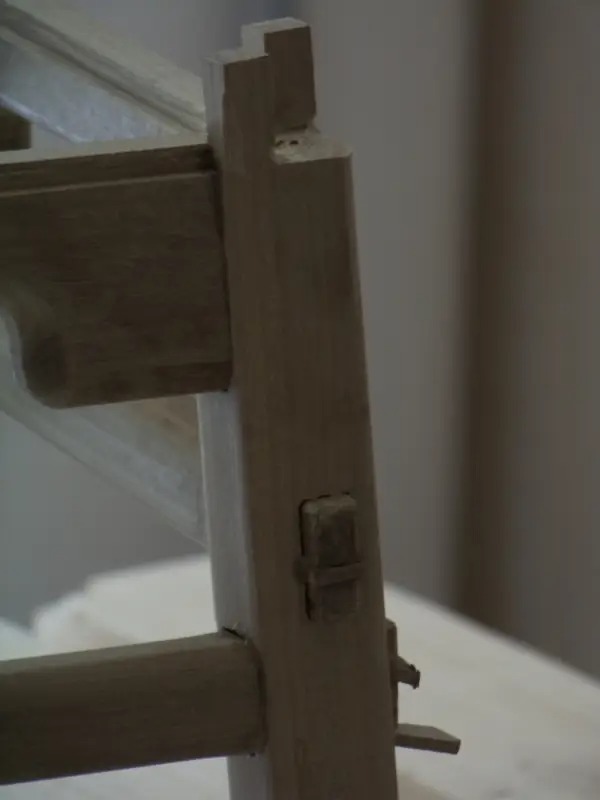
, clamp it with a clamp, draw the mortise position of the crossbeam, and also draw the angle of the crossbeam 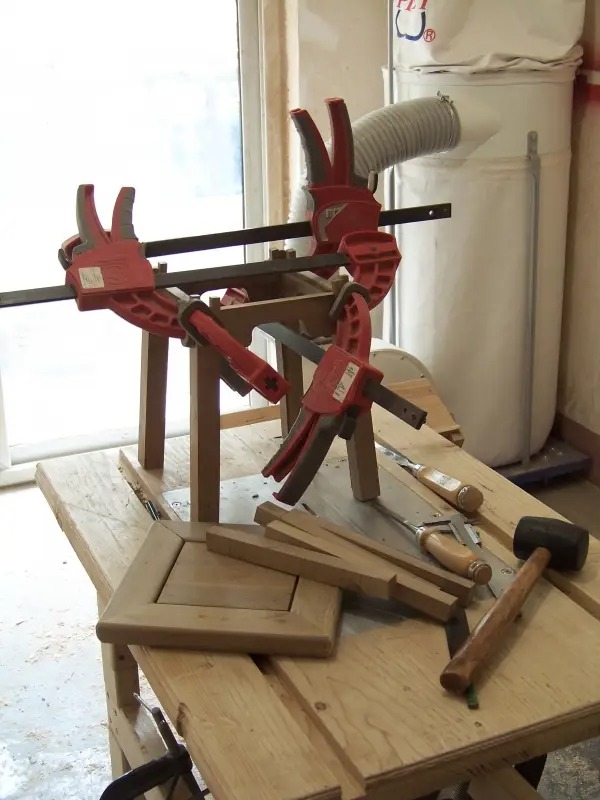
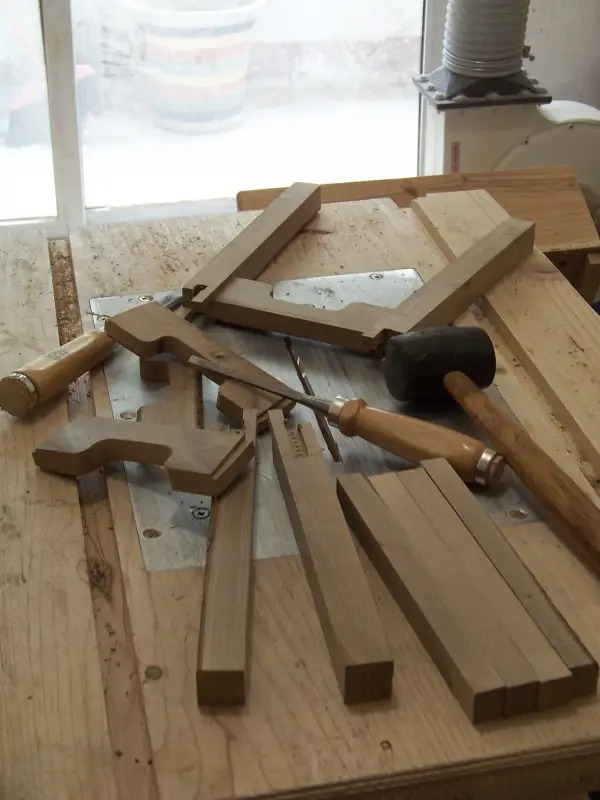
. The wedges of the crossbeams 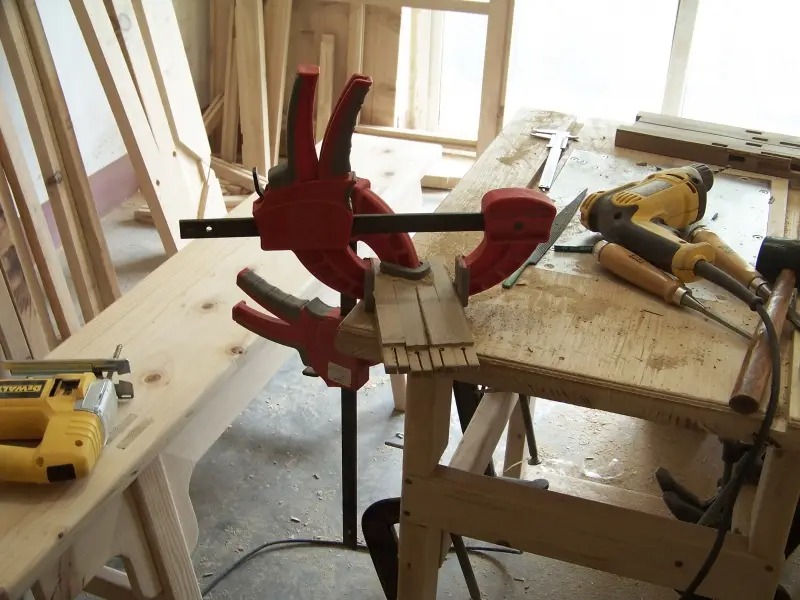
have been sanded. I will glue them with white glue and clamp them tomorrow. Please continue to pay attention.
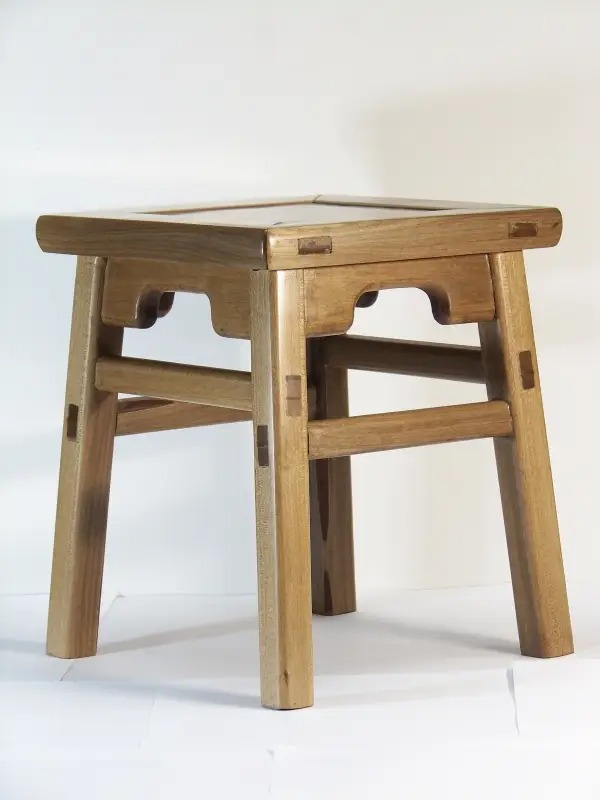
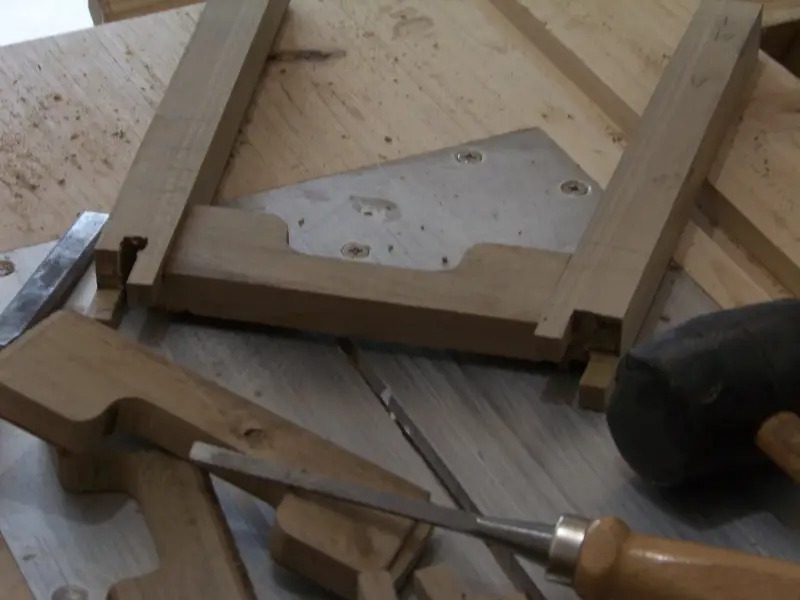
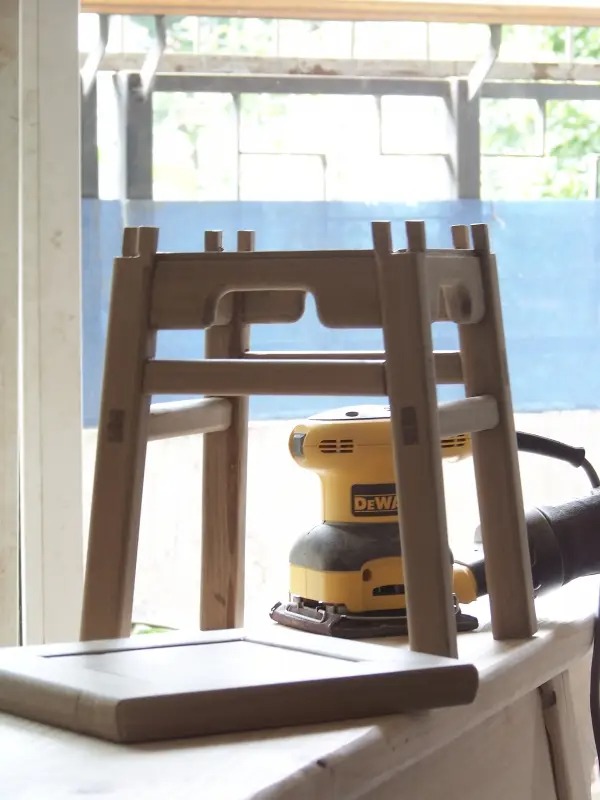
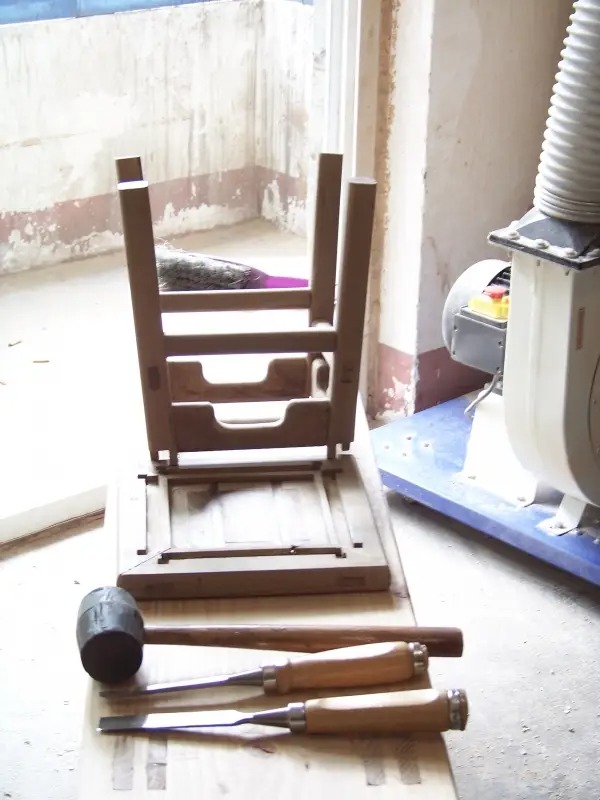
It is not easy to make a small stool. Following the last picture, I assembled it today to see what it looks like. 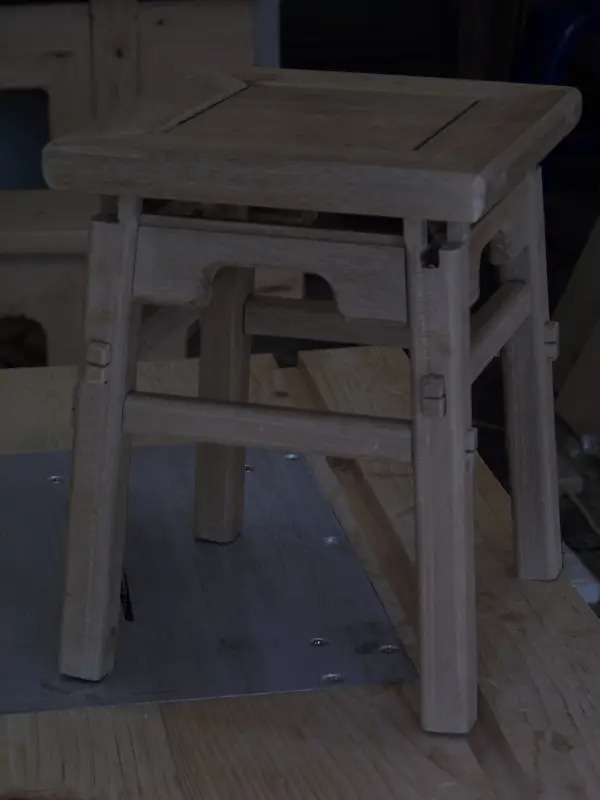
After applying glue, use clamps. If the place is not in place, use the glue head to knock a few times. It will be in place soon. From the picture, it seems that there is no wedge. I will add it after taking a photo.
The following is a simple engraving machine inversion table. 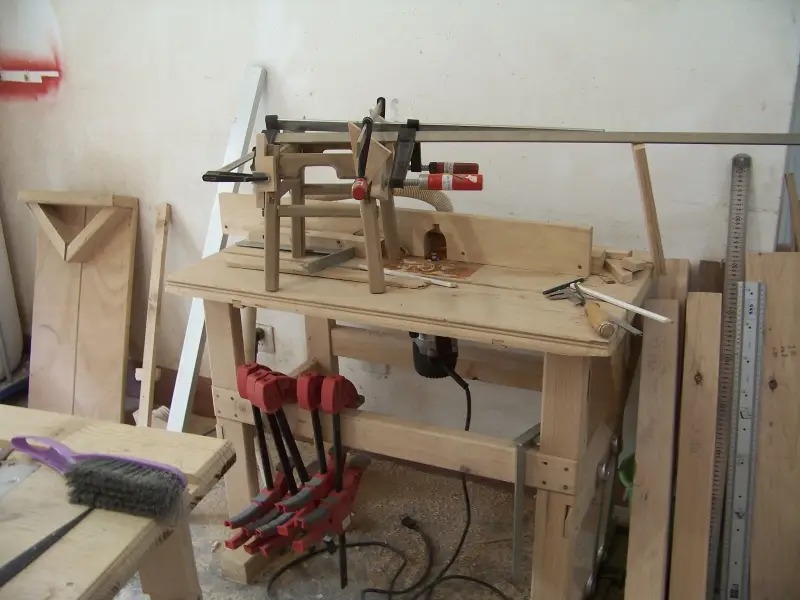
I went there early yesterday morning and loosened it. Before scraping the plaster, I saw that the gap was a bit large. 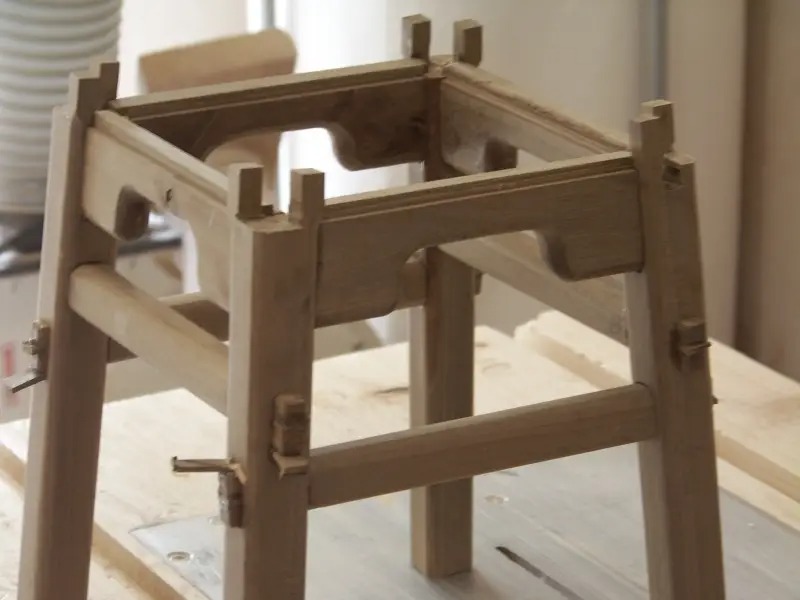
The curved saw was used to saw off the extra tenons. 
Then I used a sanding machine with 240 sandpaper to sand it carefully several times 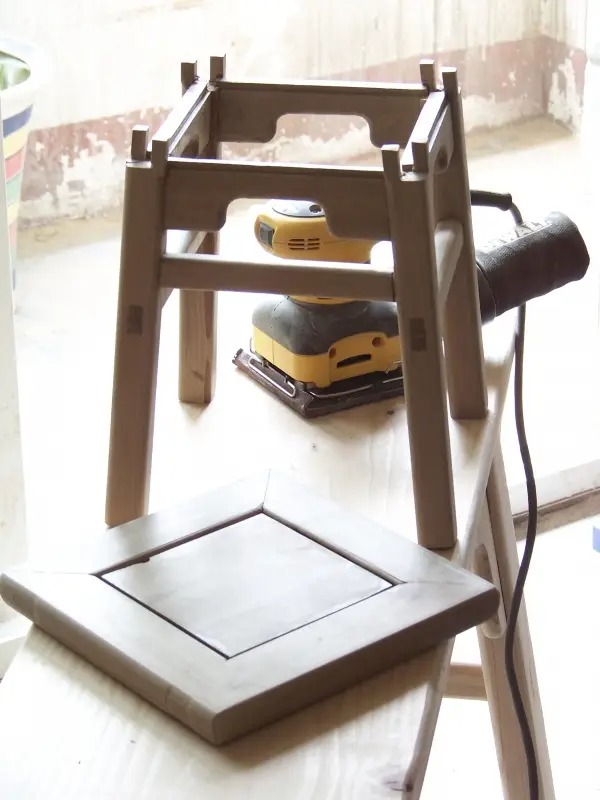
. I drew the position of the tenon on the panel, and used the tenon machine to punch holes. It could not be clamped. I could only use my left hand to press 
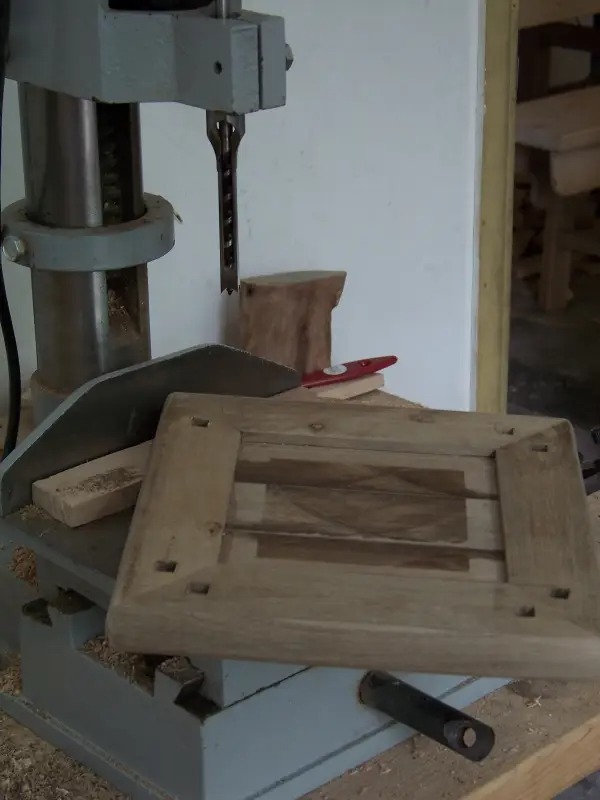
the engraving machine. After repairing the slot of the tooth strip, it could be assembled. 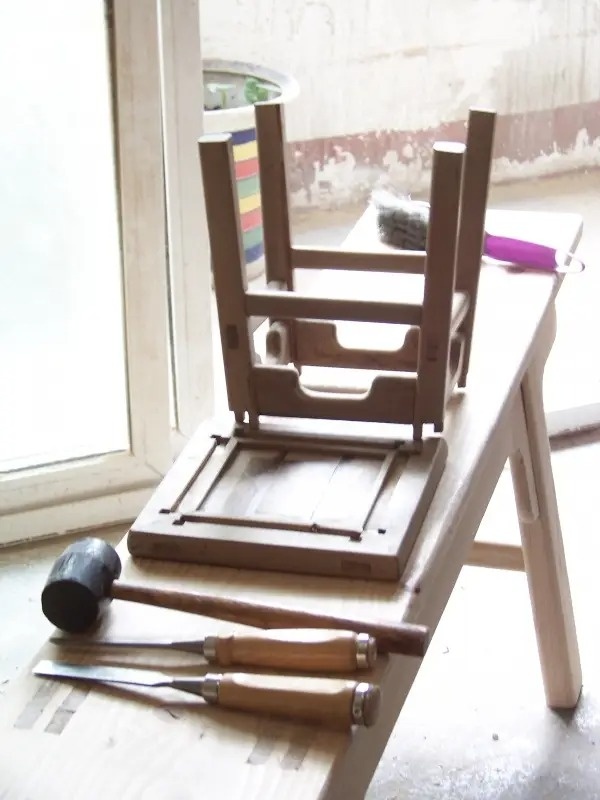
The white glue bought by B&Q 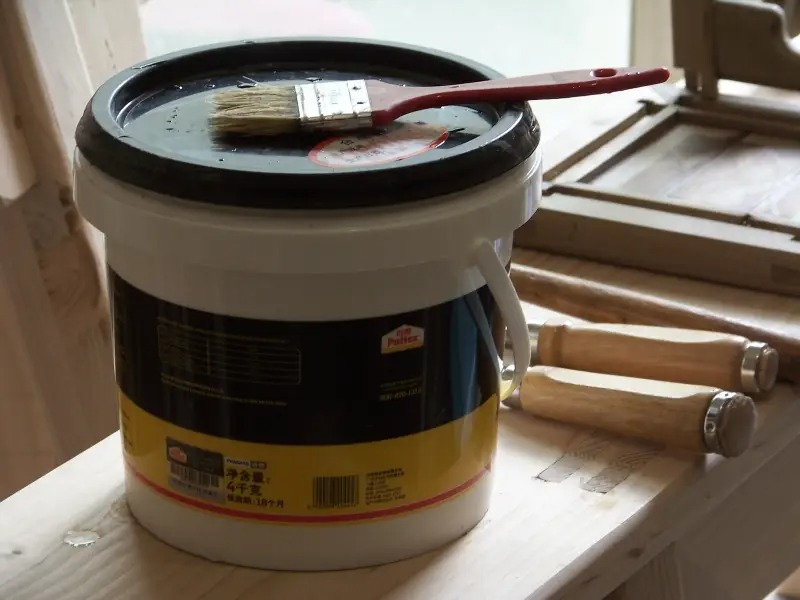
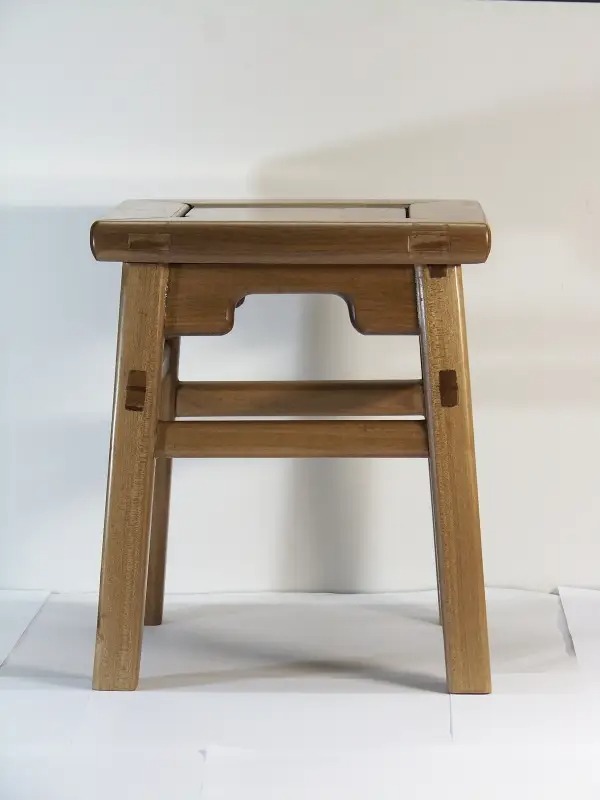
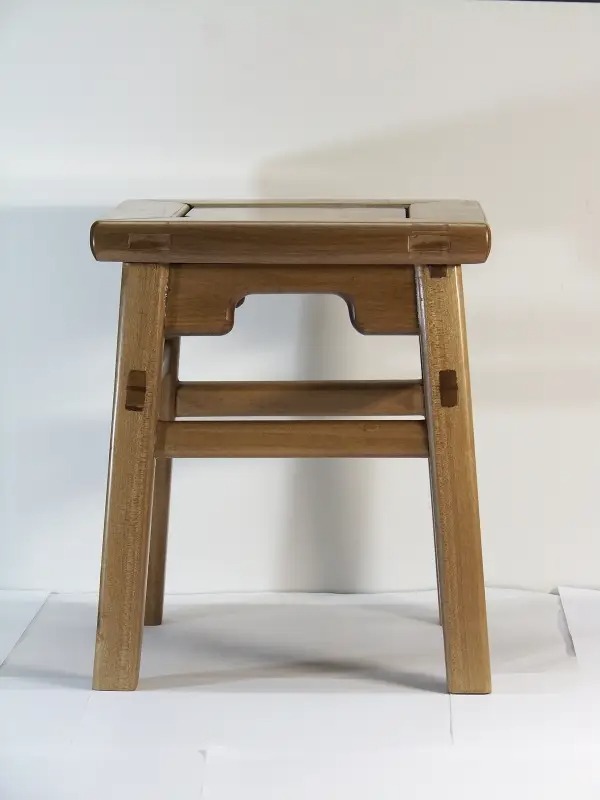
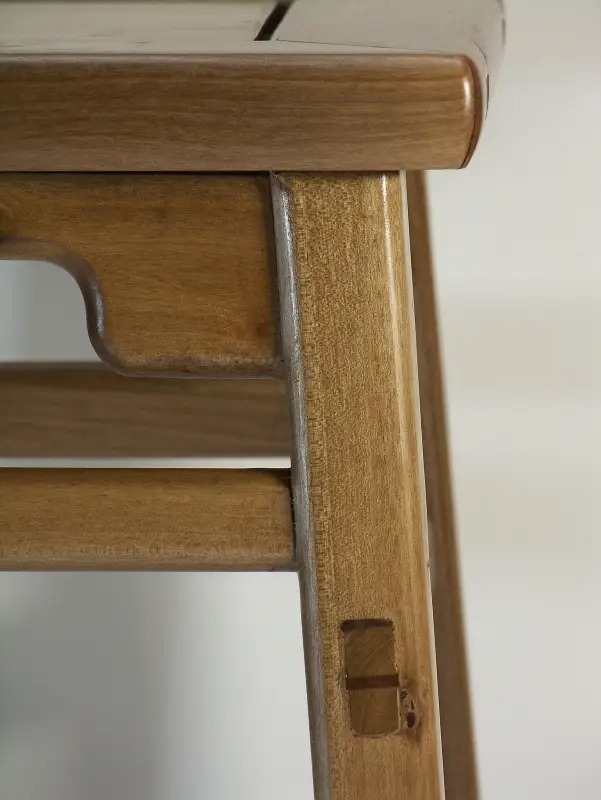
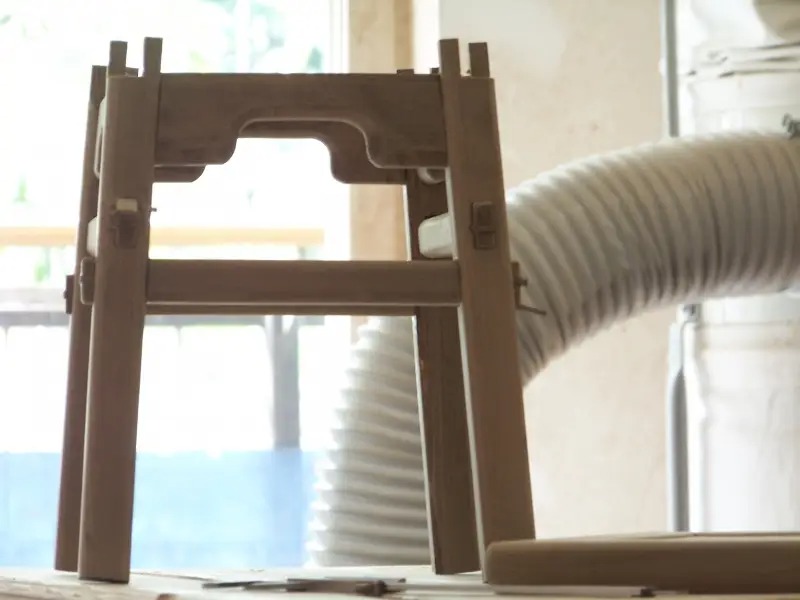
was finally polished. The large surface was polished by machine. If the machine could not polish it, it was polished with sandpaper in a small wooden strip. When it was polished to 2000 mesh, it was already very smooth
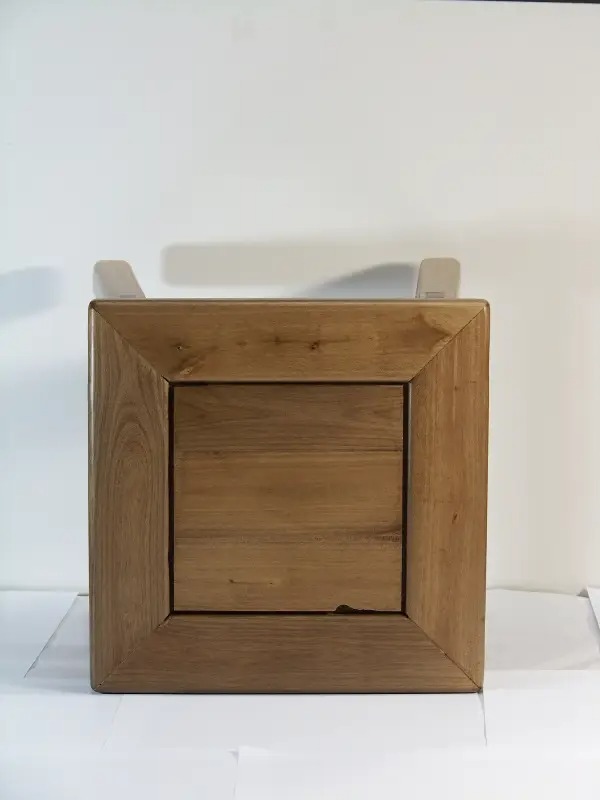
. It was still oiled and taken pictures. There is a gap left by the engraving machine on the core board. It is not processed so that I can see it at any time to serve as a reminder, haha.