Teach you how to DIY a "threedimensional" coat rack
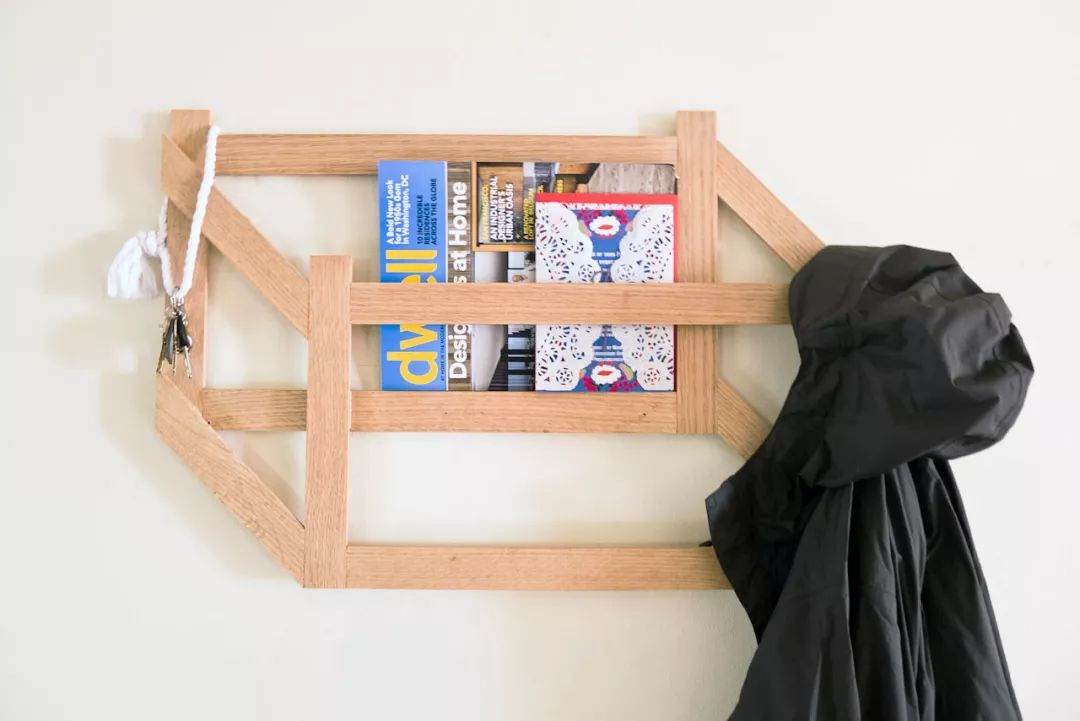
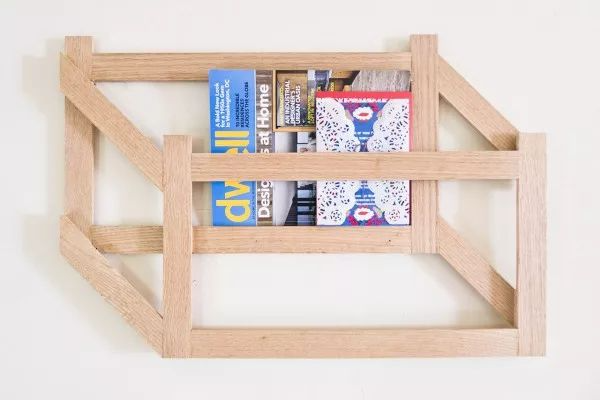
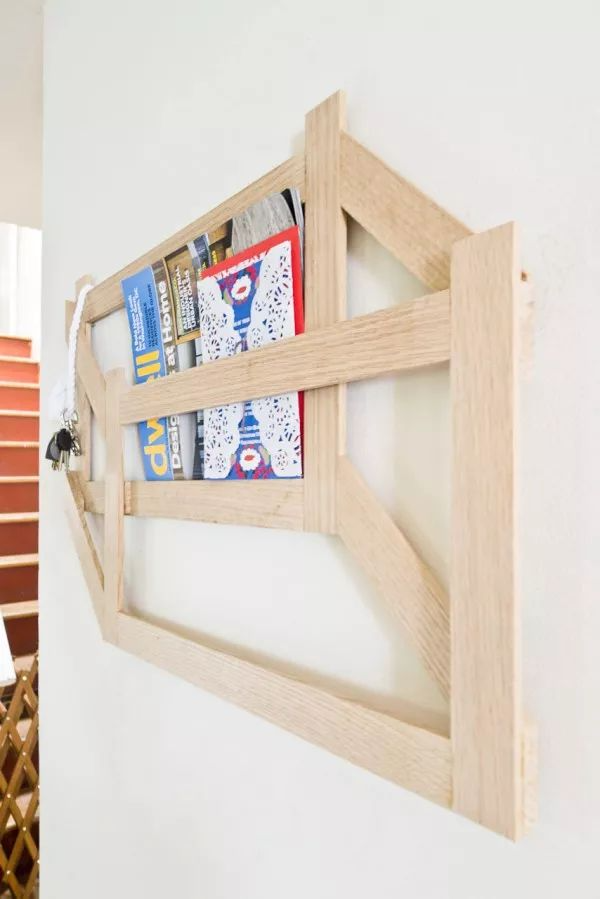
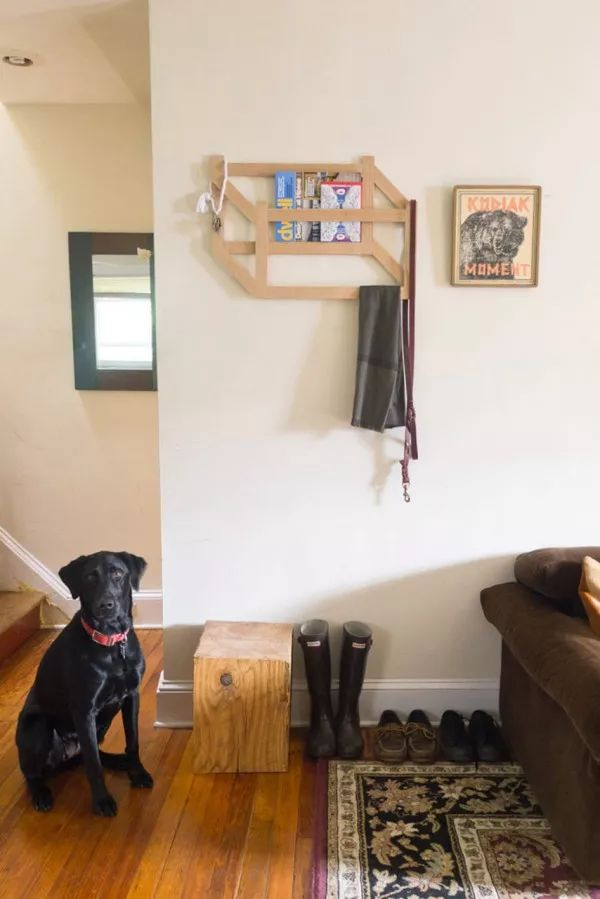
When a common coat rack is full of clothes, it always stands like a big tree at the door, occupying a moderate space. However, this coat rack designed by Meg Kemner is powerful and does not take up much space. When there is nothing on it, it can be hung on the wall to create a decorative effect of a three-dimensional sculpture.
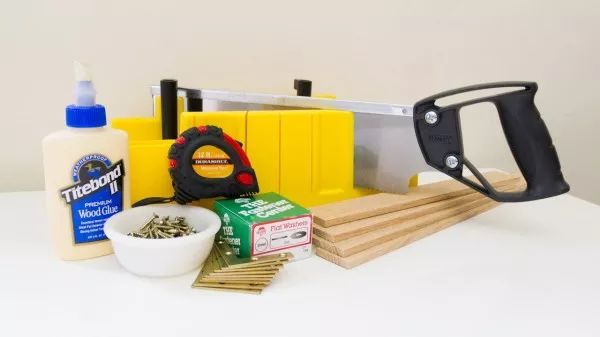
Material:
Boards, 1 miter box, 1 woodworking saw, wood glue, measuring tape, screws and other hardware, pencil, #8 flat washers (optional)
Production steps
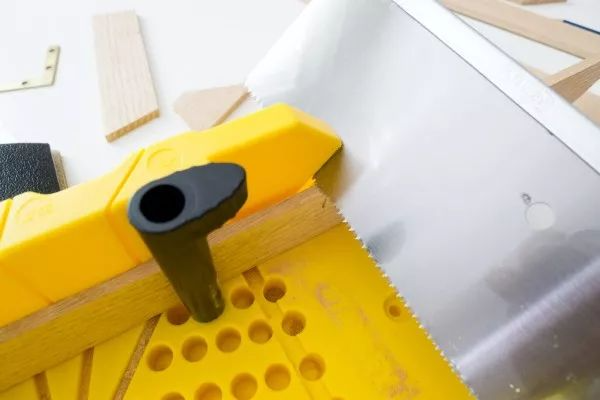
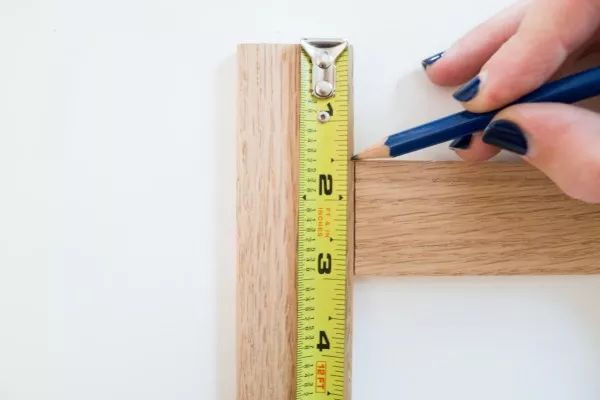
Step 1 Measure out four 20cm long wooden strips and use a miter box to saw them into 45 degree angles.
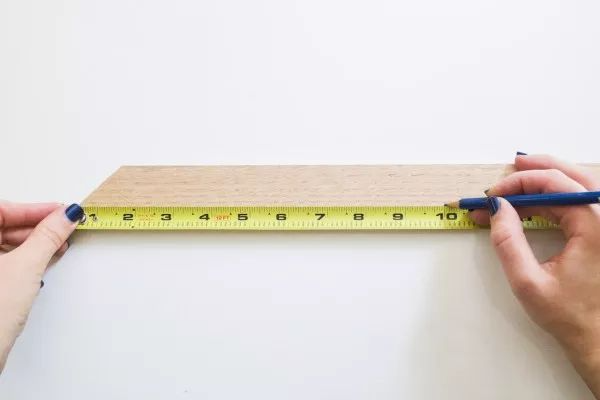
Then cut out 4 pieces of wood of 30cm and 45cm in length. The wood is ready. If the lengths are not uniform, cut off the excess parts of the longer ones. (Don't throw away the cut parts~)
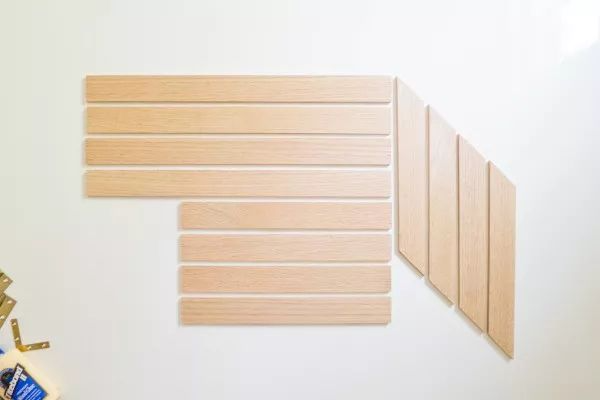
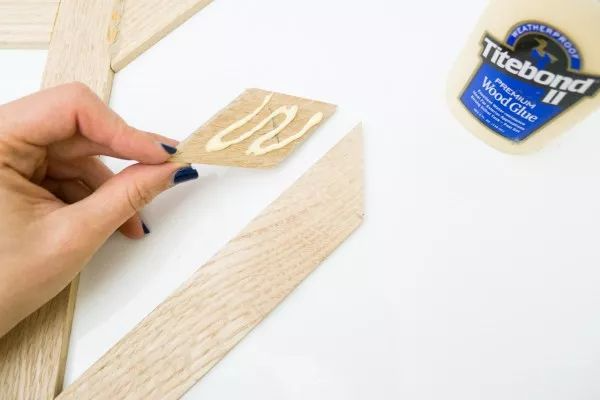
Step 2 First, glue all the wood strips together with wood glue. Use a pencil to mark 4cm on the 30cm long wood strip.
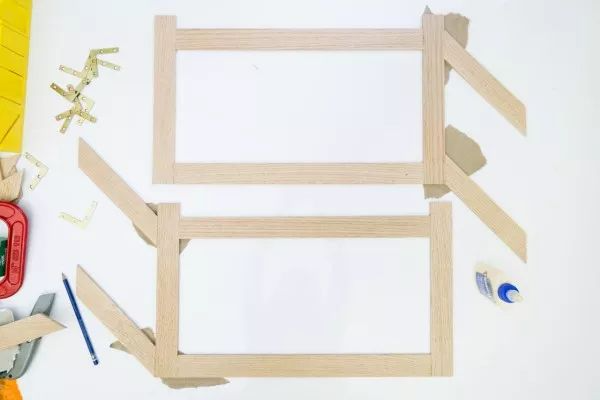
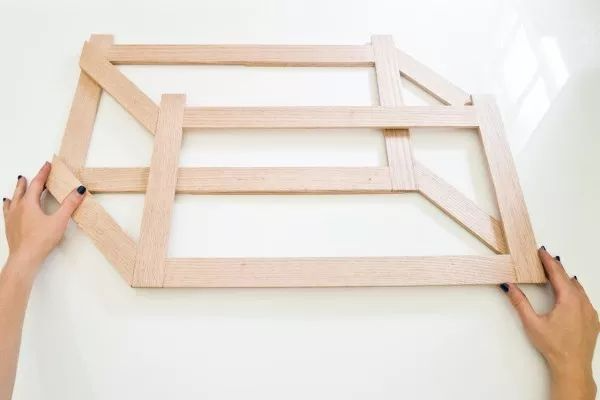
Next, glue two 45cm wooden strips and two 30cm wooden strips together to form a rectangle. Glue one strip to the place marked with pencil, leaving 4cm at the top, and align the other strip with the bottom edge.
The other 4 pieces were processed in the same way.


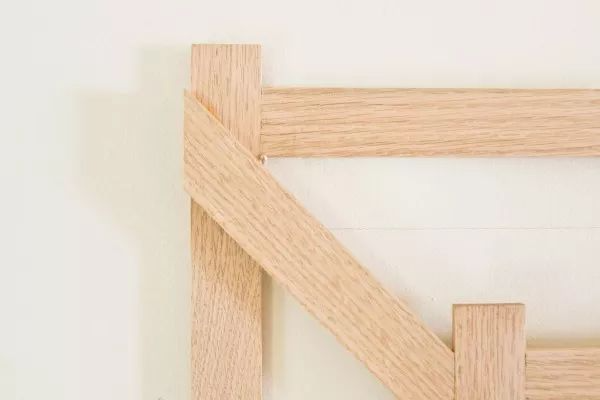
Step 3 After the glue dries, glue the 20cm wooden strips with a 45-degree angle to the rectangular frame, glue it to the edge of the 30cm wooden strip and align it with the wide side of the 45cm wooden strip. (Put some kraft paper on the table to prevent the glue from sticking to the workbench) Note that the bonding directions of the 45-degree wooden strips on the two frames are completely opposite.
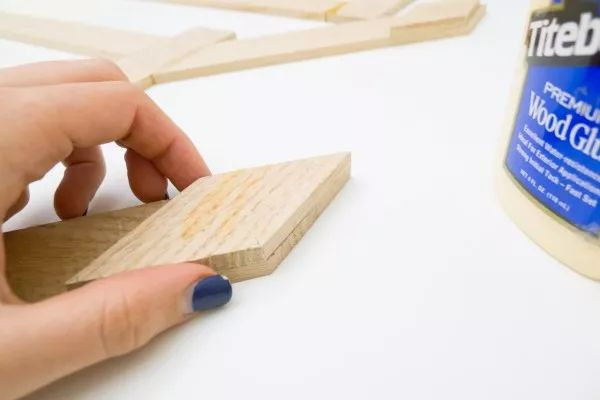
If you want the front and back three-dimensional space of the coat rack to be larger, you can use the extra scraps to increase the height. Cut the scraps into 45-degree angles and glue them to four 20cm wooden strips.
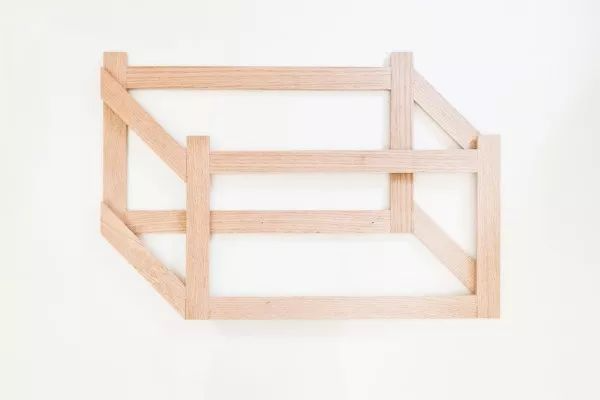
Step 4: Assemble the two frames together and glue them together, making sure the edges are aligned.
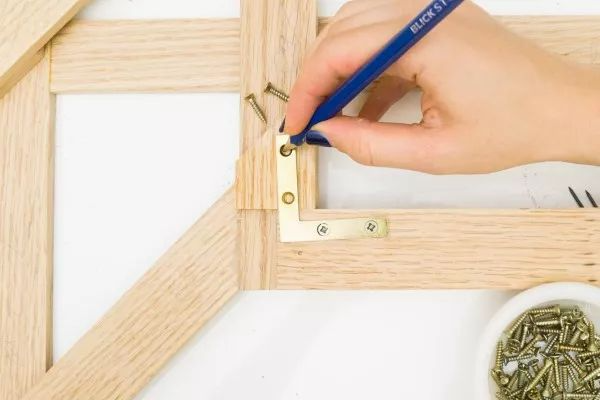
To make it more stable, you can use some scrap wood to place at the joints that need reinforcement and then secure them with screws and corner braces.

Finally, fix it to the wall and you're done.
It can be used to hang keys, clothes, hats, scarves or place magazines. It is practical and saves space.