Potted gardening
There is perhaps no more diverse way of gardening than potted gardening . Because plants are grown in containers, gardens can be created without a yard or soil: on rooftops, high-rise balconies, terraces, fire escape staircases, and even in concrete-covered areas.
For people with physical limitations, potted gardening is an ideal option because it doesn't require them to work close to the ground. It's also a good solution for those with problems with their garden soil. In fact, growing annuals in containers can bring more gardening enjoyment to anyone, whether outdoors in summer or indoors in winter.
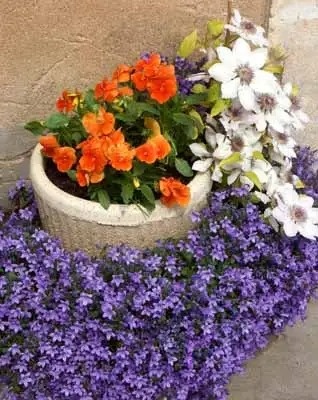 Potted gardening allows you to grow a variety of plants, and each one can be displayed in the way you choose. |
The most important aspect of potted gardening is that the container retains soil while allowing excess water to drain. Remember, plants grow faster in larger amounts of soil because the temperature and humidity fluctuations are smaller with increased soil volume. Therefore, unless the gardener is particularly careful, plants in small pots are more susceptible to frequent dehydration and overheating.
Planting potted garden
People generally think of growing a potted garden as starting your potted garden journey by planting any combination of potted plants until you find the best combination of plants you want to grow. Then, place the pots in a location with ideal light and shade, water them when they are dry, and fertilize them as needed.
Is that all? Actually, not entirely. Read on to learn more tips to help you grow a beautiful potted garden.
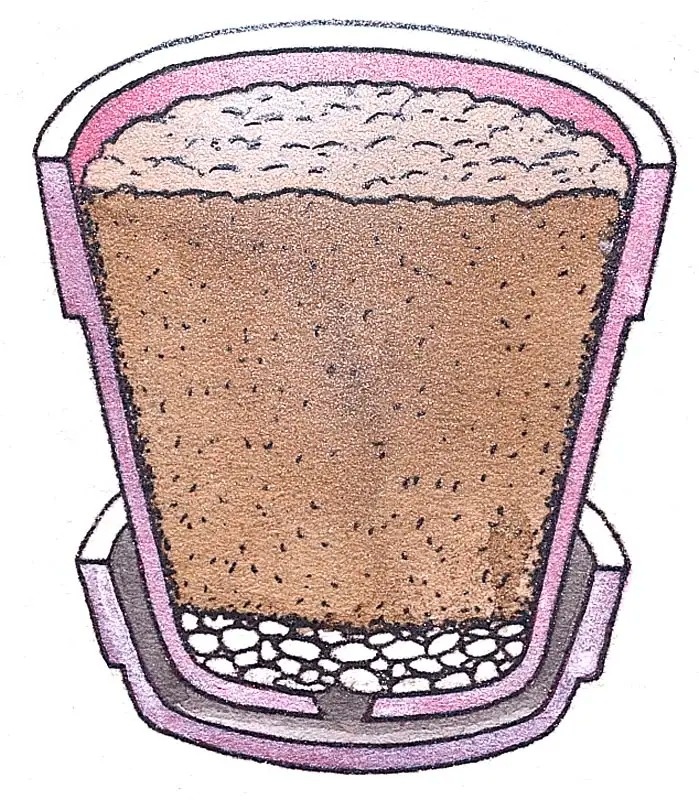 Cover the drain hole in the container with a layer of small stones . |
- Good drainage is essential for successfully growing plants in containers. You'll also need to cover the drainage holes to prevent soil loss; shards of pottery, a fine sieve, or a coffee filter are good options. You can also add a layer of small stones, perlite, or coarse sand to the bottom of the container. In indoor or porch areas where dripping can cause damage, place a drip tray under the container to collect excess water.When using decorative containers without drainage holes, place a well-draining flowerpot inside for actual planting. Ideally, place the inner pot on top of a layer of small pebbles, keeping it above the water level. The peat moss growing in the gap between the inner and outer pots acts as insulation, helping to stabilize the soil temperature.
- Disinfect old flowerpots with a 10% bleach solution before reusing them to grow other plants. Retaining the pots from transplanted flowers, vegetables, poinsettias, or even shrubs in the yard is a very economical method. However, you must ensure that all potential pests or diseases are eliminated, such as any filler material from the previous planting.First, rinse away excess soil, small root fragments, and other debris with hot soapy water. Mix 1 part household bleach with 9 parts water and use this solution to scrub the flowerpot clean. Rinse again, and the flowerpot is now ready for planting.
- Make your own potting mix. Use a potting mix whose main component is peat moss as a base. (It works well for houseplants, seedlings, and many other similar plants.) Peat moss-based mixes don't compress real soil, which is a big advantage for potted plants. They are low in nutrients and dry very quickly, and their complexity can be reduced using specialized potting mixes.To provide a more nutrient-rich soil for annuals or perennials (such as daylilies), you can mix 2 parts peat moss mix with 1 part compost. For a more fertile, moisture-retentive soil for tomatoes and lettuce, mix 1 part peat moss mix, 1 part garden soil, and 1 part compost. For a lighter mix for propagating cuttings or planting succulents or cacti, add 1 part coarse sand or perlite to 1 part peat moss mix.
- Pre-mix a cartload of potting mix. This can save you a lot of time and effort if you have many indoor plants that need repotting, or if you need to place more pots or windowsill boxes with summer flowers outdoors. Furthermore, you can save costs if you buy large, economical bags of peat mix and other ingredients.
Leafy plants suitable for potted cultivation- Five-colored sweet potato
- croton
- Elephant Ear Grass
- Ferns
- Asparagus grass
- Coleus
- Toad Begonia
- Hosta genus plants
- New Zealand flax
- Geranium species
- Artemisia
- Spider plant
- ivy
- Pre-wet the peat moss mixture in a large pot or wheelbarrow. Pre-wetting the peat moss allows it to absorb a lot of water, ensuring sufficient humidity for new plant growth.Pre-wetting is easy using a garden hose. Spray plenty of water, then use a trowel (or a hoe if the amount is large) to thoroughly mix the water and peat moss. Continue adding water until the peat clumps clump together into a moist ball. Then, you can put the mixture into the flowerpot. Remember not to let the mixture soak through.
- Use a moisturizing gel to reduce watering needs, especially when plants are grown in a peat-based mixture that dehydrates quickly. These gels (actually polymers) are crystalline when dry and are tightly sealed in their packaging. However, once water is added, you'll be surprised to find that they swell into a large amount of gel-like substance. You can mix the gel into your potting mix, following the instructions on the packaging.
- Encourage your potted plants to bloom continuously throughout the four seasons, ensuring your home and yard are never short of color. In spring, enjoy cool-season flowers such as early-ripening bulbs, primroses, and pansies. In summer, plant delicate perennials and annuals like impatiens and begonias. In autumn, appreciate late-blooming plants such as asters, chrysanthemums, and ornamental grasses.
Potted plant care
Potted gardening takes up very little time overall, but it does require daily attention. Here are some tips for keeping your potted garden thriving.
- You need to check the soil moisture every night. When the weather is dry and windy, you may even need to check the soil moisture twice a day, morning and evening. To test the moisture level, you can take a small amount of soil from the surface of each pot and rub it between your thumb and other fingers. Ideally, you want to water the plants again before the soil dries out completely. On the other hand, the soil cannot be kept constantly wet, otherwise the plants will drown. Therefore, it is essential to closely monitor the soil moisture level.To ensure the water penetrates every inch of soil in the container, repeat the process several times, filling the container to the rim and allowing it to be fully absorbed. If no water flows out of the drain hole, add water again. Repeat this process until water begins to drip from the bottom of the container.
- To make the planting container look fuller and promote flowering, remove any dead flower heads as soon as possible. Also, check for signs of pests and diseases. Water with a mild fertilizer solution every ten days to two weeks.
Container material You can choose any type of container you like, regardless of what it's made of. Here are some of the best options:- plastic
- clay
- ceramics
- Fiberglass
- brass
- bronze
- tin
- Stone
- cement
- Kashiwagi
- Redwood
- Compressed fibers
- Compressed peat moss
- Place a narrow, pre-fabricated PVC pipe in the center of a strawberry pot or large container, then fill the surrounding area with nutrient mix. When watering is needed, gently insert the hose into the pipe; water will seep from the top to the bottom and from the inside to the outside, ensuring each plant receives even hydration.
- Use slow-release fertilizers to keep plants growing and flowering throughout the year. Since peat-based mixtures contain little or no natural nutrients, plant growth depends on regular fertilizer application. The effects of slow-release fertilizers can typically last for several months or a year, depending on their formulation.
- Seal the bottom of the clay dish with polyurethane to ensure its watertightness. Then it can be safely used on floors and carpets. Alternatively, if you don't like clay dishes, you can buy watertight plastic dishes that look very similar to clay. Even if someone sits under a flowerpot, it's difficult to tell the difference.
- Before the cold winter arrives, clay and plastic flower pots should be placed in the garage. This helps prevent them from freezing and cracking when the weather gets extremely cold.
- Wrap large flowerpots and planters that are too bulky to bring indoors with plastic for winter protection. Try to do this during the dry fall season, securing the plastic around the top, bottom, and sides of the pots to prevent moisture from getting inside. Moisture expands when the weather freezes. This can cause terracotta, ceramic, and even artificial stone and concrete containers to crack and break.
- In warm climates, protect flowerpots by placing them under a tarpaulin. This saves space in the garage or basement and makes it easier to remove the pots when needed in the spring.
- If you're not often home and can't prevent your potted plants from drying out (or you forget to water them daily or every two days), you can use a self-watering container. A self-watering container has a water reservoir at the bottom that connects to the pot via a suction core. As the soil begins to dry, the suction core draws more water from the reservoir.
Creative Containers
The containers you use can be simple or elaborate, depending on your preference. You can use any of the following: clay or plastic flower pots; wooden, plastic, or metal windowsill planters; decorative flower pots made of ceramic, terracotta, striped marble, or wrought iron; metal wire frames with peat moss; discarded metal carriages from children; hanging containers; plastic bushel baskets. Here's a chance for you to unleash your imagination!
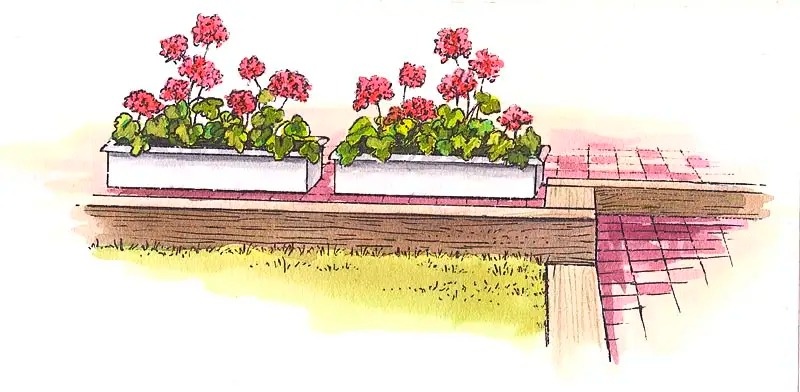 Add a touch of color to your terrace by placing window sill planters filled with annuals along the edge of the terrace. |
- Use windowsill planters to add color to your home and height to the surrounding garden. Elegant windowsill planters can be planted with flowers that complement the colors of curtains, rugs, bushes, or blinds. Another option is to plant herbs such as thyme, basil, and parsley in windowsill planters in the kitchen.
Window sill planters are versatile containers that can be used not only on window frames but also hung on porch railings or fences and spread along the top of walls to mark patio edges or outline walkways or driveways. You can plant them wherever you want to add color without making flower beds.
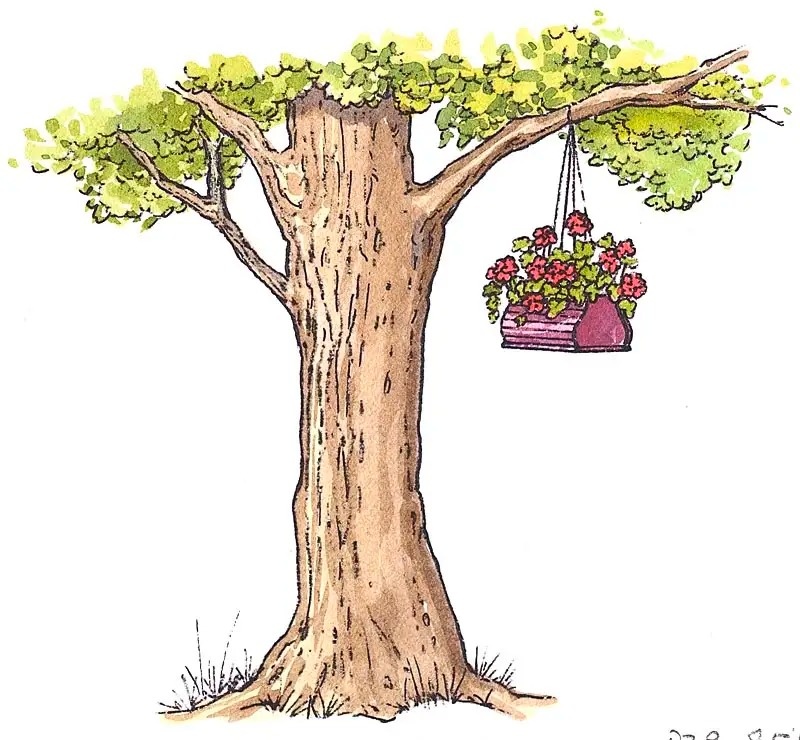
Flower baskets can be hung from tree branches to extend your container garden throughout the yard.
- Hanging baskets offer another seemingly endless source of color. You can group them at various heights on your porch; hang them from tree branches; or add half-baskets to brighten up blank walls and bare fences. You can even create a colorful tall column effect by hanging baskets on old clothes racks or other suitable recycling shelves.
- Easily create a balcony garden by planting annuals in a large bag of potting soil. This method is widely used in the UK and makes for a great conversation starter:Lay the bag flat on the ground where you want to create a small garden, and poke a few small drainage holes in the bottom. You can cut a large opening at the top to insert a few plants for mixed growth, serving as a decorative planter. Alternatively, you can make several separate planting holes for annual vegetables and herbs.Plastic packaging helps keep the soil inside moist. However, if the soil starts to dry out or water-soluble fertilizers (such as plant tonics) are needed, carefully drip water or water-soluble fertilizer into the inside of the bag to moisten the entire bag.