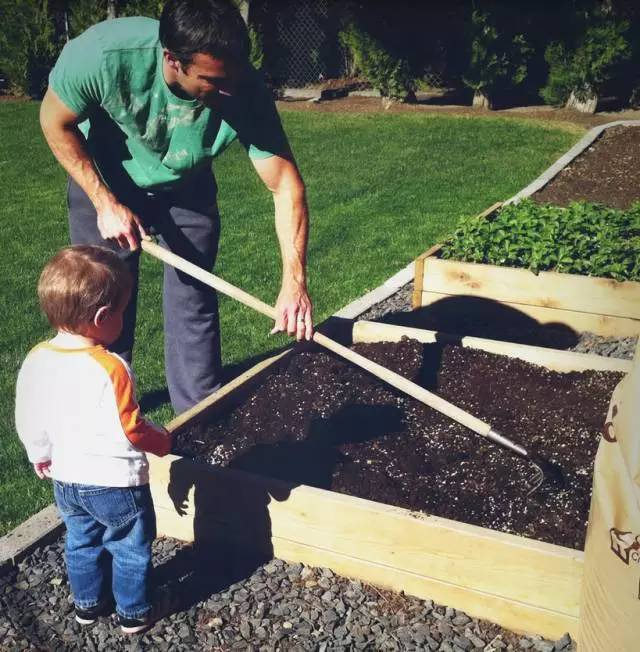
Parents in the Classroom: Little Gardeners
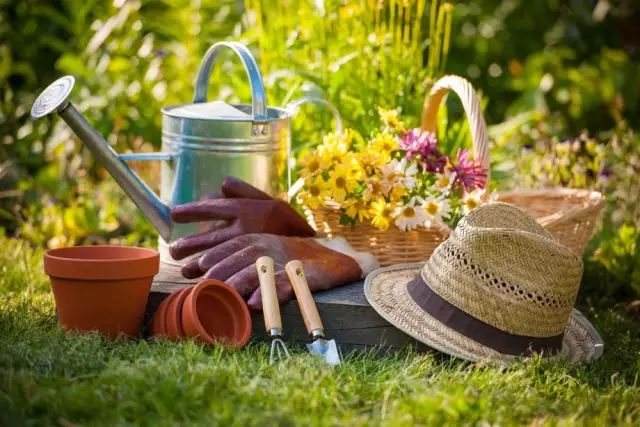
First, let me introduce to you what horticulture is. Simply put, horticulture refers to the cultivation and propagation techniques of flowers, vegetables, and fruits in a garden. This is the most basic horticulture. Horticulture is not only a skill, but also a pleasure. I think there is nothing more wonderful than tasting vegetables you have grown yourself and admiring the flowers of plants you have planted. Enjoy the process from sowing to flowering and fruiting, and see the thriving scene of your own little garden. I believe you will also feel proud of yourself!
Secondly, we will discuss the most basic knowledge of horticulture, namely sowing, planting, and management during the growing season.
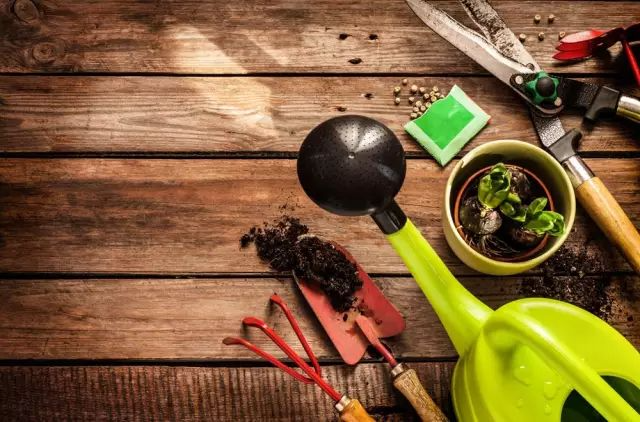
Before sowing and planting, we will use some gardening tools, including: small shovels, rakes, watering cans, gardening gloves, and various flower pots.
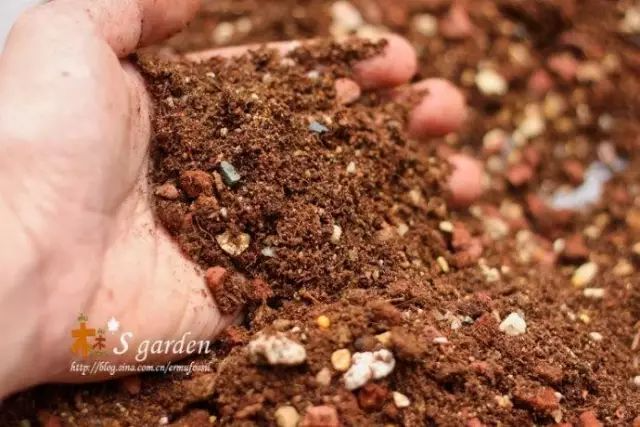
With the tools in hand, plant growth is inseparable from soil, and good soil cannot be too hard, because hard soil is difficult to turn over, and plant roots have difficulty absorbing nutrients and water in such soil, let alone growing deep.
Therefore, good soil must contain some humus and granular soil. This ensures that the soil is fertile and well-aerated and permeable, allowing plant roots to breathe freely.
If children can't find such good soil on their own, they can ask their parents to help them buy this kind of soil to plant flowers.
Now that the pots and soil are ready, we can begin sowing or planting.
There are many plants that can be sown, including flowering plants such as cosmos, morning glory, baby's breath, sunflower, and nasturtium, and fruiting plants such as carrots, green beans, strawberries, and cherry tomatoes.
The best time to sow seeds is from April to June or from August to September each year, because the temperature in these two seasons is very suitable for the seeds to germinate, the seedlings to grow and flower, and the harvest will be available three to four months after sowing.
So how do we sow the seeds? We can dig a shallow hole on the surface of the soil, scatter the seeds evenly in, and then cover them with a thin layer of soil. Just gently bury the seeds; do not press them too tightly or too deep, otherwise the seeds may suffocate before they even sprout.
After sowing, water the seeds evenly with a watering can. Then place the seeds in a sunny spot and observe them daily. Water them again when the soil surface is dry. The seeds will germinate in about two weeks, and you can harvest the fruits of your labor three months later.
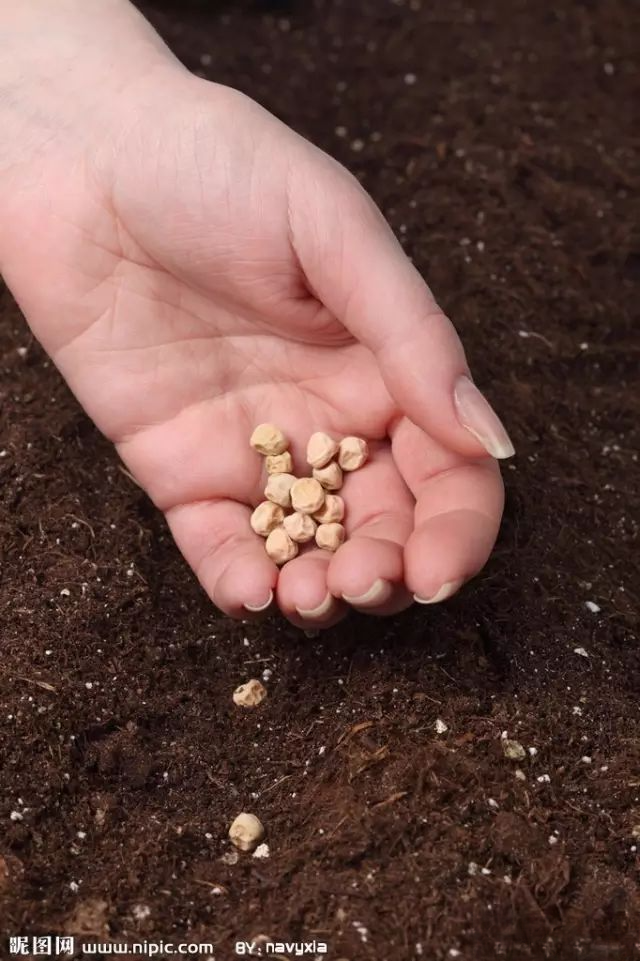
Of course, sowing seeds and waiting for the fruit and flowers to slowly take root and sprout is a relatively long process. If you can't wait or want to see results as soon as possible, you can also directly buy mature seedlings to plant.
The advantage of buying seedlings directly is that we can skip the most difficult stage after the seeds germinate and plant them when they are relatively easy to care for. They can then flower or bear fruit a little over a month later.
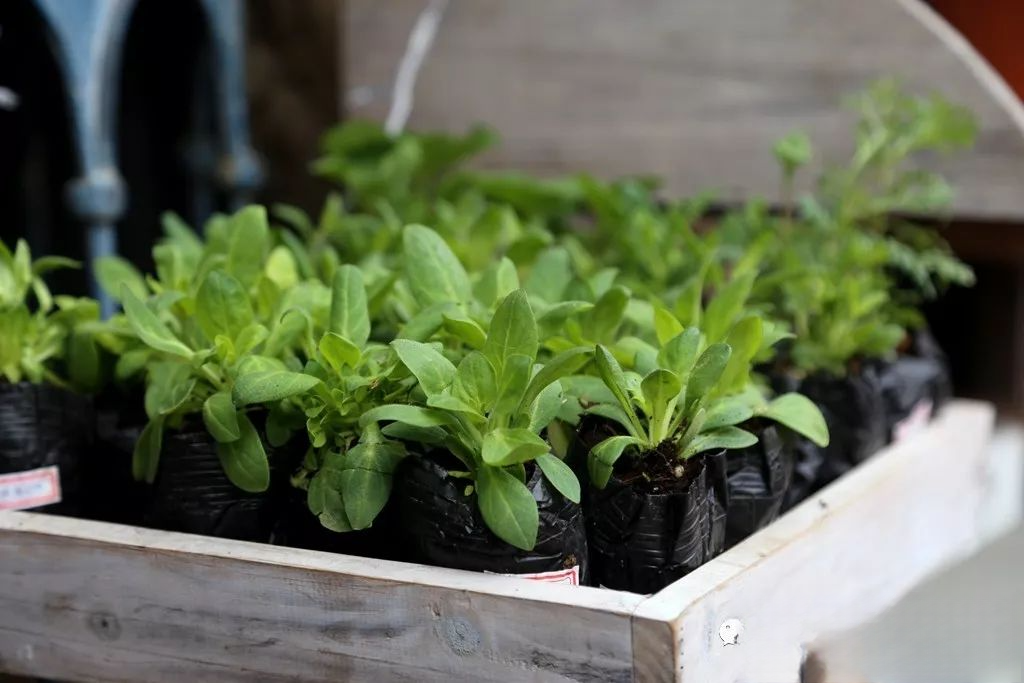
The planting steps are also very simple. Prepare the pot, soil and tools we mentioned earlier. First, fill the pot with soil. Use a small shovel to dig a hole in the soil that is slightly larger than the root ball of the seedling. Then, carefully remove the root ball of the seedling from the original pot, being careful not to damage the integrity of the root ball. Then, gently place it into the hole you dug and fill it with soil.
It is important to note that the depth of the hole should not exceed the height of the root ball. We can test the depth during the digging process to see if it is suitable before transplanting.
Similarly, you should also water the seedlings thoroughly with a watering can, and remember to check the condition of the seedlings every day. Water them thoroughly only when the soil surface is dry, and don't water them if the soil is not dry.
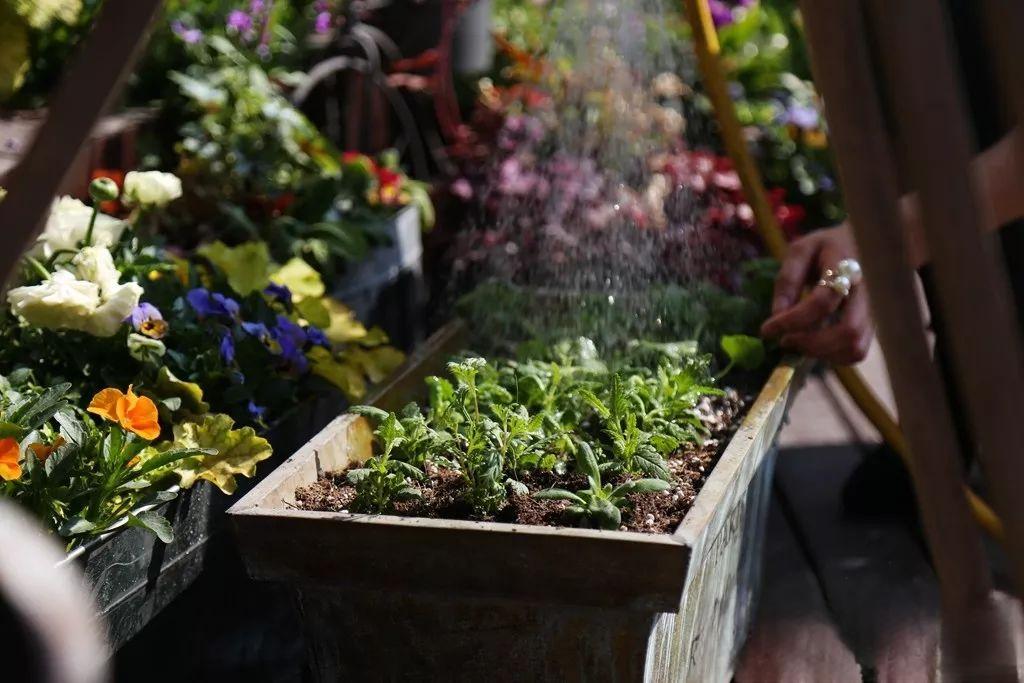
Finally, we will talk about plant management, which includes basic management such as watering, fertilizing, and pest control.
We've already discussed watering, so let's talk about fertilization. Generally, the soil we prepare already contains the nutrients needed for plant growth. However, as plants grow rapidly, the nutrients in the soil may not be sufficient, so we need to apply additional fertilizer. However, we shouldn't fertilize too frequently, unlike watering. Too much fertilizer can be bad for plants, so we need to follow the principle of applying fertilizer sparingly and frequently.
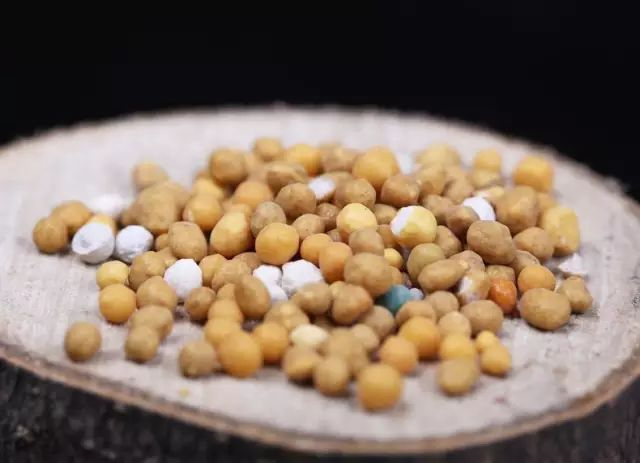
Furthermore, there are many types of fertilizers. For children, I recommend buying slow-release spherical fertilizers from the store. This is a special type of fertilizer, which comes in small spherical shapes. This type of fertilizer evaporates very slowly, and when placed in the soil, they are very conspicuous. So, by looking at them, you can know how much to use and won't apply too much. The process of this fertilizer mixing with the soil is also very slow, which ensures that the plants will not absorb too many nutrients. The plant roots will only absorb fertilizer step by step according to their own needs.
After mastering the principles of fertilization, the next step is pest control. We usually refer to insects as uninvited "guests." The quotation marks around "guests" indicate that they are not guests we actually want to invite. We don't even want these "guests" to come, but there's nothing we can do about it; they always show up uninvited, which is very shameless.
Weeds also tend to grow uninvited. If left to grow alongside plants, they will steal nutrients from the plants. So when we see weeds, we should remove them as well. Generally, you can just use your hands. However, some weeds have thorns, so don't forget to wear gloves in that case.
Did you know that common pests in gardens include aphids, caterpillars, and slugs? ( I won't include pictures of the insects here to avoid scaring you .)
Aphids are tiny but numerous in species, reproduce rapidly, and are widely distributed. They can cause significant damage to plants and are very dangerous plant killers. Although small, aphids are easy to spot because they always swarm together, clinging to the stems of plants. Eliminating them is simple: just break off the stem they are attached to, throw it to the ground, and stomp on it. However, most people wouldn't want to break their plants, so you can also choose to crush the aphids by hand, killing them one by one. But remember to wash your hands thoroughly with soap afterward.
Of course, aphids also have natural enemies, namely the beautiful ladybugs. But they are not just for decoration. Ladybugs are good friends of plants and gardeners because they often prey on aphids in the garden. So when you see ladybugs in the garden, please don't disturb them while they are working.
Did you know that caterpillars are among the smallest of the common garden pests? They are actually butterfly larvae. Caterpillars lead a monotonous life, spending their days nibbling on plant leaves. If you find a caterpillar in your garden, remember not to touch it directly with your hands. Instead, use a tool to shake it to the ground and then stomp on it.
The gardener's number one enemy isn't aphids or caterpillars, but slugs! Some slugs are so small we can barely see them, while others are quite large, about the size of a thumb. However, you'll probably never see these cunning insects often, as they are nocturnal, taking advantage of people's rest to devour plants. Slugs are very aggressive; sometimes they can destroy an entire plant area overnight.
If one day you find traces of slugs in your garden, be careful, that means slugs have appeared. Here's a trick! Take an old plate or dish, fill it with beer, and place it on the ground. Slugs love the smell of beer, they'll come over to taste it, and then they'll drown in the beer.