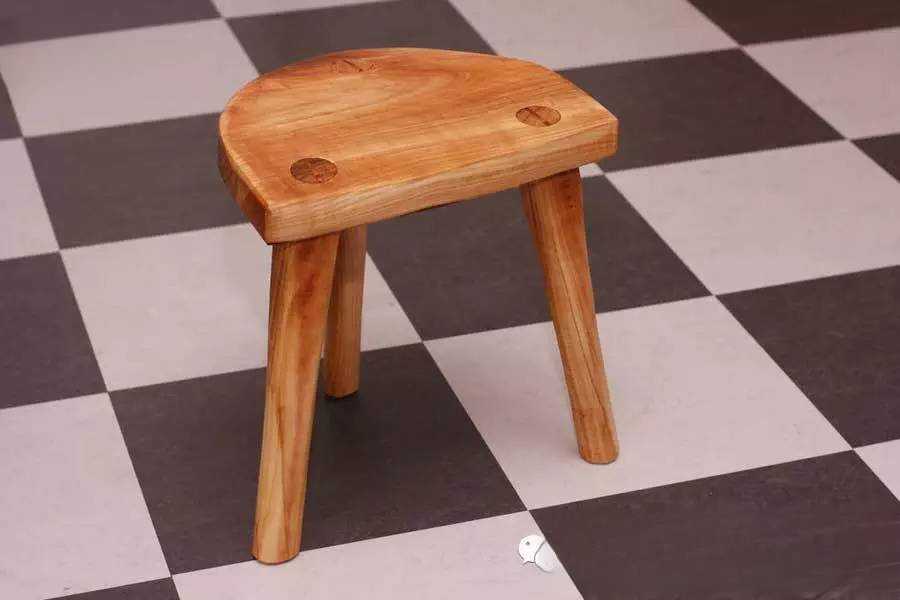
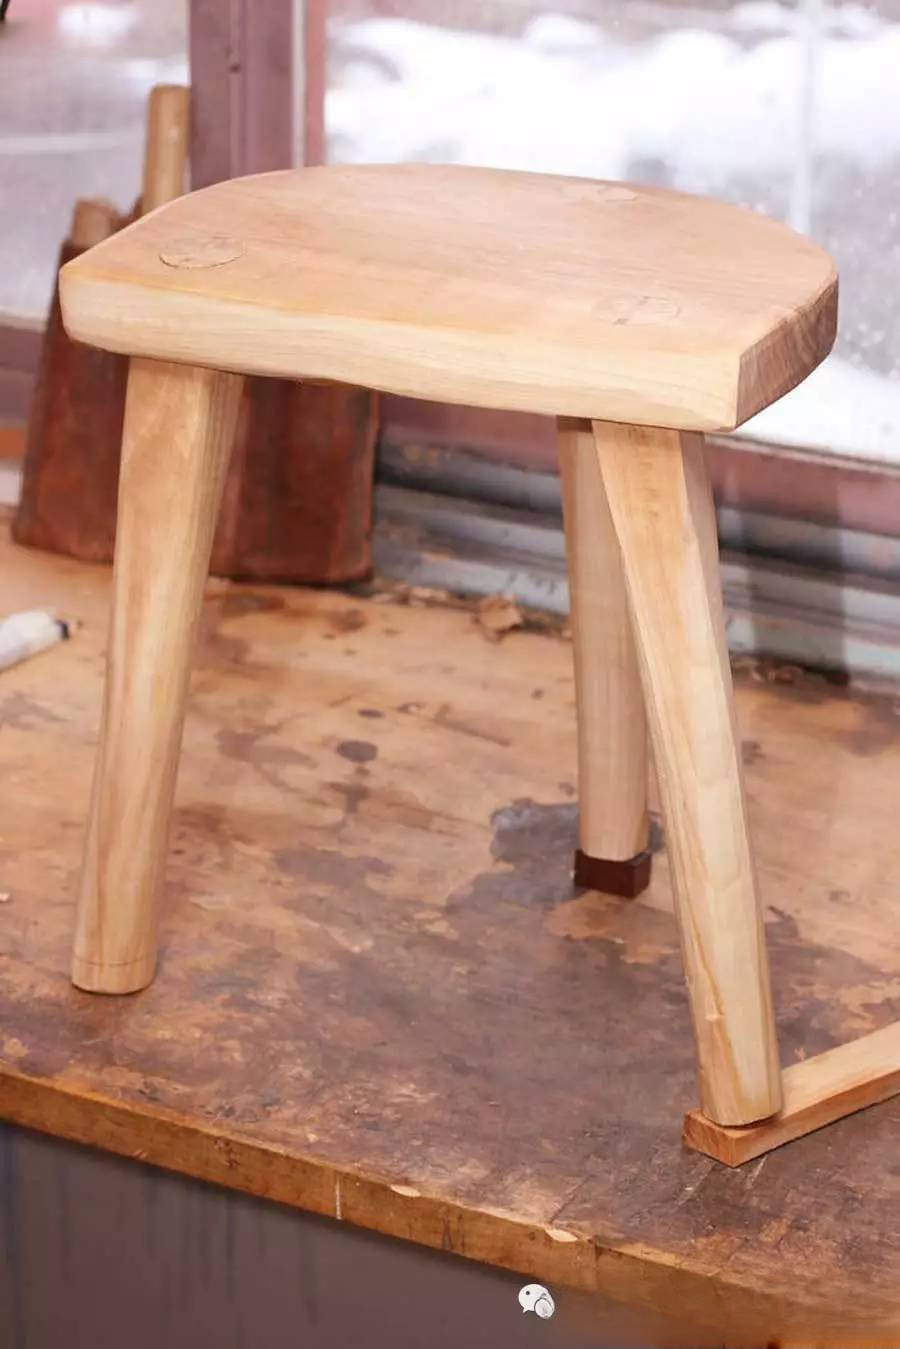
Parentchild woodworking, how to make a DIY creative small stool
If you want to find carpenters or learn carpentry, just go to the Carpenter CircleMaking of small stoolCrafts are to make a work of art with machinery, and craftsmanship is to make a work of art with hands. This DIY wooden bench is recommended for woodworking enthusiasts with children at home. It is not exquisite, but it is simpler than other small woodworking furniture, and the shape is in line with children's aesthetics.
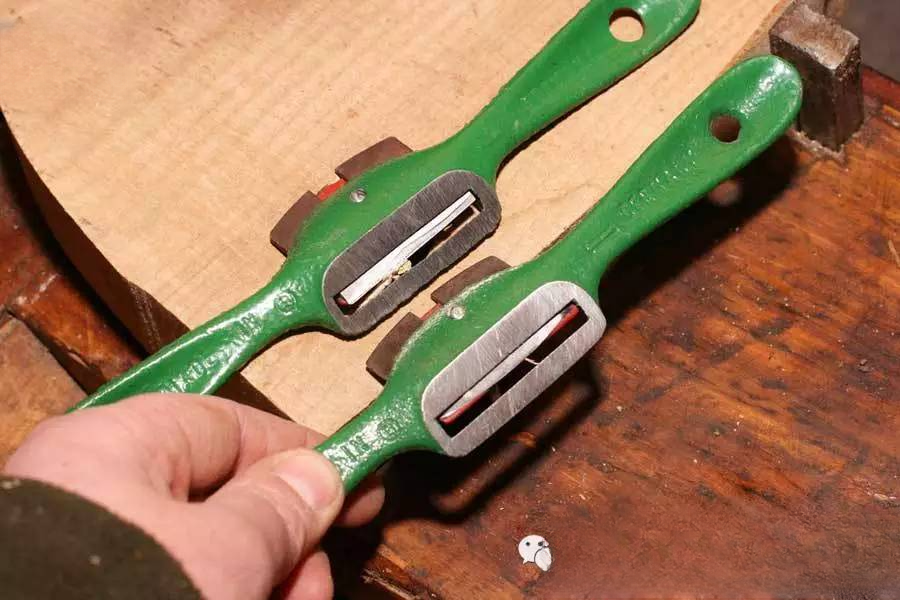
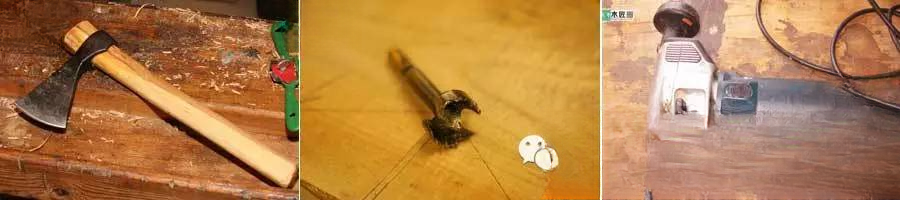
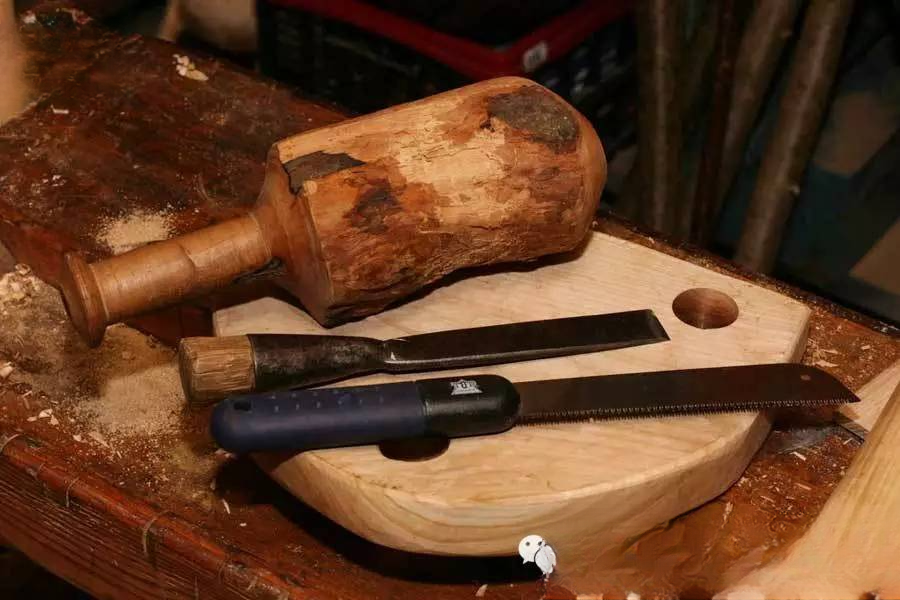
Main Materials:Wooden boards, woodworking planes, router bits, bench drills, electric drills, hand saws, chisels, measuring tapes, sandpaper, pencils, paints, etc.
Production steps:Benches are very practical in life. Although the production of small benches seems simple, it has certain technical difficulties. It is very practical and has great room for technical expansion. Through the following pictures of the process of making benches, you can intuitively understand how to make them.
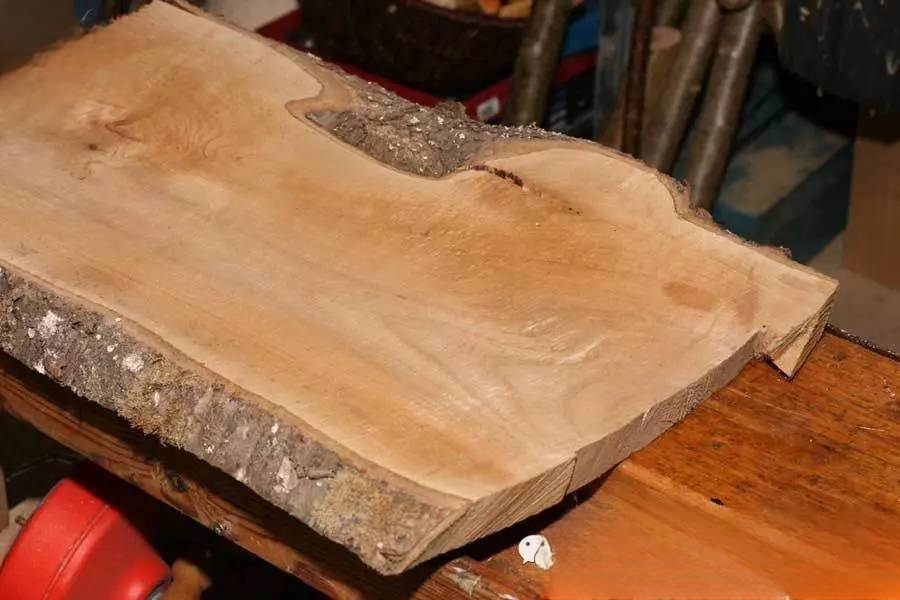
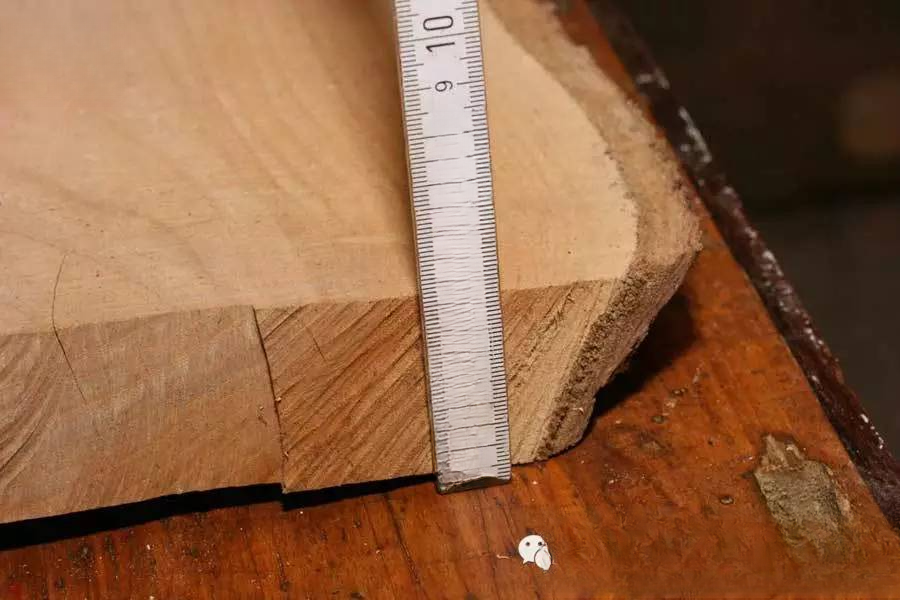
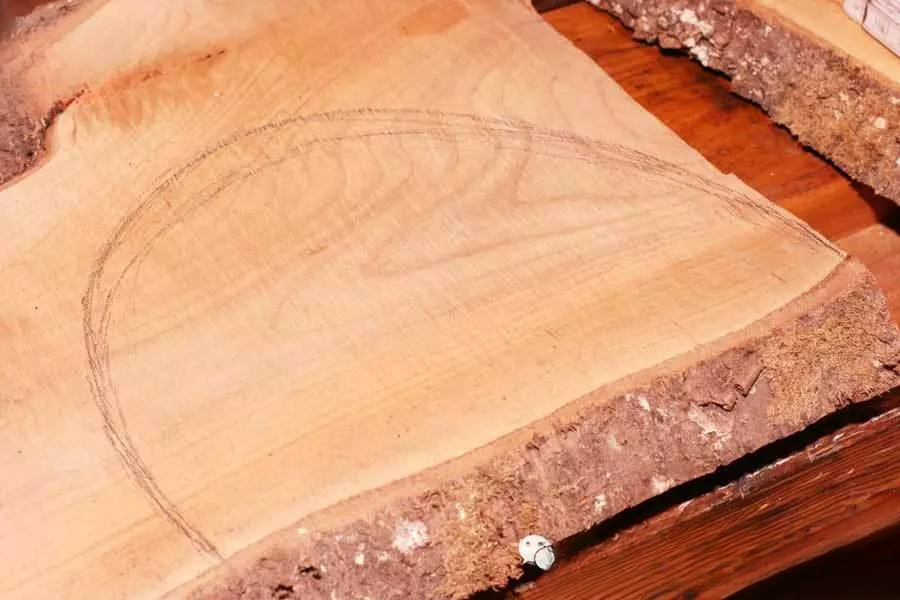
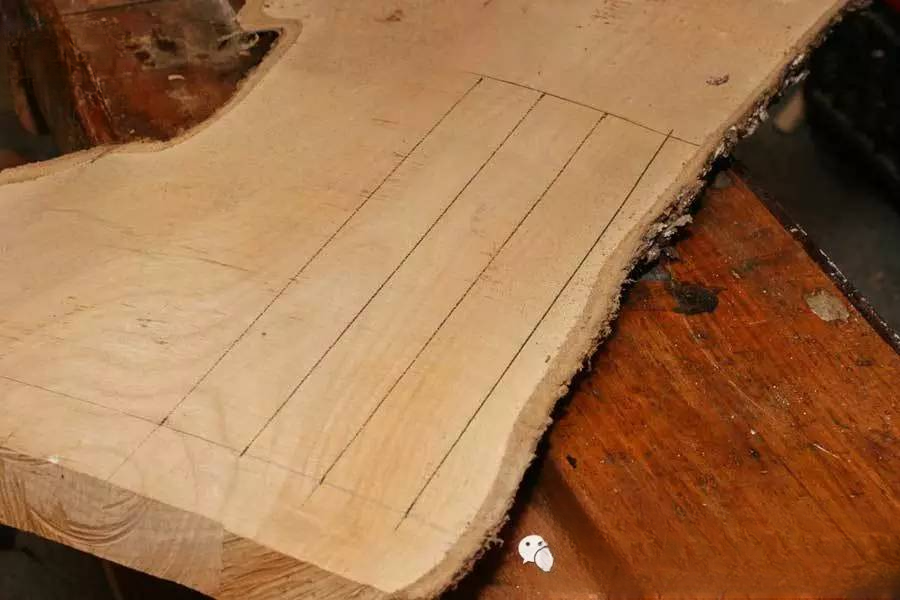
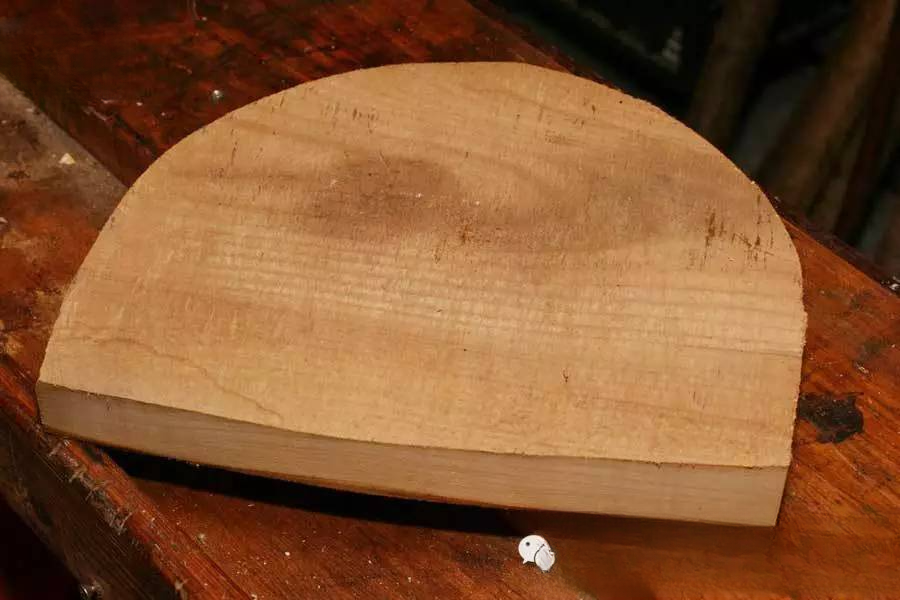
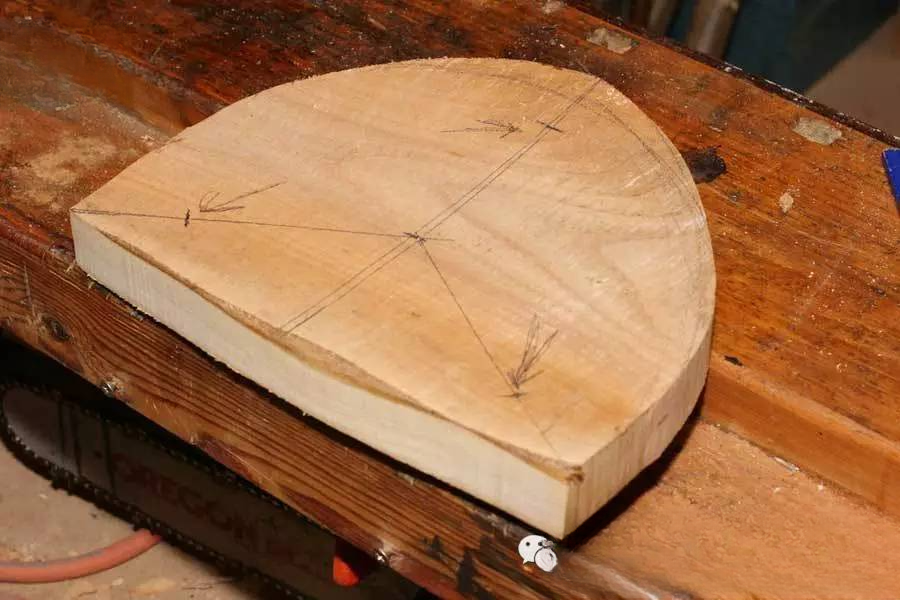
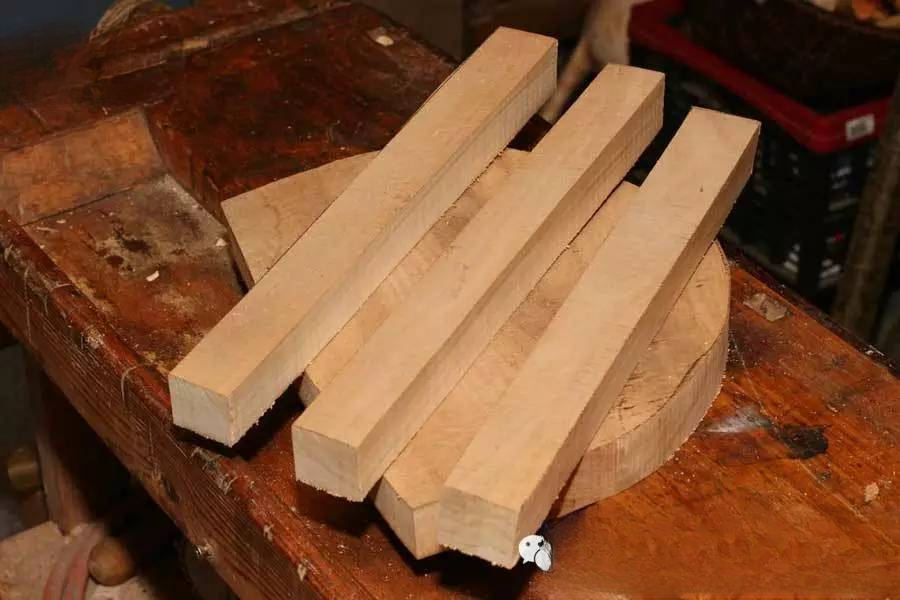
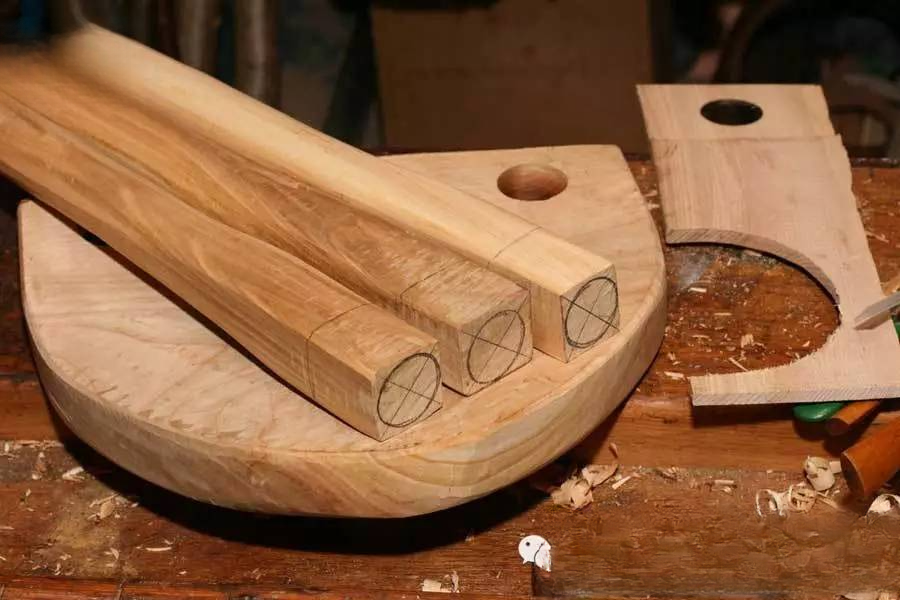
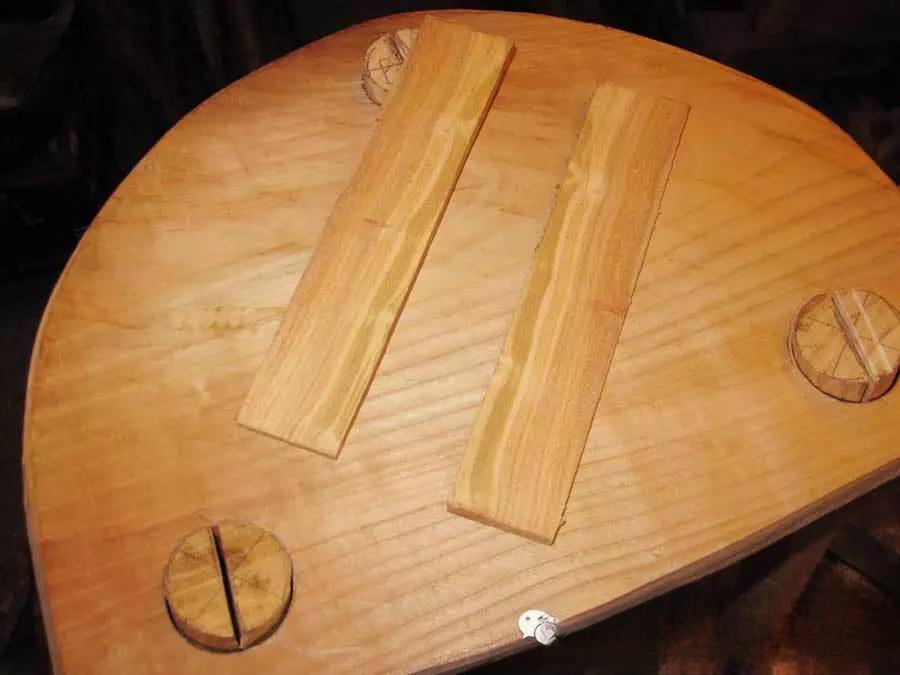
Step 1:CuttingFirst draw a design sketch, saw wood, drill holes, and install. The specifications of the stool should be tailored to the size of your baby. First, according to the stool pattern we designed, we should mark the size on the prepared wood board, and then start cutting.
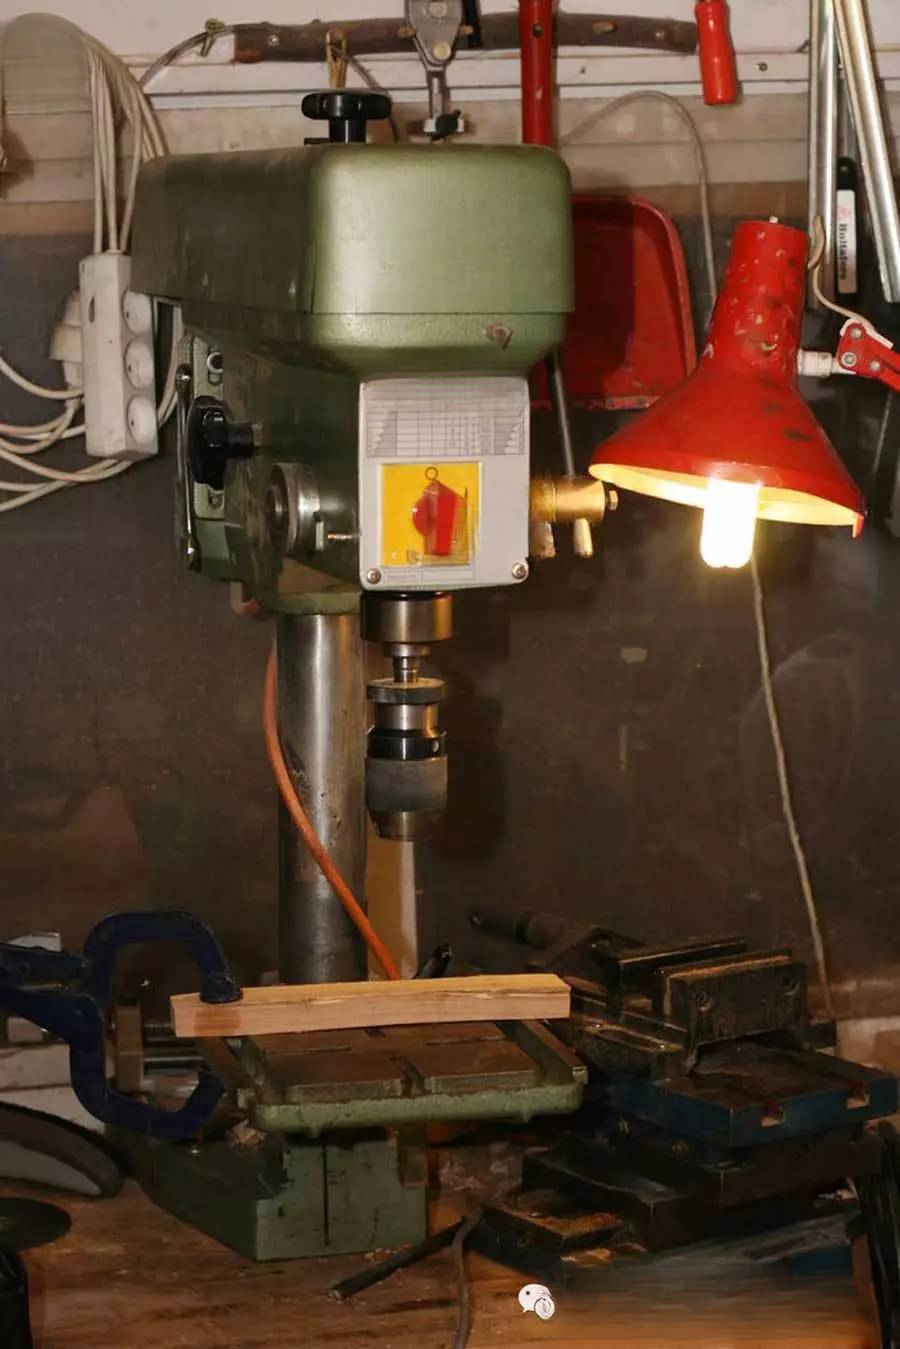
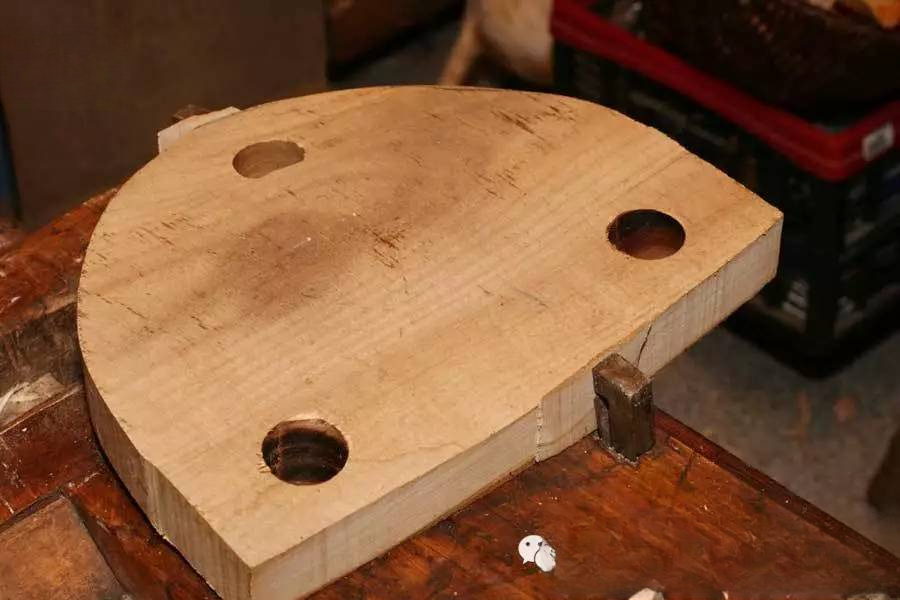
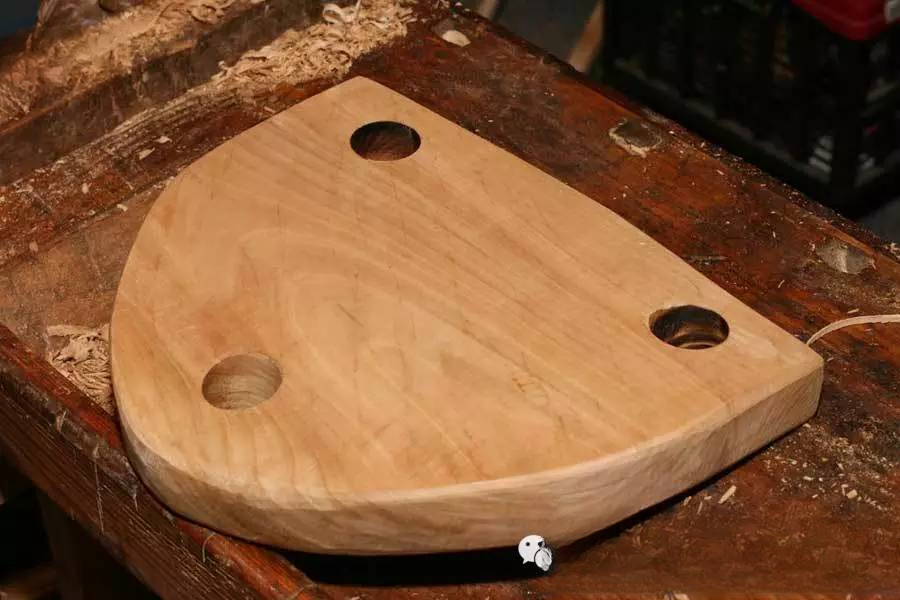
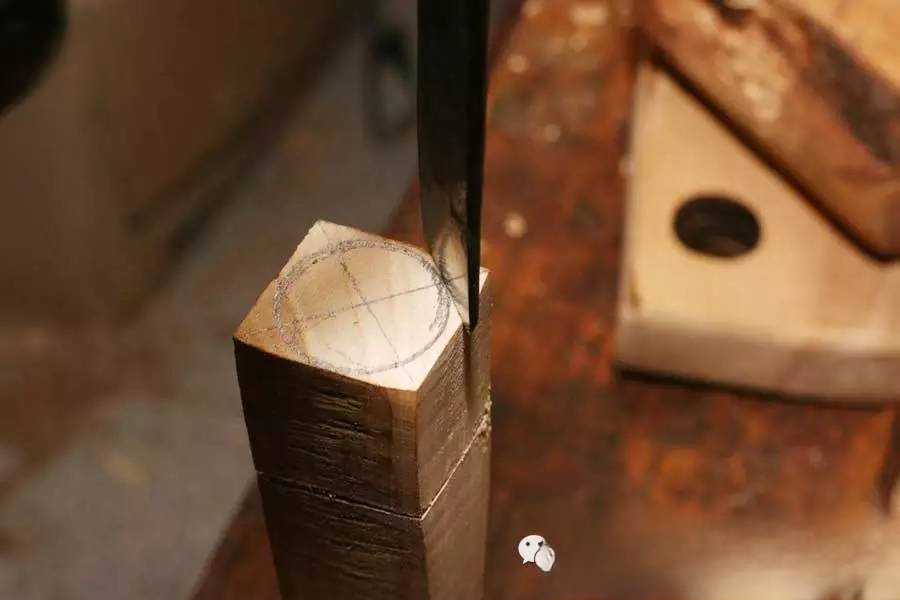
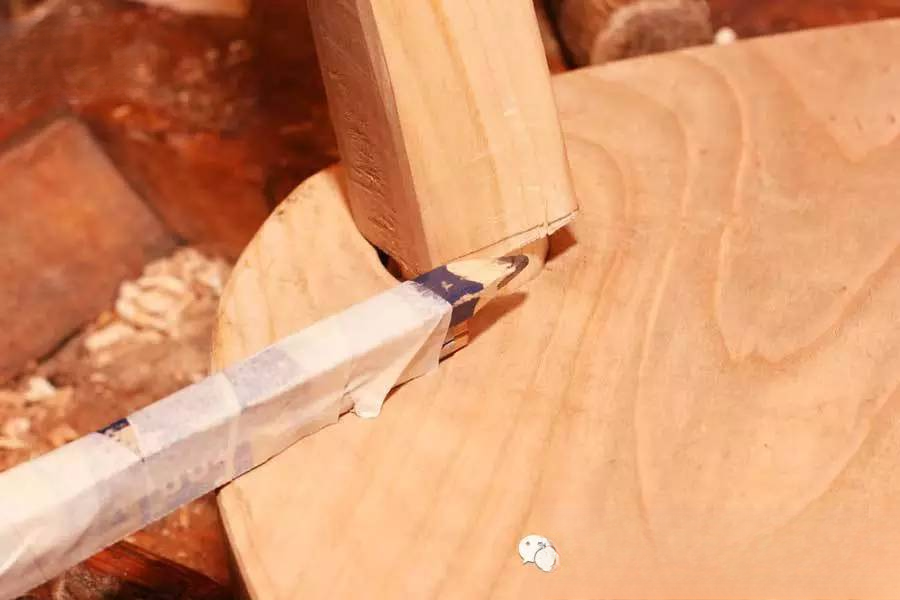
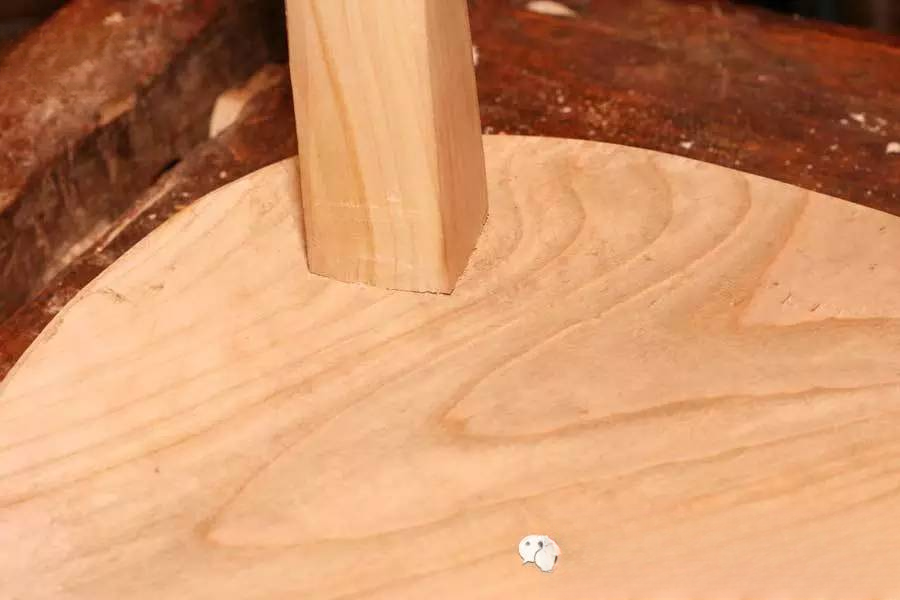
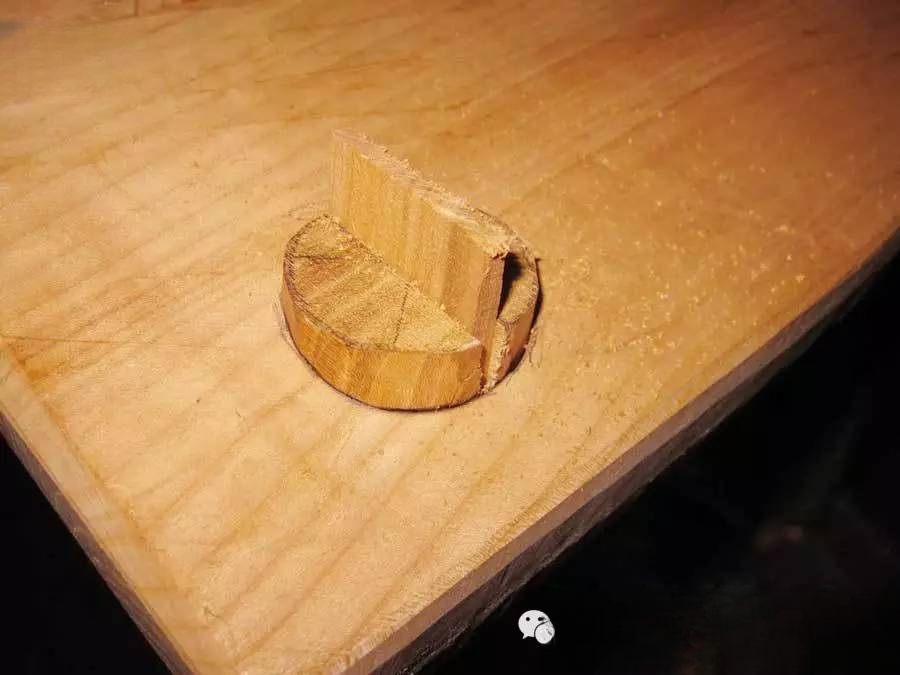
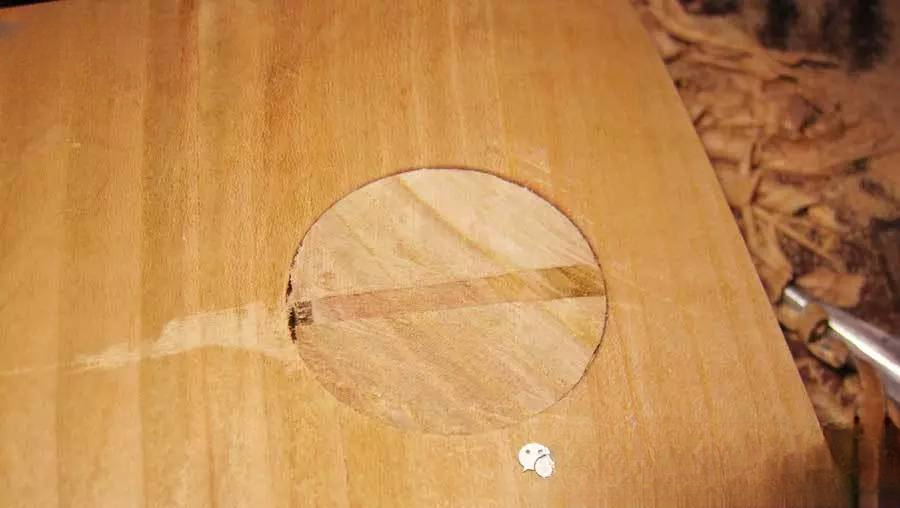
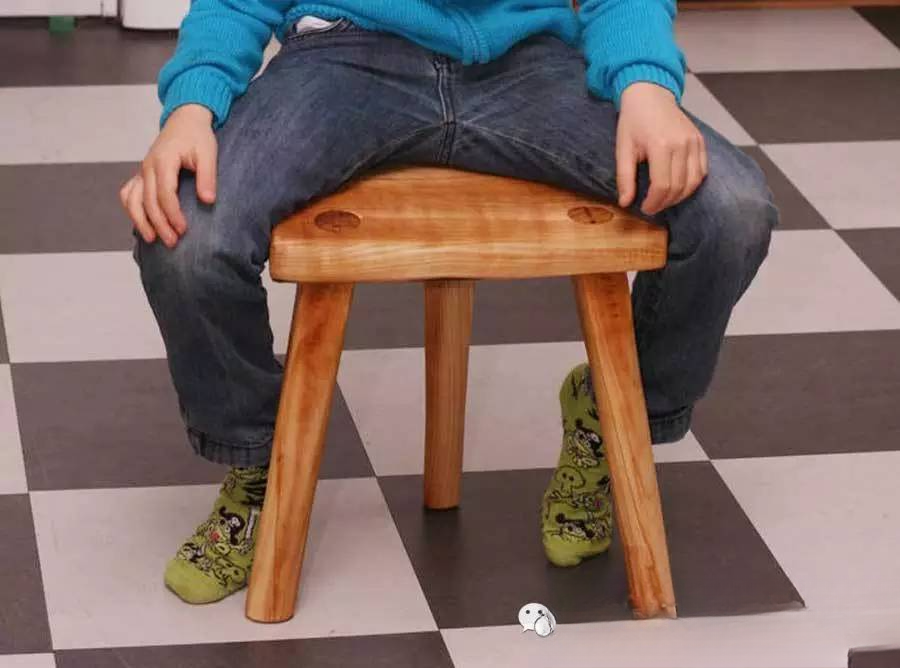
Step 2:Making the stoolThe legs of the bench have a two-way inclined mortise and tenon with an inclination of 5:1. The mortise and tenon joints on the bench top and legs are somewhat difficult to make. For a novice, it is best to chisel a model on both sides of the bench top according to the size of the drawn lines, drill the holes through with a small drill bit in an electric drill, mill them once with a large drill bit, and finally mill the holes with a chisel to ensure accuracy.
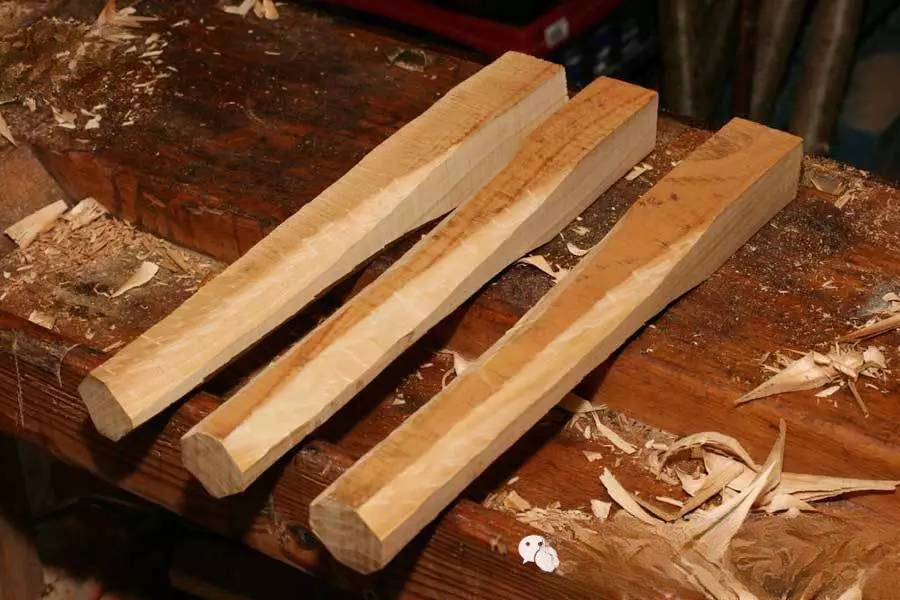
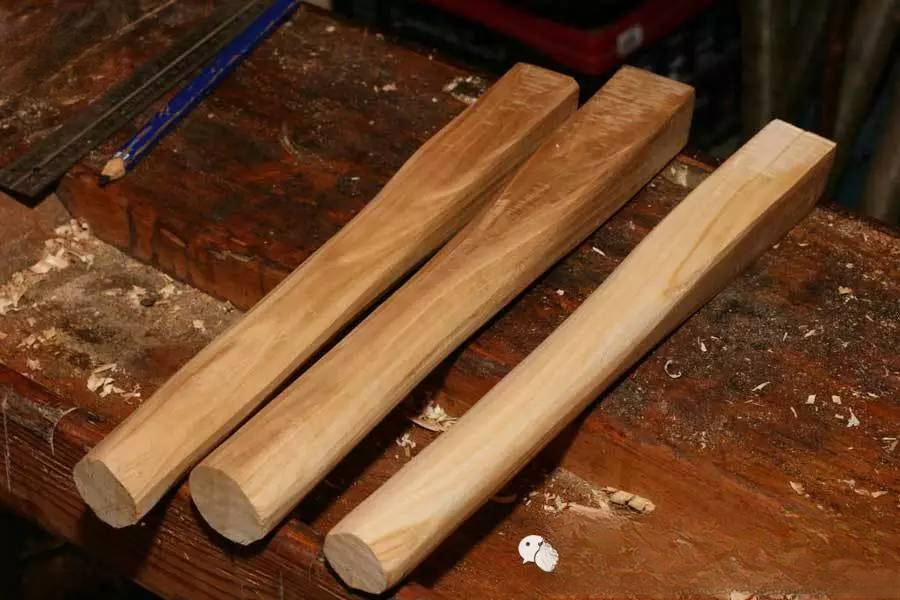
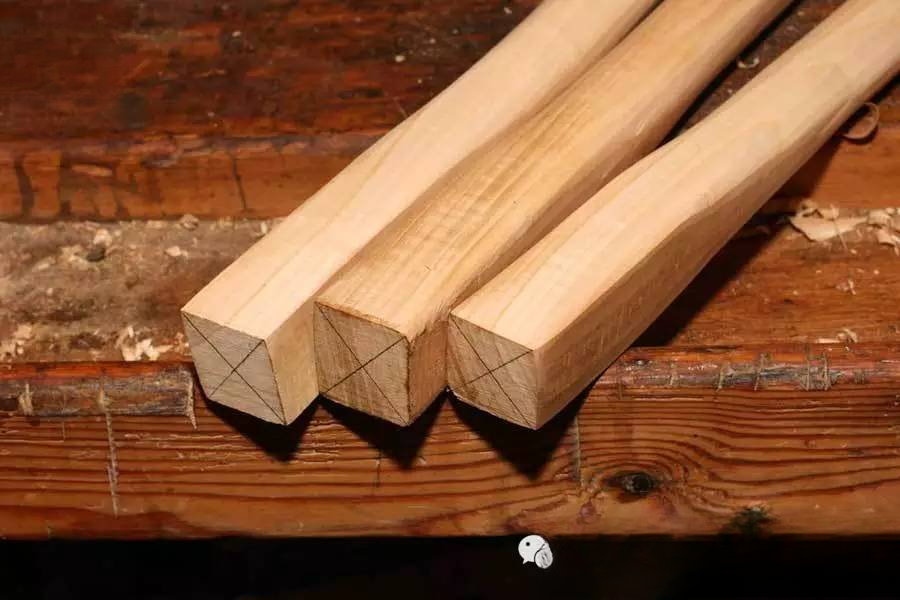
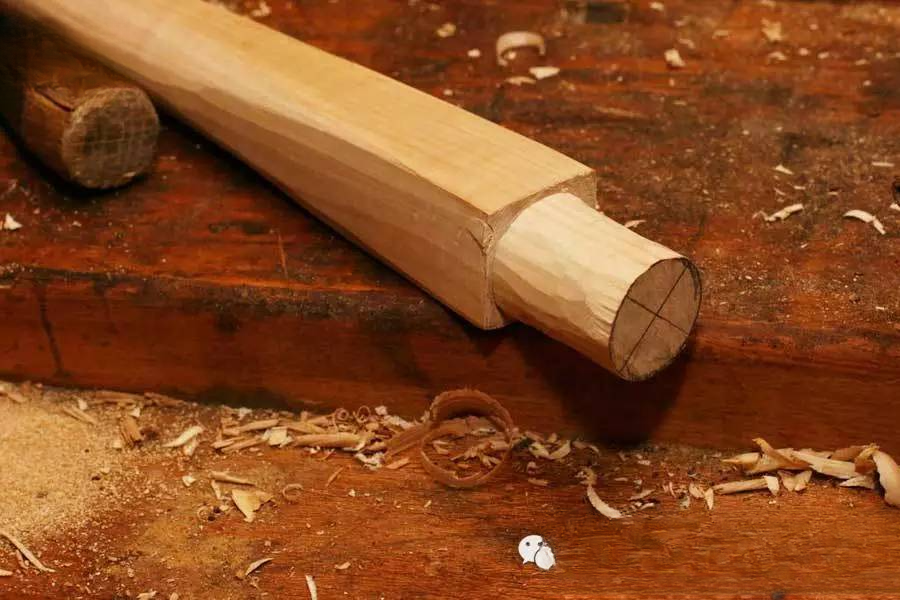
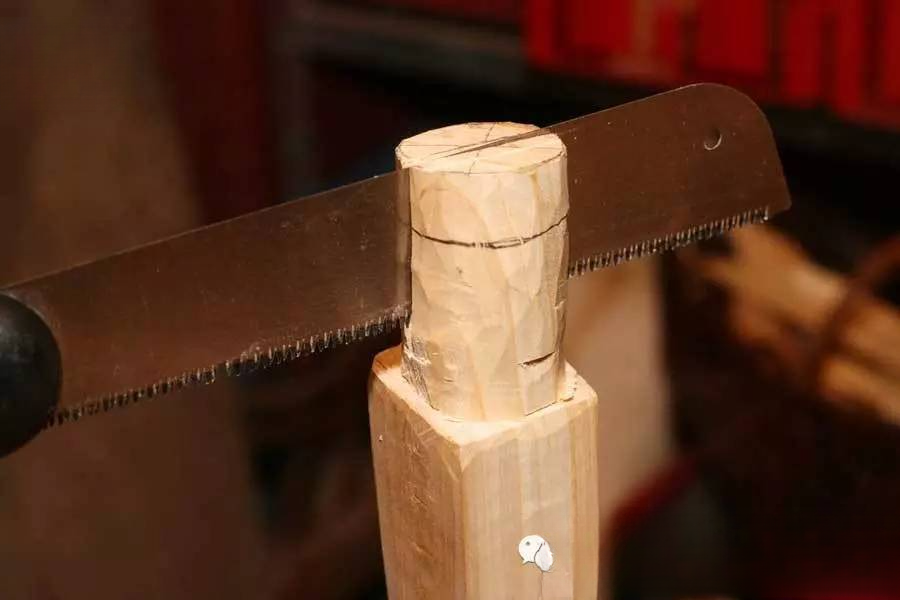
Step 3:Making the legsWhen sawing, we use a hand saw. When sawing wood, hold the saw handle tightly with your right hand, point the saw teeth downward, and use your left foot to press the wood tightly against the workbench to prevent the wood from jumping up and down or moving left and right.
When sawing, you should start slowly and then speed up. When the wood is about to be sawed, hold the wood to be cut with your left hand to prevent the wood from tearing along the wood grain or falling and hitting your feet. The tenons of the stool legs and crossbeams are all single-shoulder bevel tenons. As long as the marking is correct, it is not difficult to make.
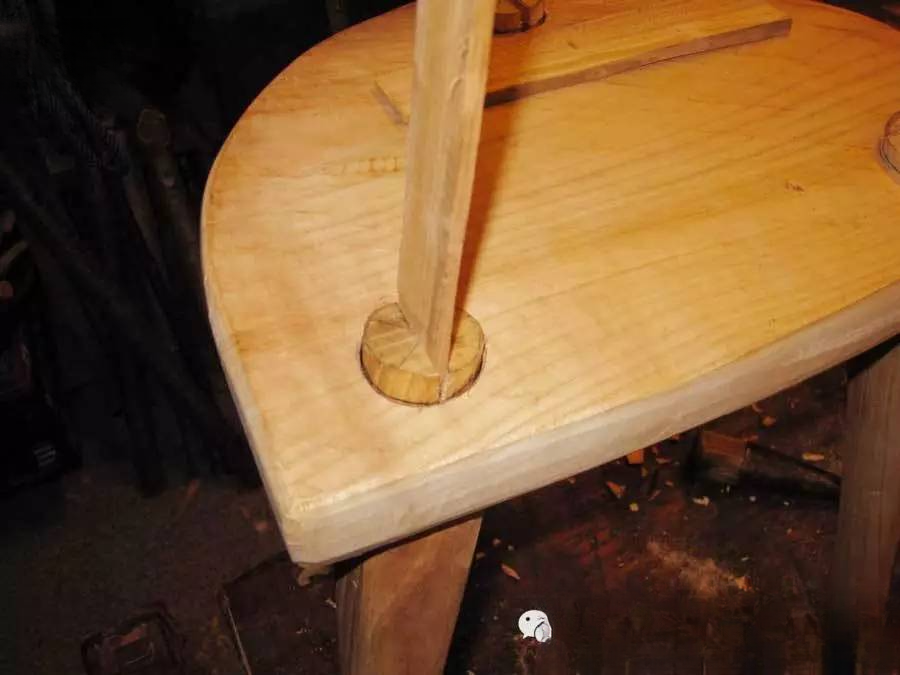
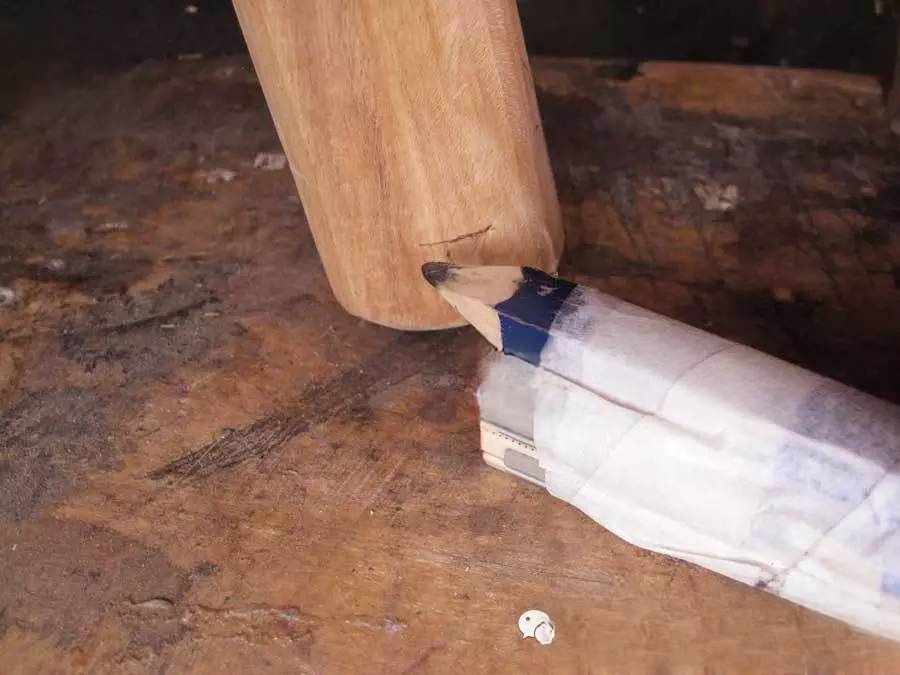
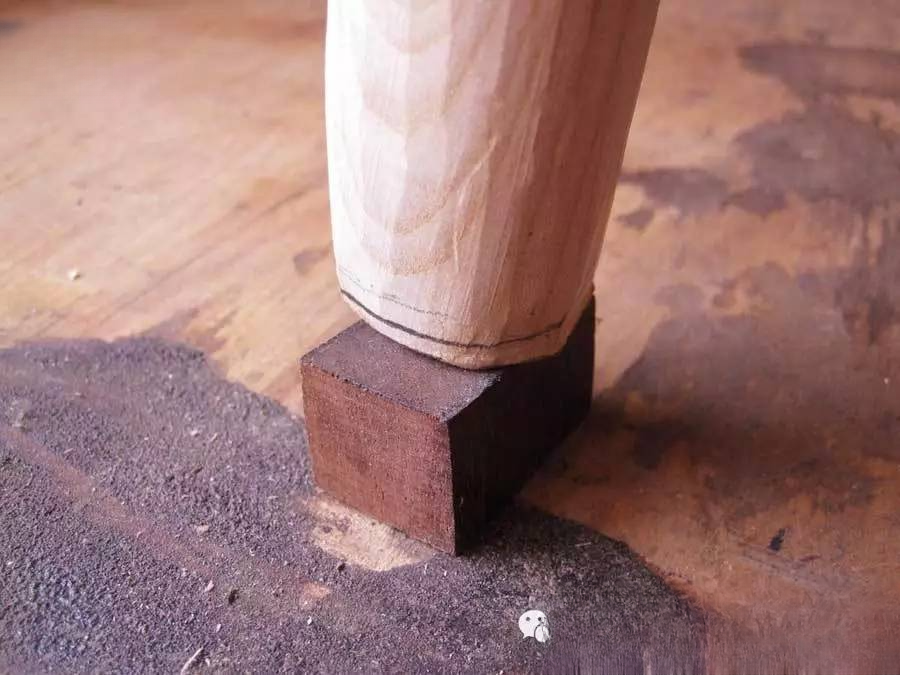
Step 4:AssemblyThe side of the stool and the toe should be on the same vertical line or the toe should be slightly out. When drilling holes in the stool, you should grasp the angle of the two-way slope of the mortise. If you are not skilled, just drill slowly. Remember to change the angle when drilling the tenon on both sides. After installation, drive wooden wedges into the tenon on the stool.
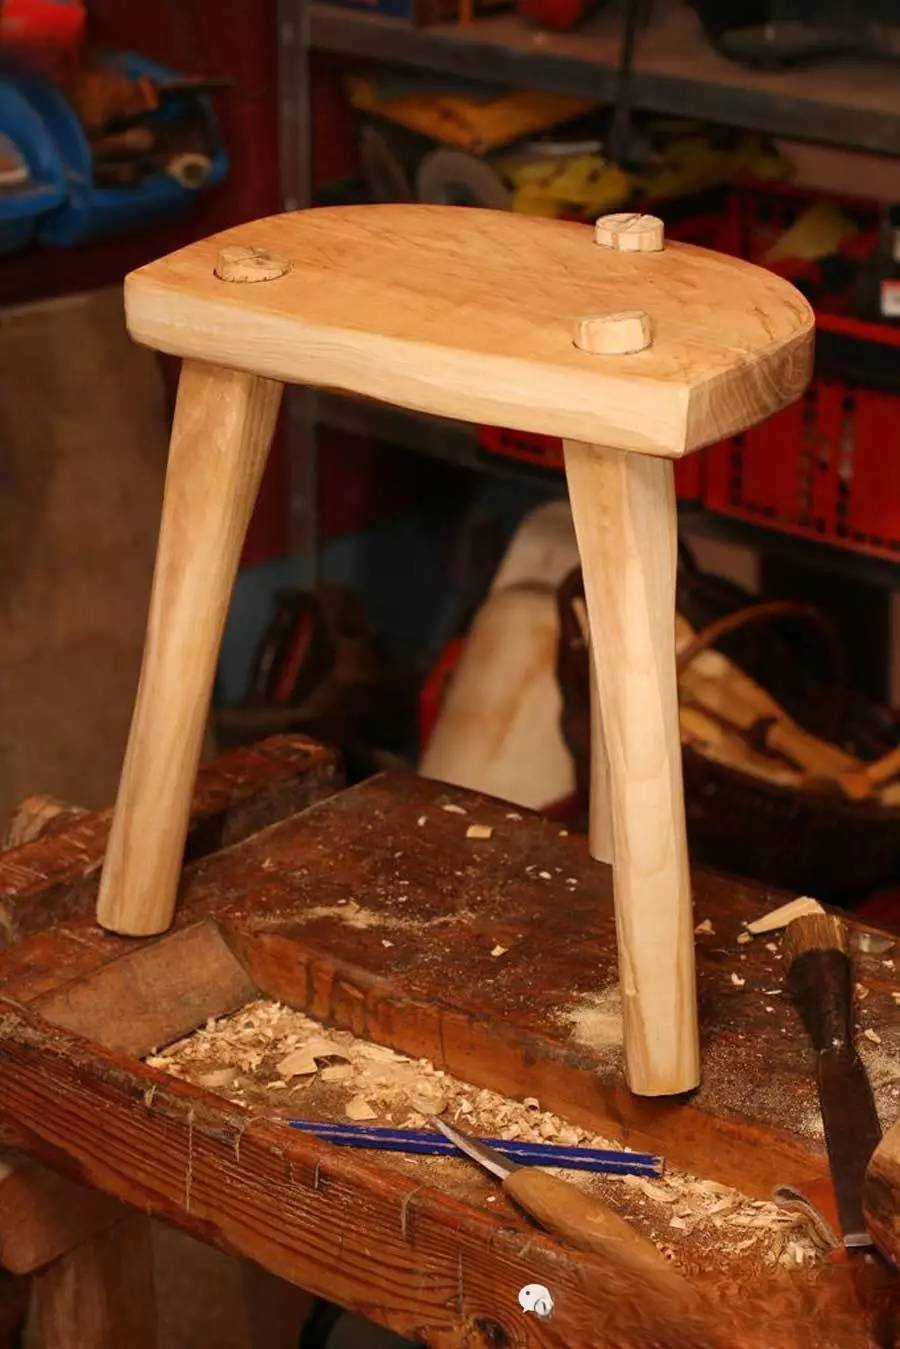
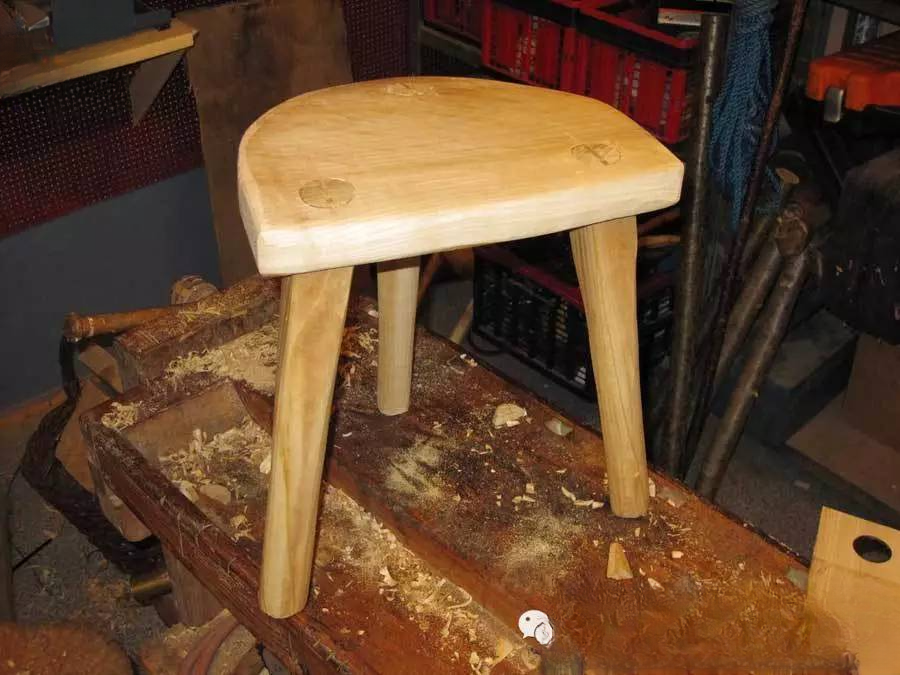
Step 5:CompletionFinally, woodworking experts who want to learn how to make large and small benches do not need to stick to the basic dimensions of the case. The basic dimensions should be determined mainly according to the use requirements and ergonomic principles. You can also determine the basic dimensions based on the existing materials you have and apply them flexibly.