Learn these 7 super simple magic tricks, and you'll never have to worry about playing with your kids at home again!

For families like ours with kids, we have to figure out how to keep our little ones entertained every day who keeps saying "I'm so bored." So many moms have come to me asking what I can do!
Everyone probably thinks of reading picture books, watching cartoons, playing board games, and building Lego, but today we're sharing some creative little magic tricks that you can do with your kids and that will absolutely delight them ! The best part is that they're simple to do and can be played with materials you already have at home!
Today I'm sharing the tutorial steps for making a magical toy. These days, you can not only make it at home with your child, but the process itself can also pass the time, and once it's finished, it will keep your child entertained for a while.
Oh, by the way, the magic toy tutorial has certain age requirements for children, leaning more towards those aged 3-8 who are relatively older. So for toddlers aged 1-3 , I've prepared a set of creative ways to play with pasta, which is also quite fun in the latter half.
"Magic" toys
are suitable for children aged 3-8.


Flip-book animation

This is a magical lift-the-flap book, and kids will get hooked on the process.
tool:
Two square pieces of paper, scissors, paintbrush, double-sided tape
step:
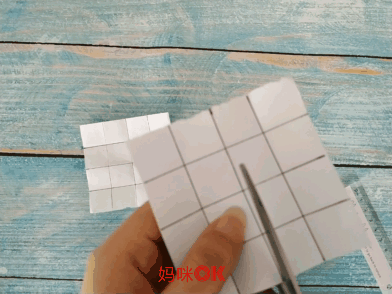
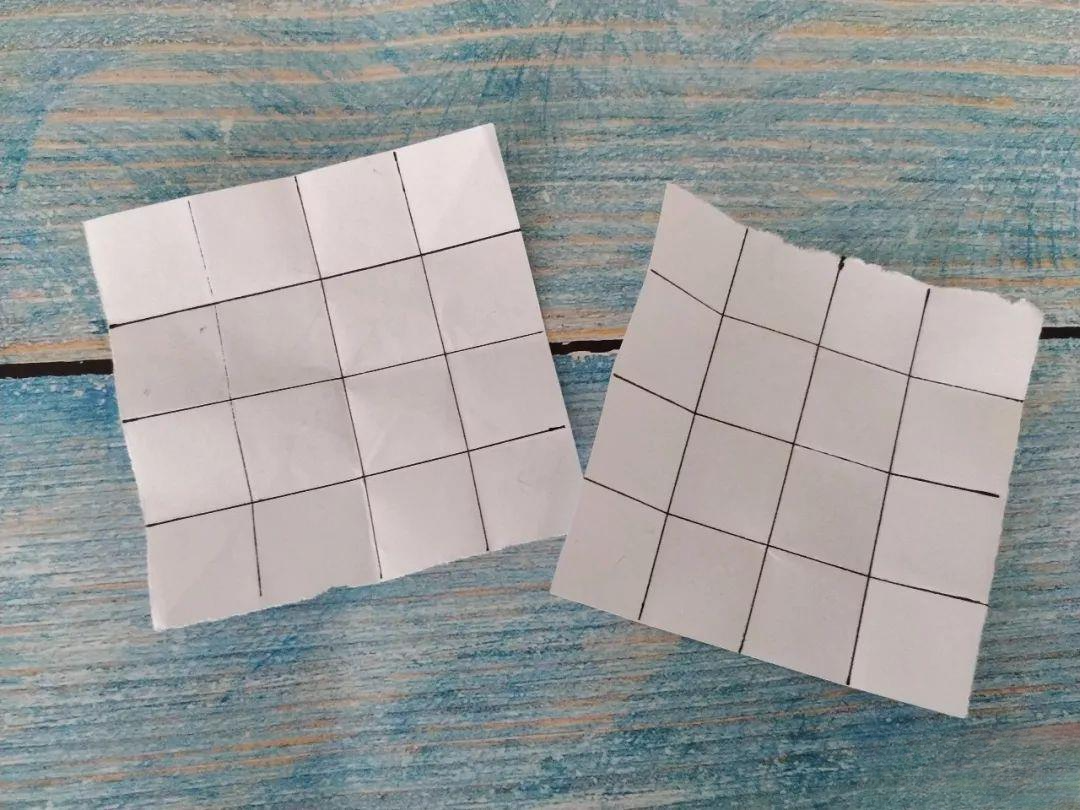
Fold two square pieces of paper into 16 small squares.
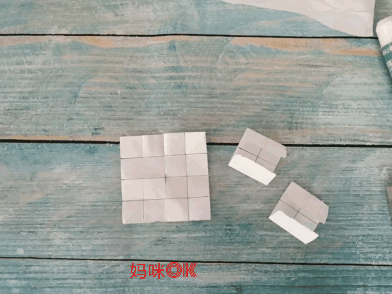
One card is reduced by half, and the other is reduced by three-quarters.
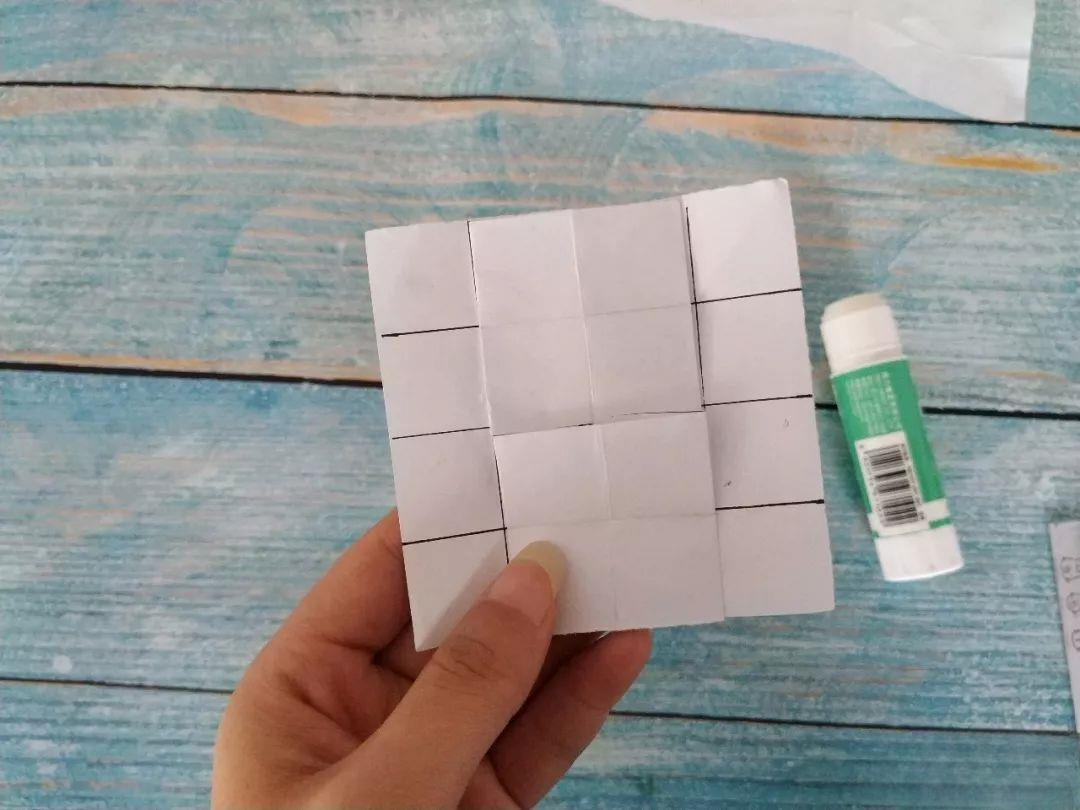
Apply glue, fold the 4*2 paper and stick it on;
Then cut the other end of the paper completely, apply glue again, fold another 4*2 sheet of paper and stick it on. The final result should look like this ↓
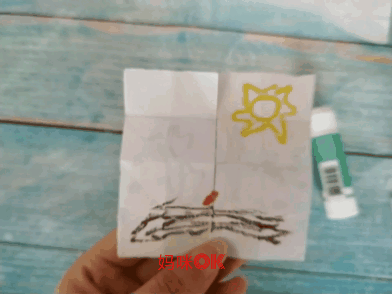
The animated picture book is now complete, and it can be flipped around continuously.
Once it's made, you can let your child create whatever they want with it. For example, what I'm describing below is planting a seed, which, after being nourished by sunlight and rain, sprouts and grows little by little, eventually becoming a big tree that also bears fruit.
This part is where children can create whatever they want; it can be a short story or a food chain.

A moving rubber band


Next up is a little magic trick that OK particularly loved to perform . For a while, he would perform it for me every day.
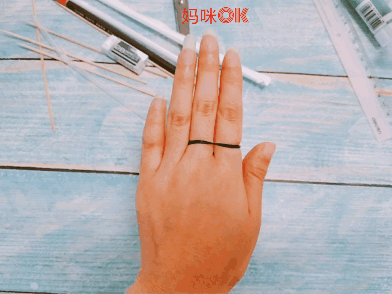
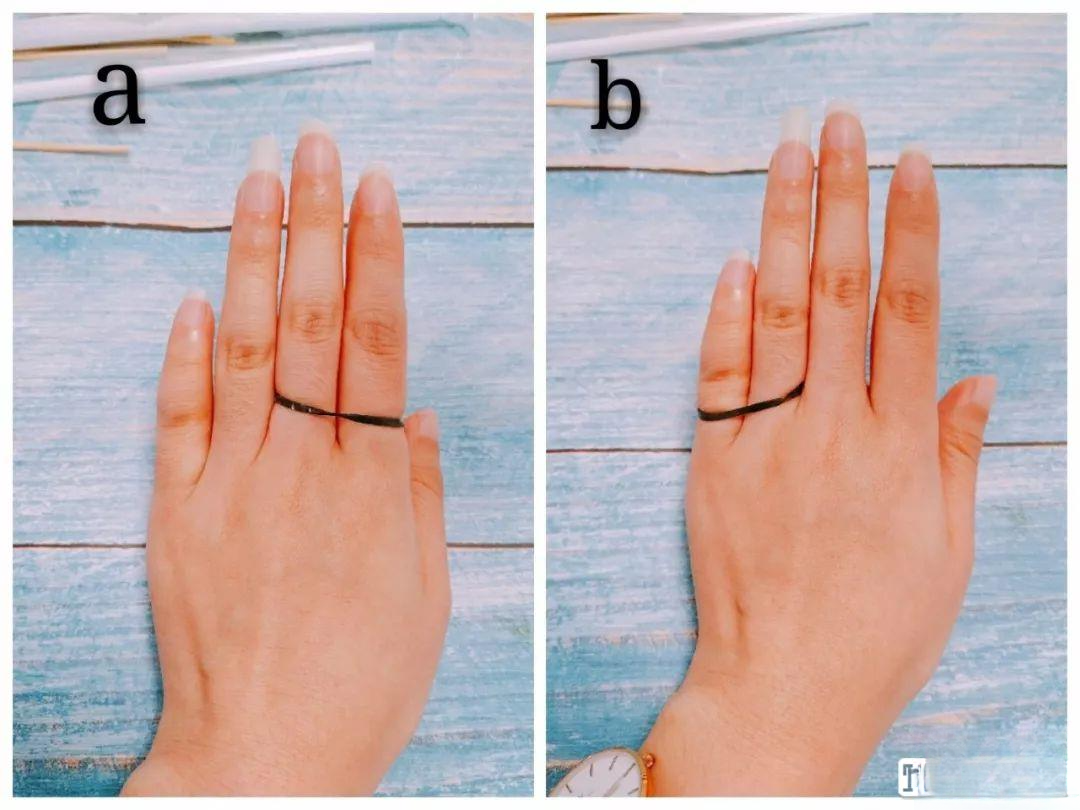
The material is just a rubber band, and the principle is that the rubber band moves from the two fingers in picture a to the middle of the two fingers in picture b without leaving the hand.
Later, he learned that the game was taught to him by his kindergarten teacher. OK's dad was late picking him up that day, and he was left alone in the classroom with the teacher, who then casually played this little magic trick on him.

woodpecker


tool:
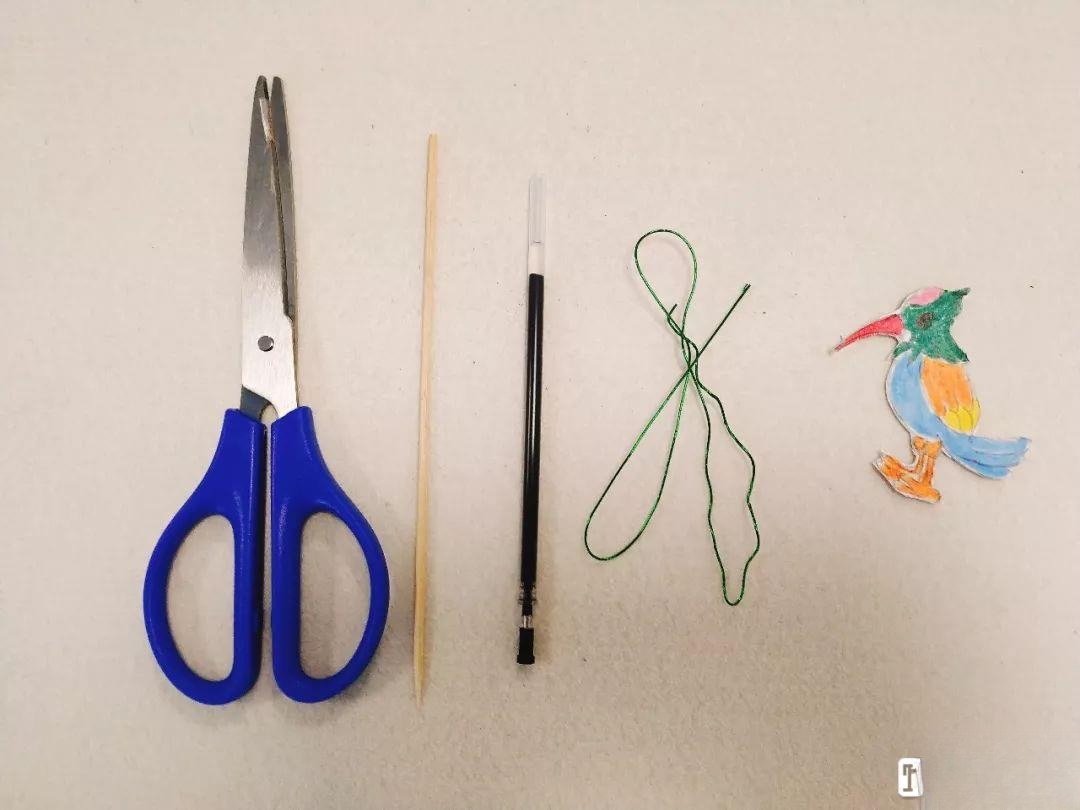
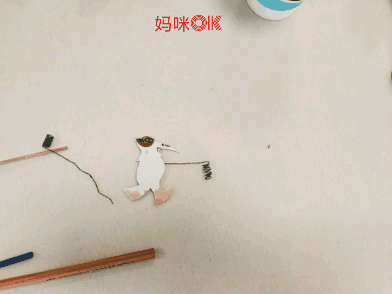
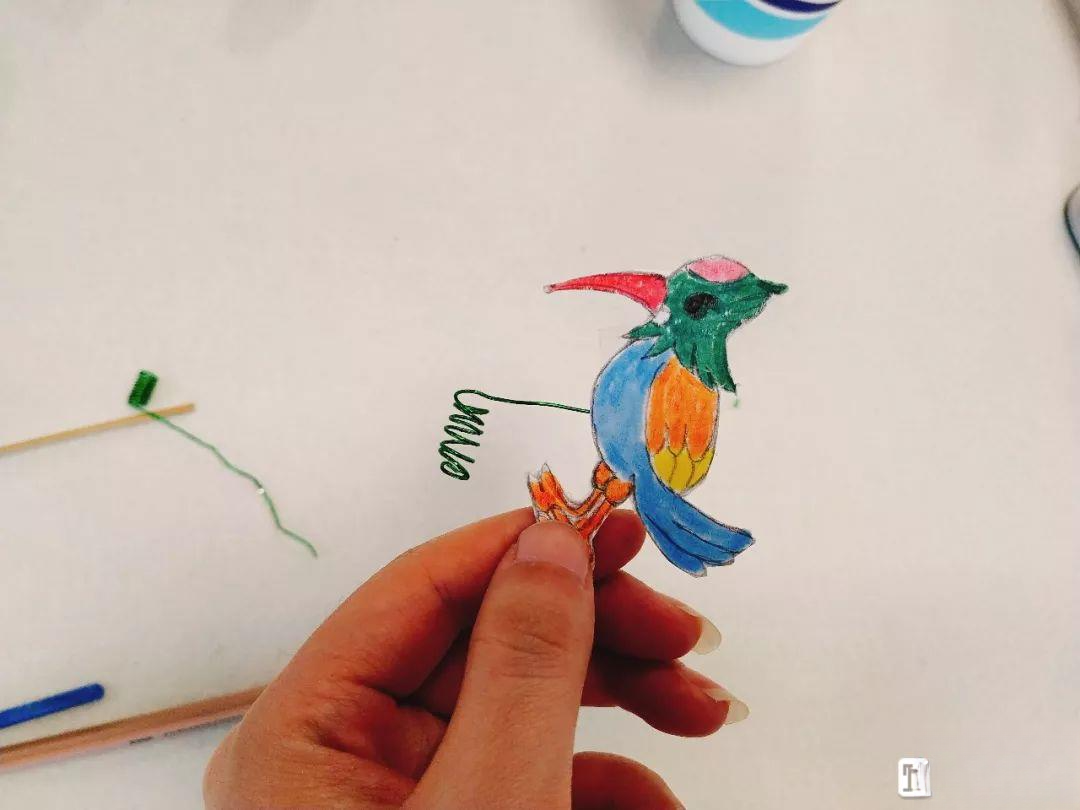
The woodpecker drawn, wire, pen lead, and scissors
step:
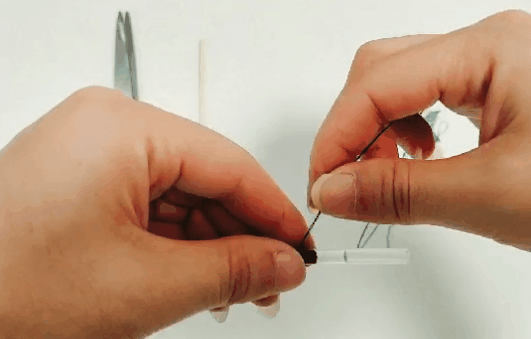
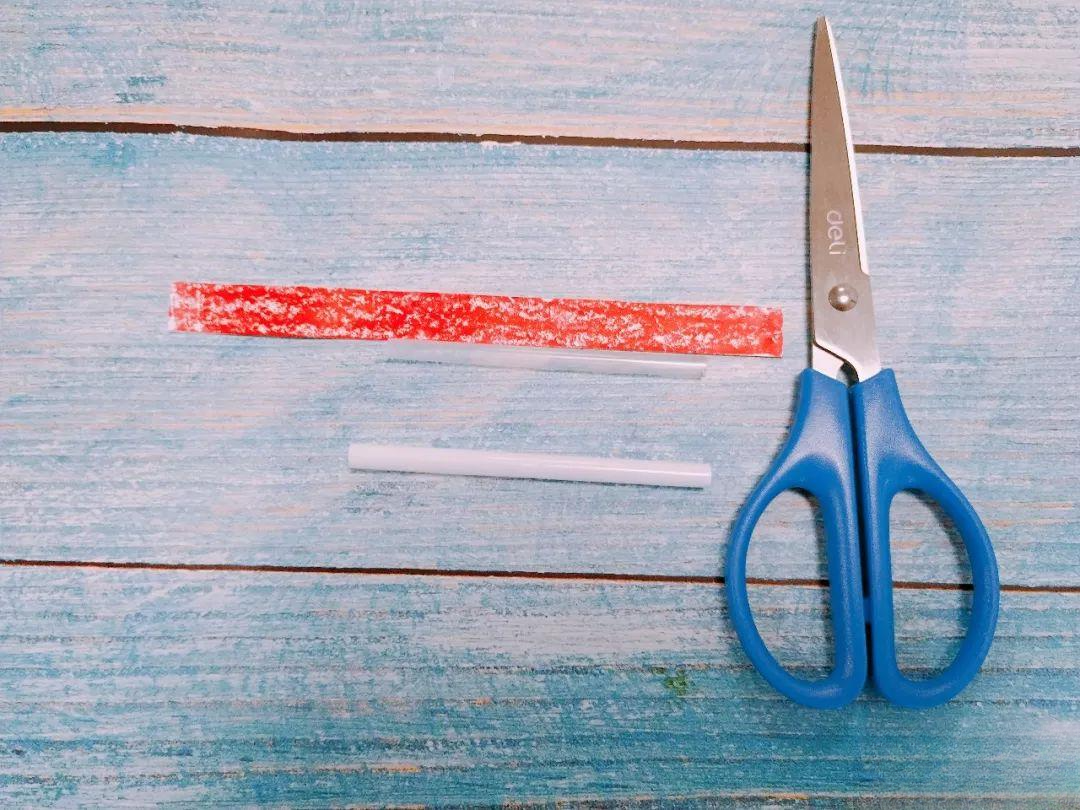
Make a spring by wrapping a metal wire around the pen refill.
Cut off one end of the spring and glue the other end to the back of the woodpecker.
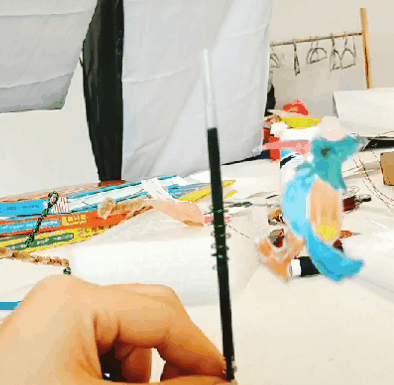
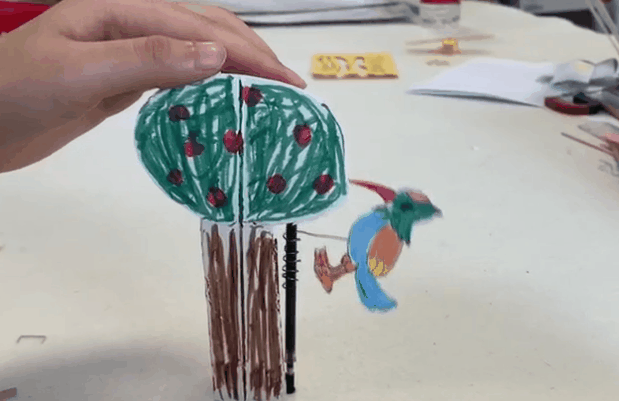
By adjusting the spring to the appropriate size and placing it on a pen refill or other stick, you can see the woodpecker moving.
You can also make a big tree and hide the branches behind it, so that from the outside it looks like a woodpecker pecking at a big tree.

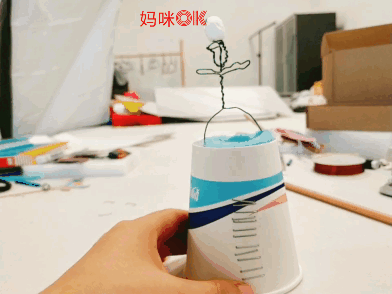
The dancing little man


tool:
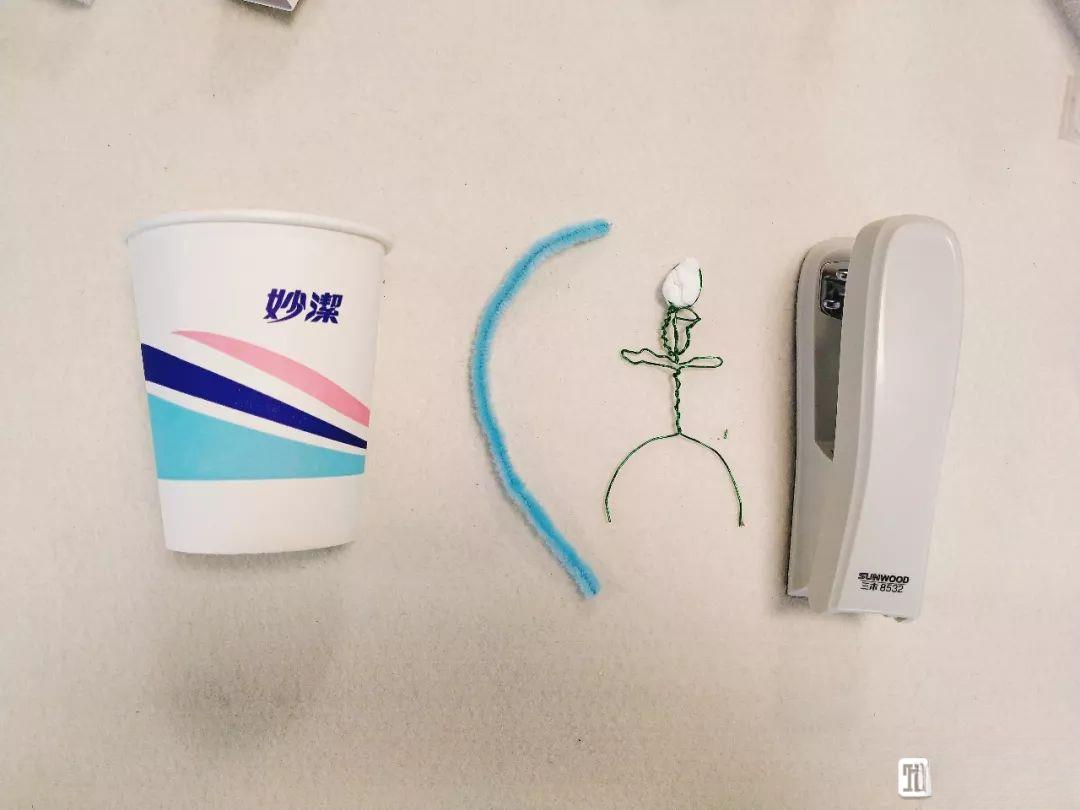
Tiny figures made of twisted electrical wire, a stapler, pipe cleaners, and disposable paper cups
step:
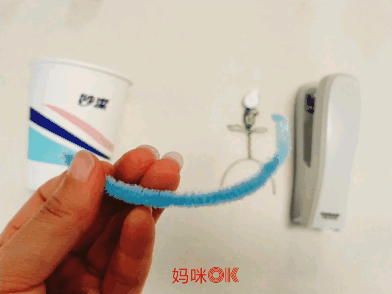
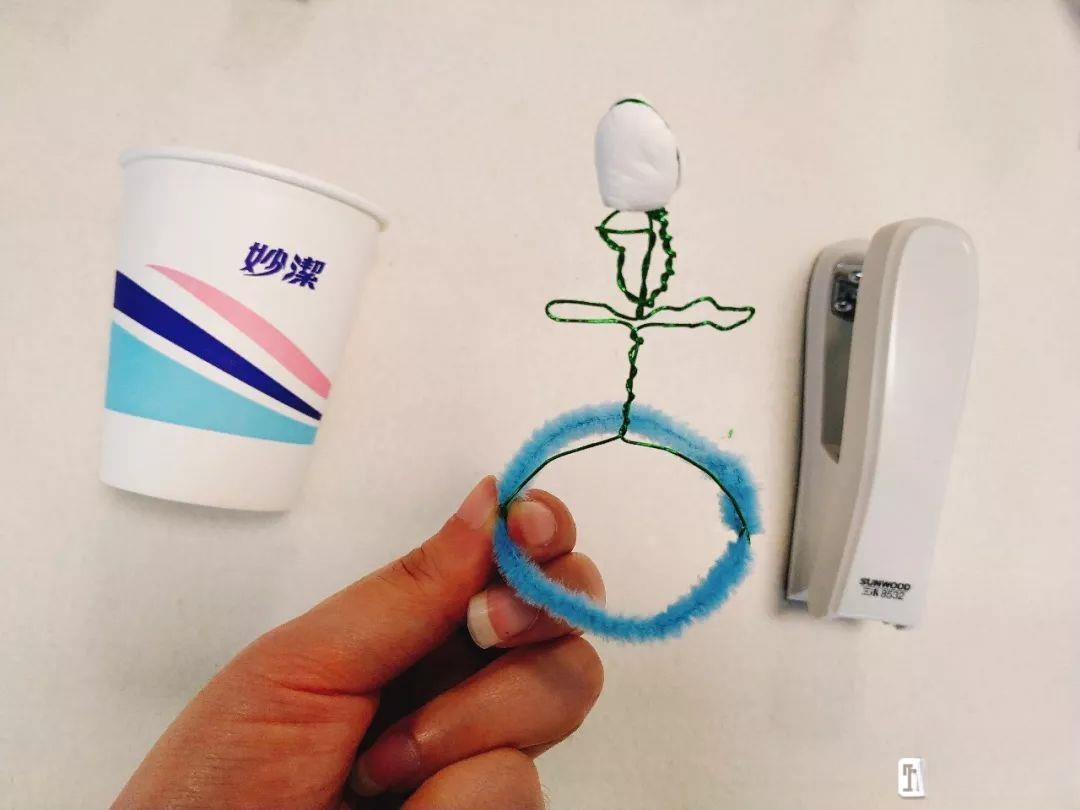
Make a circle with a pipe cleaner ↓
Secure the little figure to the pipe cleaner ↓
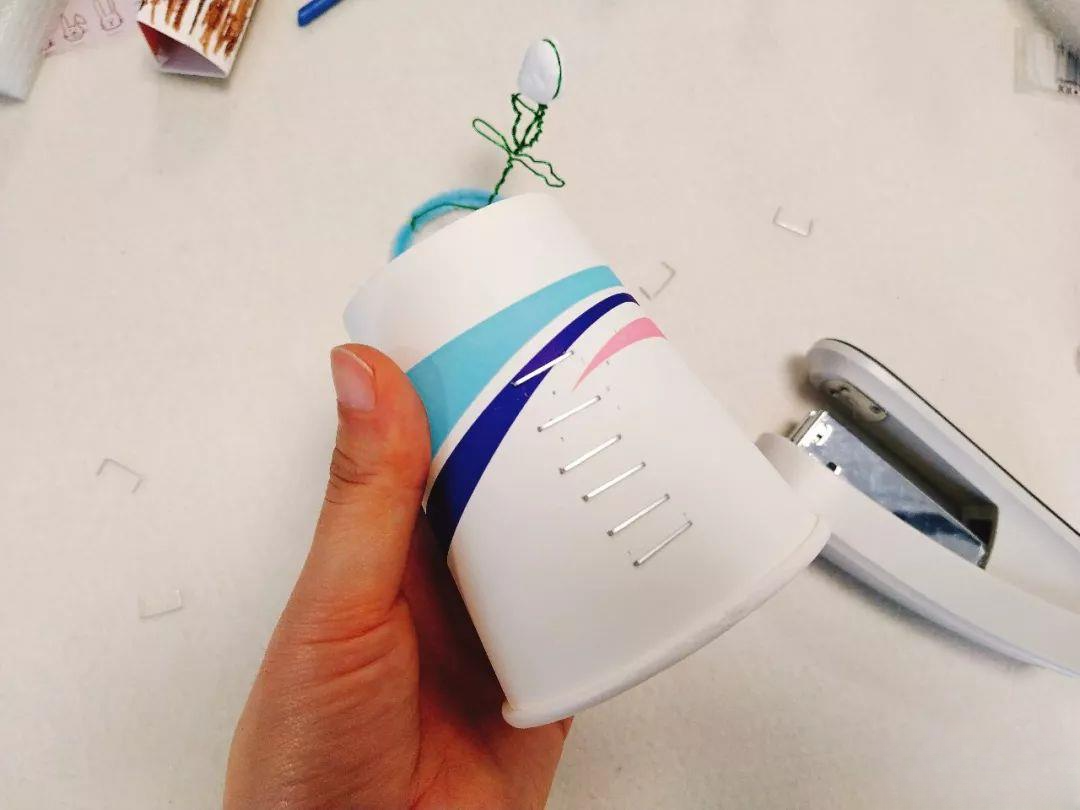
Staple a row of staples onto a disposable paper cup ↓
Place the little figure on a paper cup, and use a pen to flick the nail. You'll find that the little figure magically begins to spin and dance!

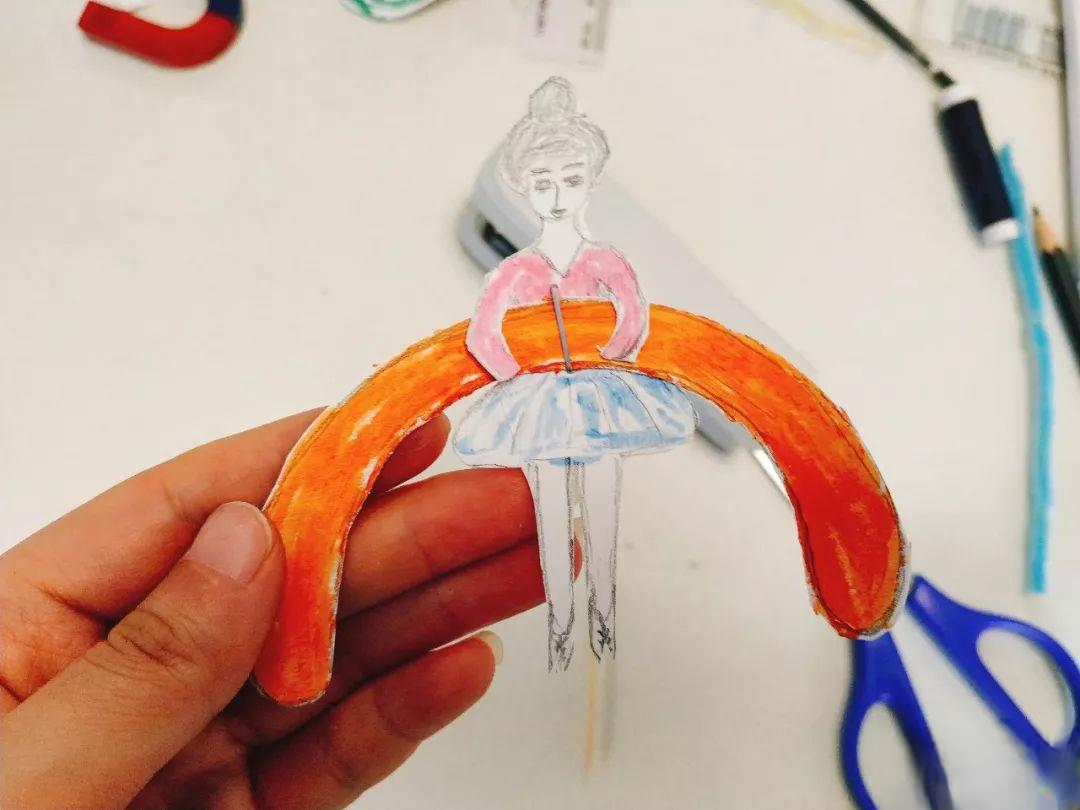
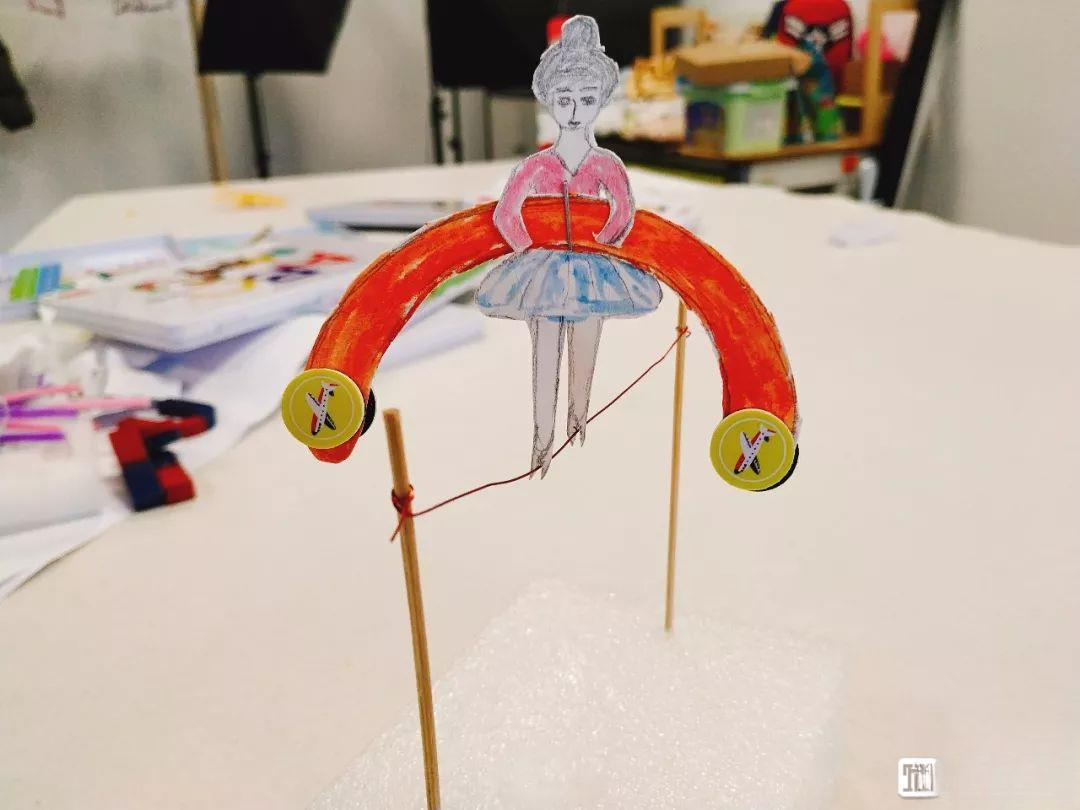
tightrope ballerina


tool:
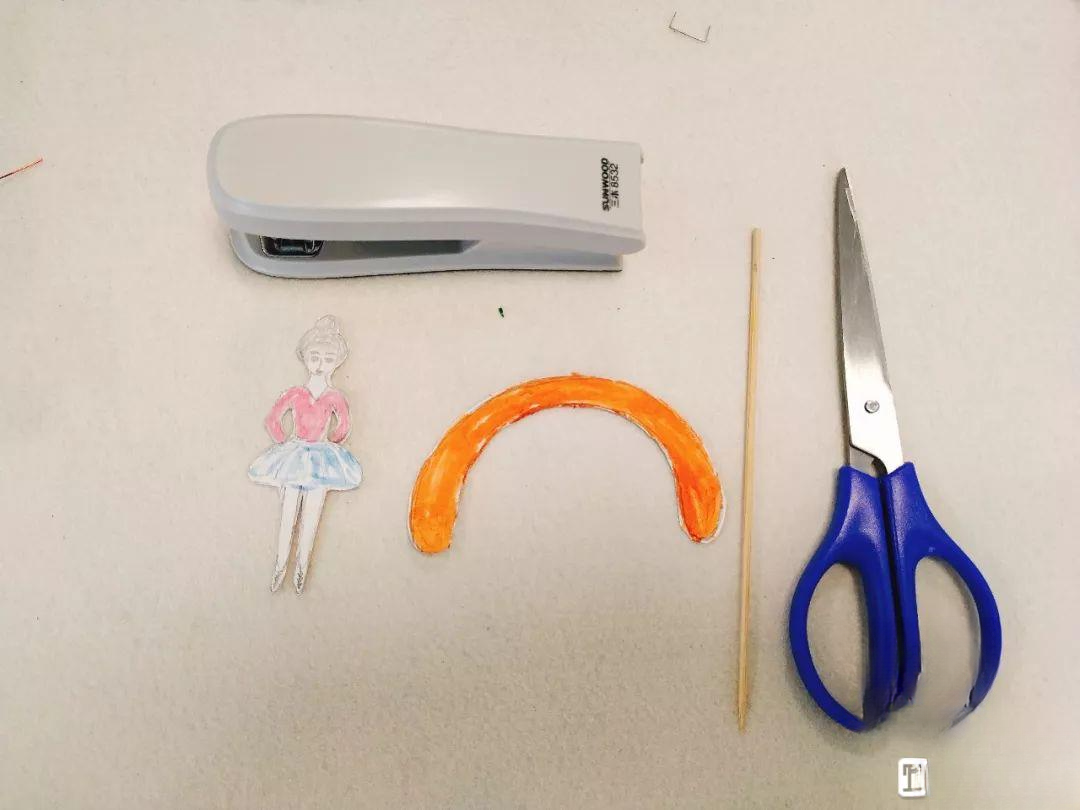
A cardboard girl, a semi-circular arch, scissors, a magnet, thread, a stick, and a stapler.
step:
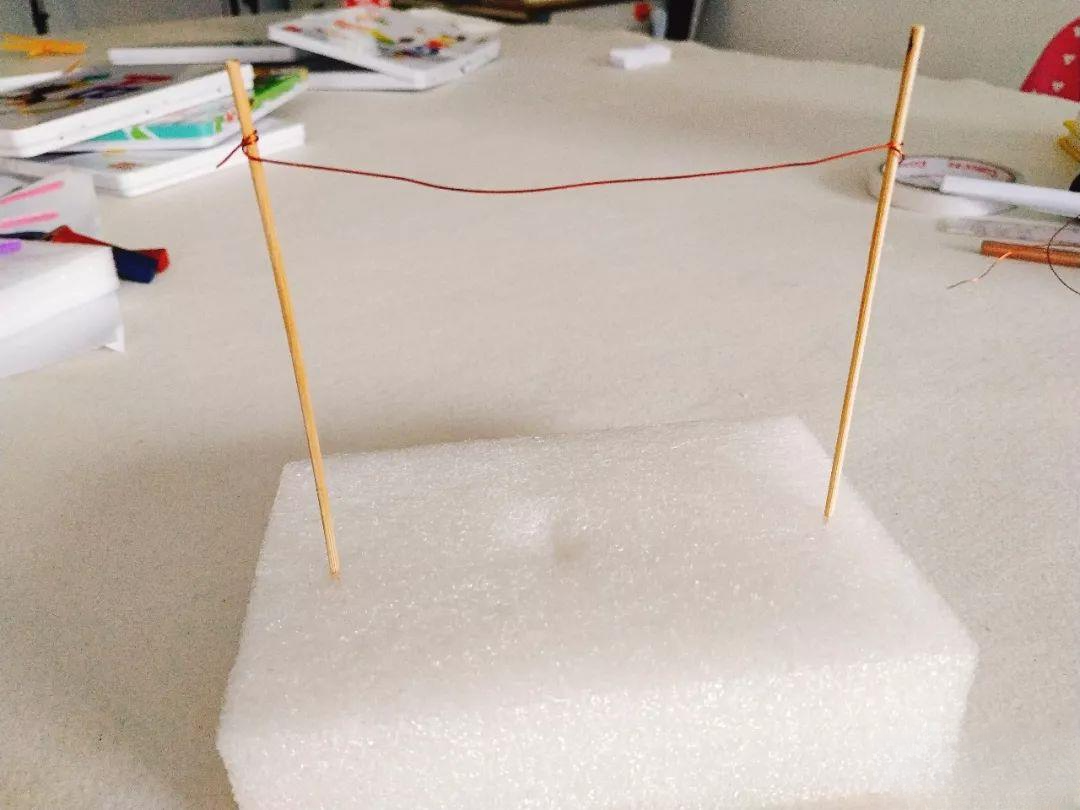
Insert the wooden stick into the foam block, connect a wire to the top, and make a support.
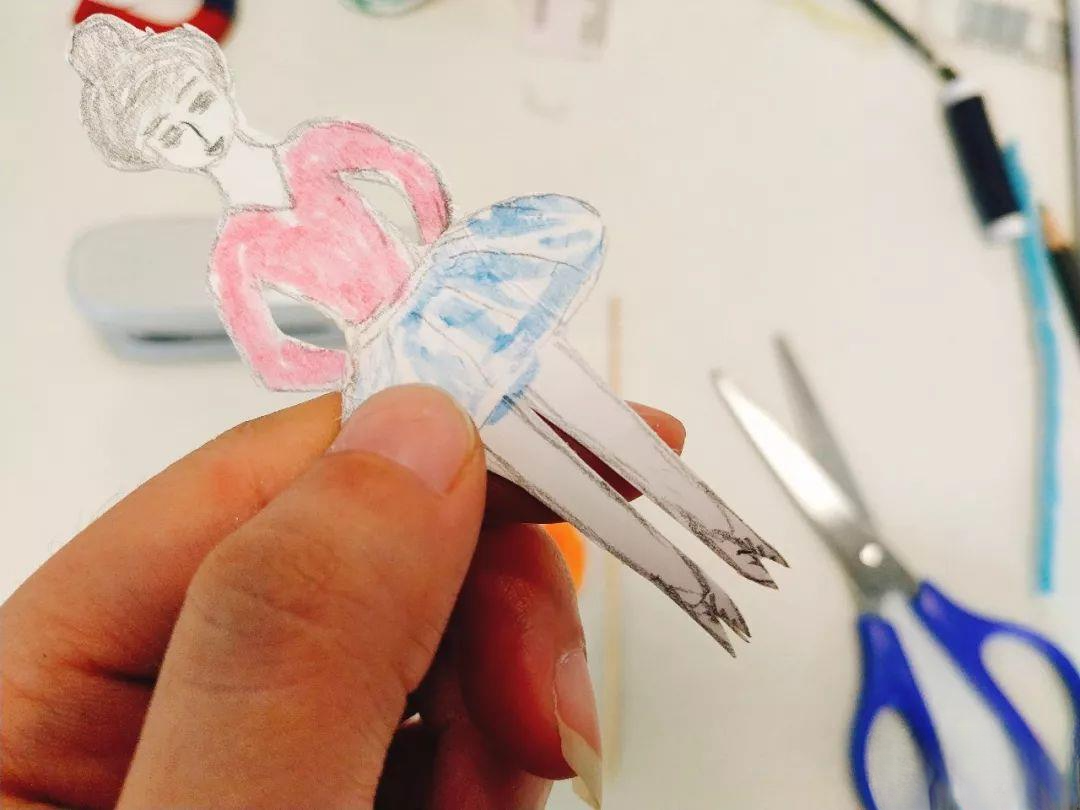
Make a dancing girl out of cardboard, and cut a V-shape out of her toes.
Nail the doll to the center of the arch ↓
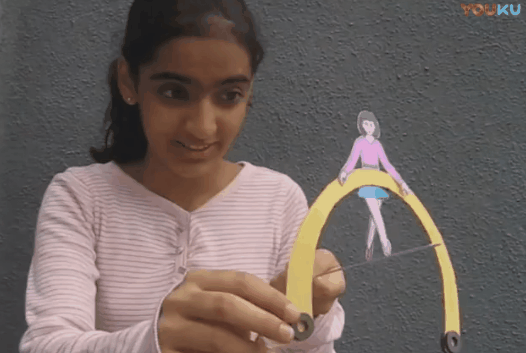
Place magnets or magnetic discs at both ends of the arch, front and back, so they attract each other. Place the doll on the line, and adjust the position of the magnets so the girl can maintain her balance.
It can also sway from side to side when shaken by hand ↓

straw turntable


tool:
Scissors, tape, two straws (one thick and one thin)
step:
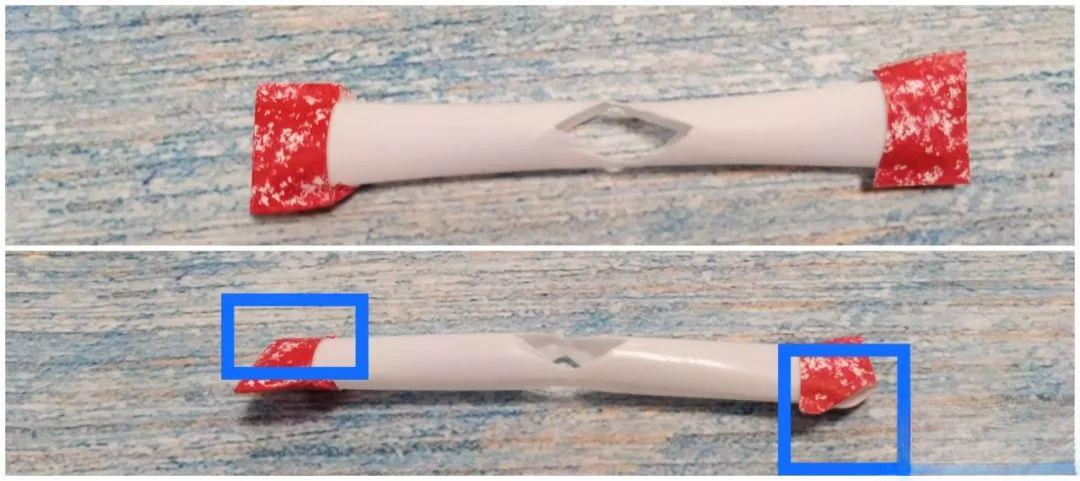
1. Fold the thicker straw in half, then cut an angled corner.
2. Secure both ends of the straw with tape, then cut a slit diagonally.
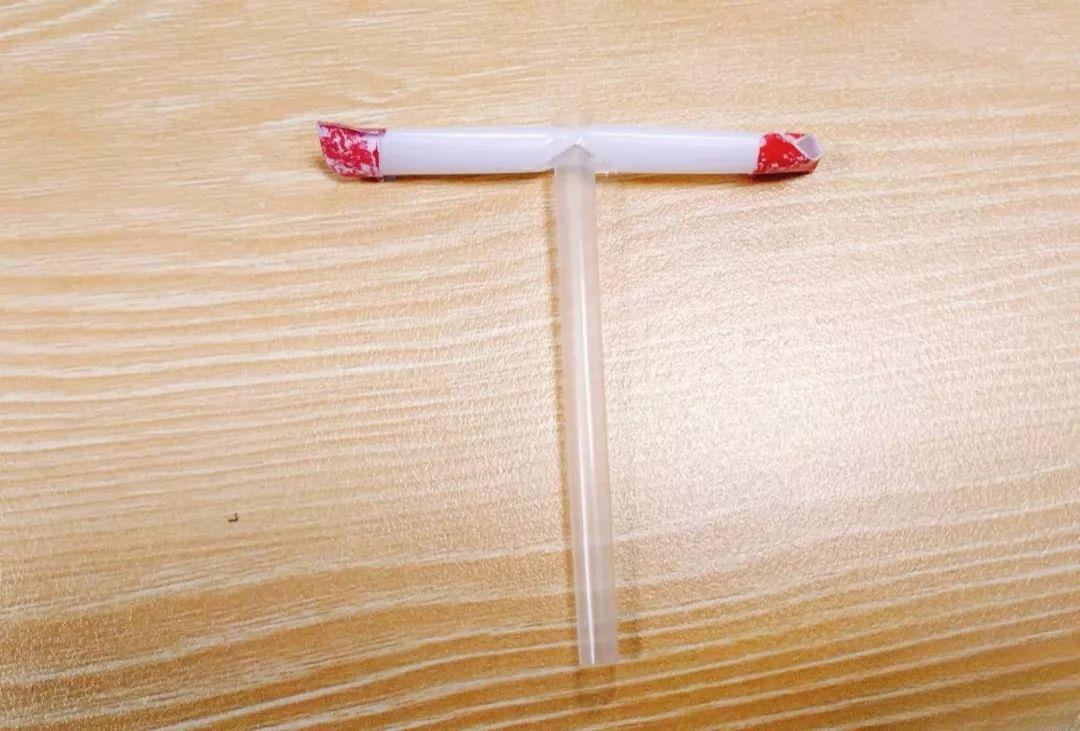
3. Cut a V-shaped opening in a thin straw.
4. Insert the thin straw into the thick straw.
If you block one end of a thin straw with one hand and start blowing from the other end, you'll find that the straw starts to rotate.

There are also a few minor magic spells.


1. A pencil passes through water
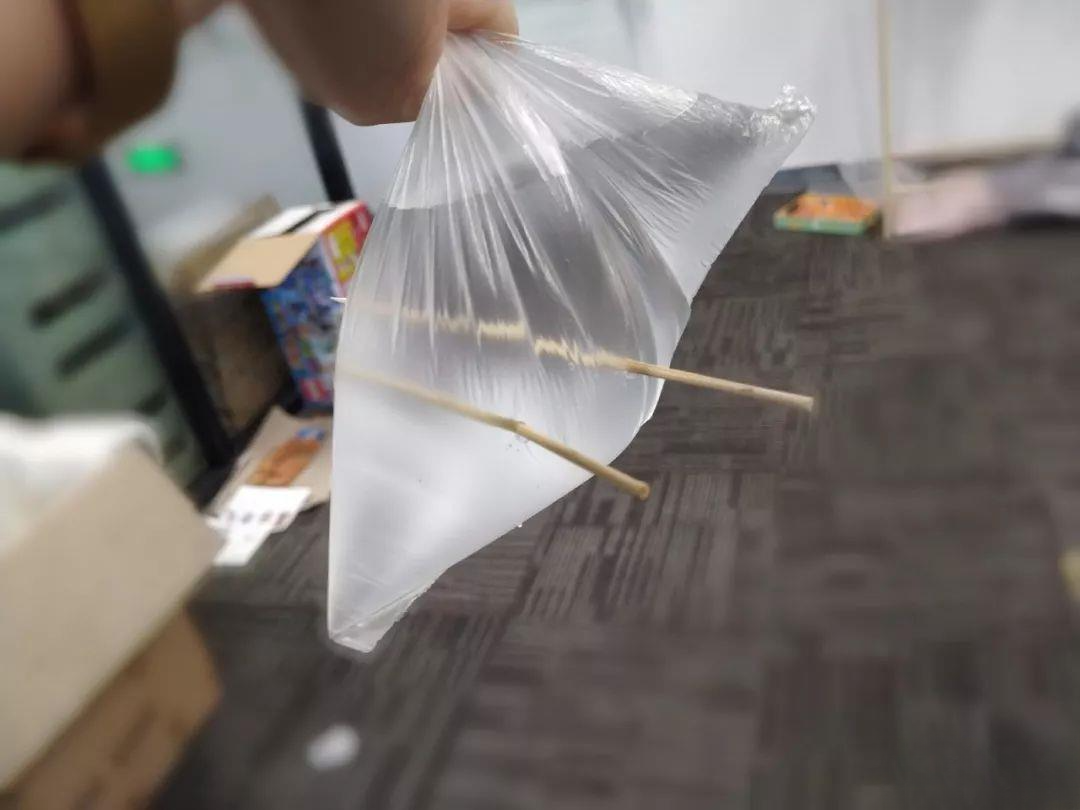
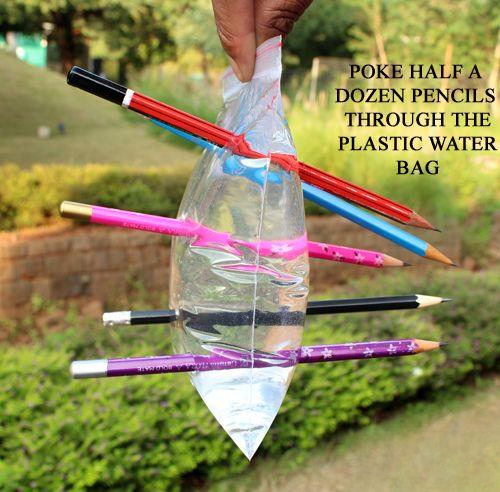
This is also something OK really likes to play; all you need is a plastic bag, a few pencils, or sticks.

OK exclaimed excitedly, "Mom, did you notice that the twig punctured the plastic bag, but not a single drop of water spilled out? "

This little magic trick can also teach him that because plastic bags are made of synthetic polymers, they shrink when heated. When a pencil quickly pierces a plastic bag, the heat generated by friction causes the molecules to pull together and shrink, so the water won't leak out.

2. Little Hand Magic
Can you change the position of a pencil from the left image to the right image without taking your hand off the pencil?
See how to do it ↓
Pasta games
are suitable for children aged 1-3.


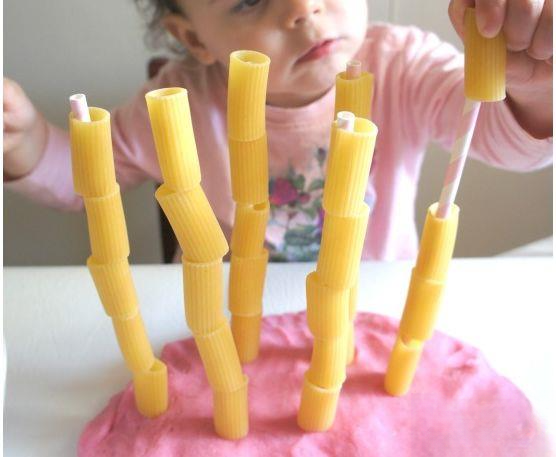
Kindergarten teachers abroad highly recommend using pasta as a daily toy for children. On the one hand, pasta has a good firmness, comes in various shapes, and has a different feel than other toys, so children generally find it novel and love to play with it. On the other hand, playing with these small, hand-held toys can effectively stimulate their tactile and sensory development and improve their fine motor skills.
Moreover, one of the main reasons why pasta is perfect for making at home is that it doesn't stick or fly when it's uncooked, making it super easy to clean up.
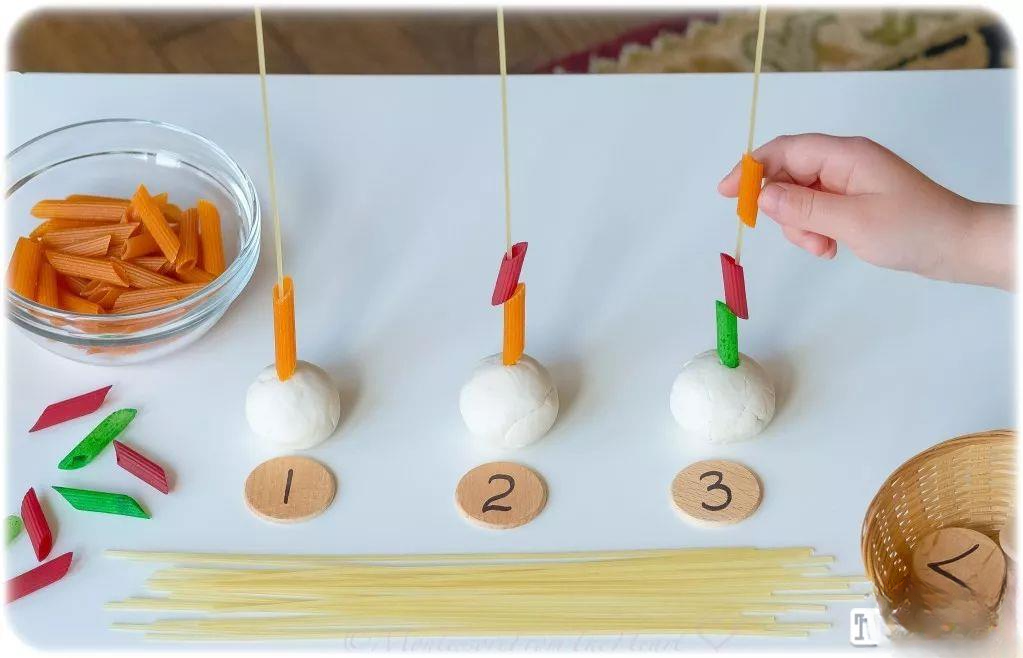
Of course, playing with pasta alone can get boring, so it needs to be combined with other materials to make it into a captivating little toy that kids can play with repeatedly. Moreover, different ways of playing can develop different cognitive and thinking abilities.

Threading game


Everyone is familiar with string toys. The string needs to be aligned with the hole, which is a great test of a child's finger muscles and hand-eye coordination, and also a great opportunity for training.
There are many rope-threading toys on the market, but a small box of spaghetti can do just that.
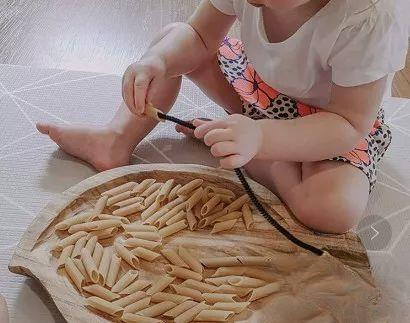
Tools needed: a box of round spaghetti, a shoelace ↓
Then you don't need to do anything, just demonstrate to your child how to thread the rope through the holes in the pasta ↓
This pasta is a bit long, which might be difficult for children under 3 years old. You can use scissors to cut it shorter.
If children aged 3 and up find it too easy, we can increase the difficulty and make a fixed version ↓
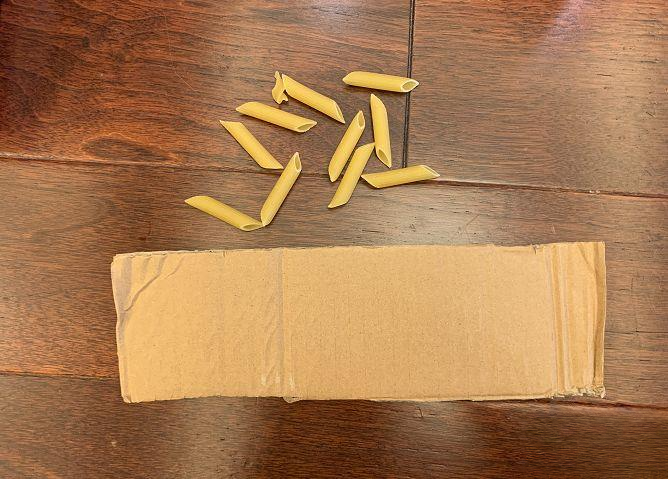
For example, cut a piece of cardboard from a delivery box ↓
Use tape to fix the spaghetti onto the cardboard (moms with a glue gun will get a better and more secure hold; mine is a bit ugly , but the kid was still very interested) ↓
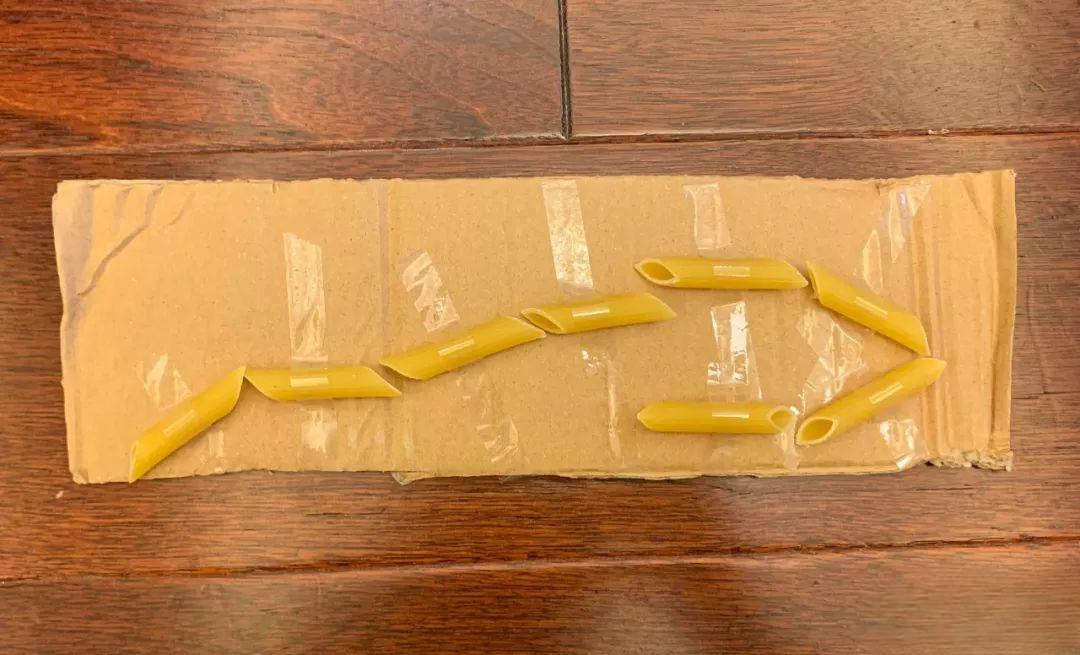
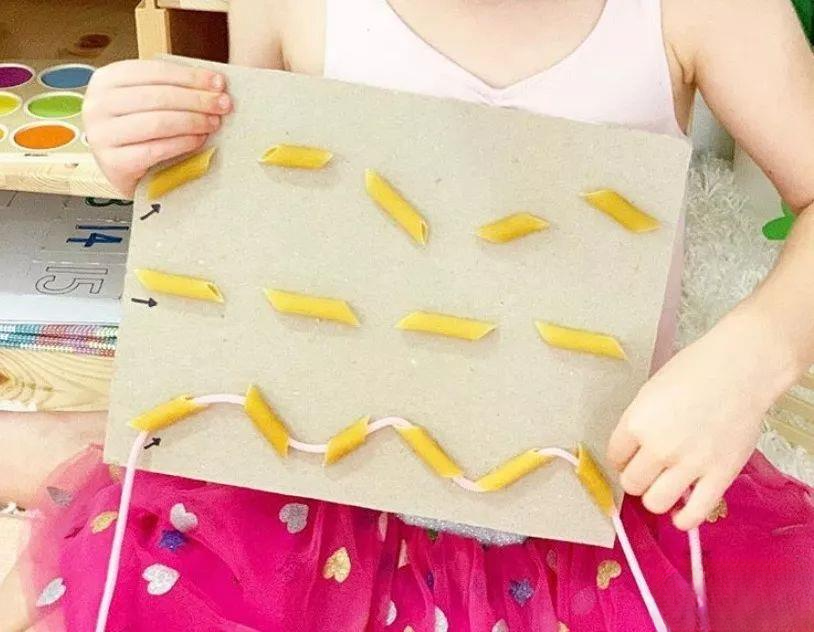
Then, just let the child follow the path. It's a bit like a maze, and it's quite difficult. My daughter is 26 months old, and it was still a bit challenging for her. Although she really wanted to play, she just couldn't get through it. In the end, she went back to the previous method.
However, it's more suitable for older children. You can start by separating them into smaller groups and gradually increase the difficulty.

Separating the surface


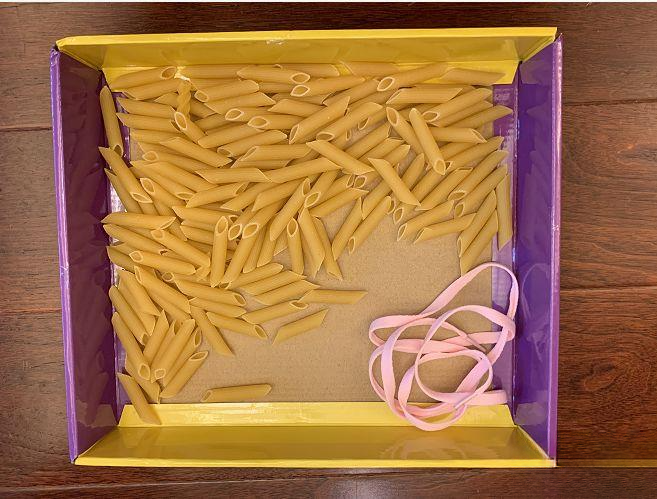
Kids seem to really love the feel and elasticity of rubber bands; they're really fun to play with. Combining rubber bands with spaghetti is also a great way to play.
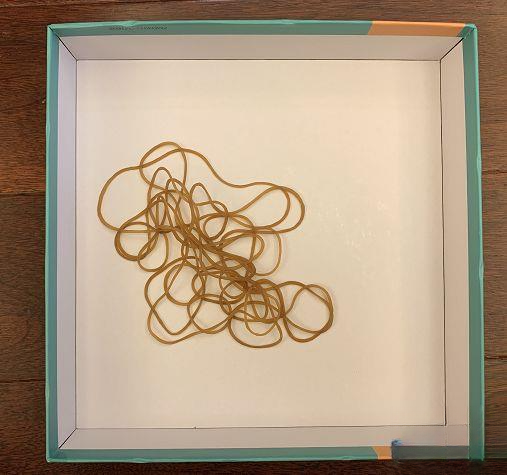
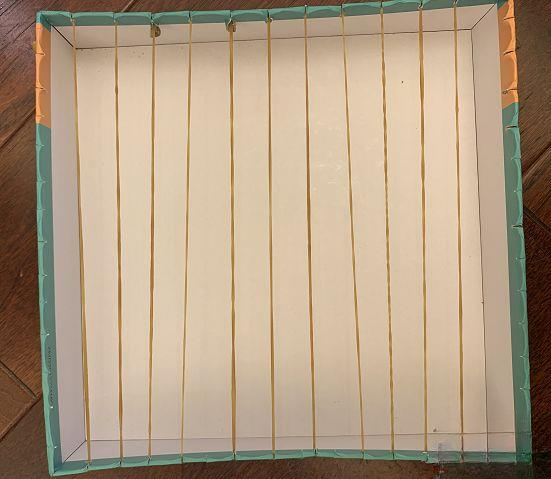
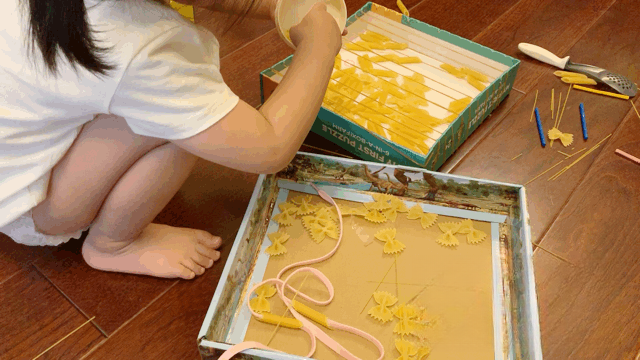
Preparation: Several long rubber bands, a discarded cardboard box, spaghetti ↓
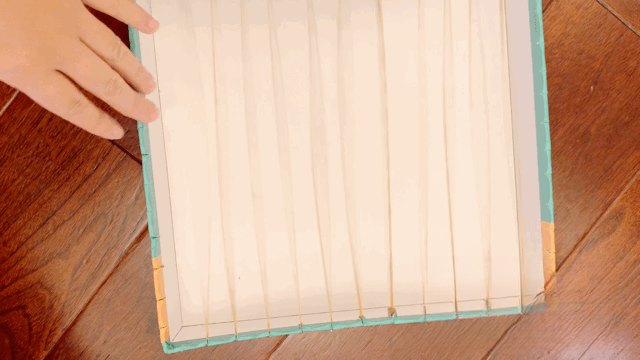
Use a knife to roughly cut several grooves at equal intervals along the four sides of the box (just make them roughly equal, but moms who are perfectionists can measure them). Then, fix the rubber bands into the grooves.
Just playing with rubber bands can keep a kid entertained for ages!
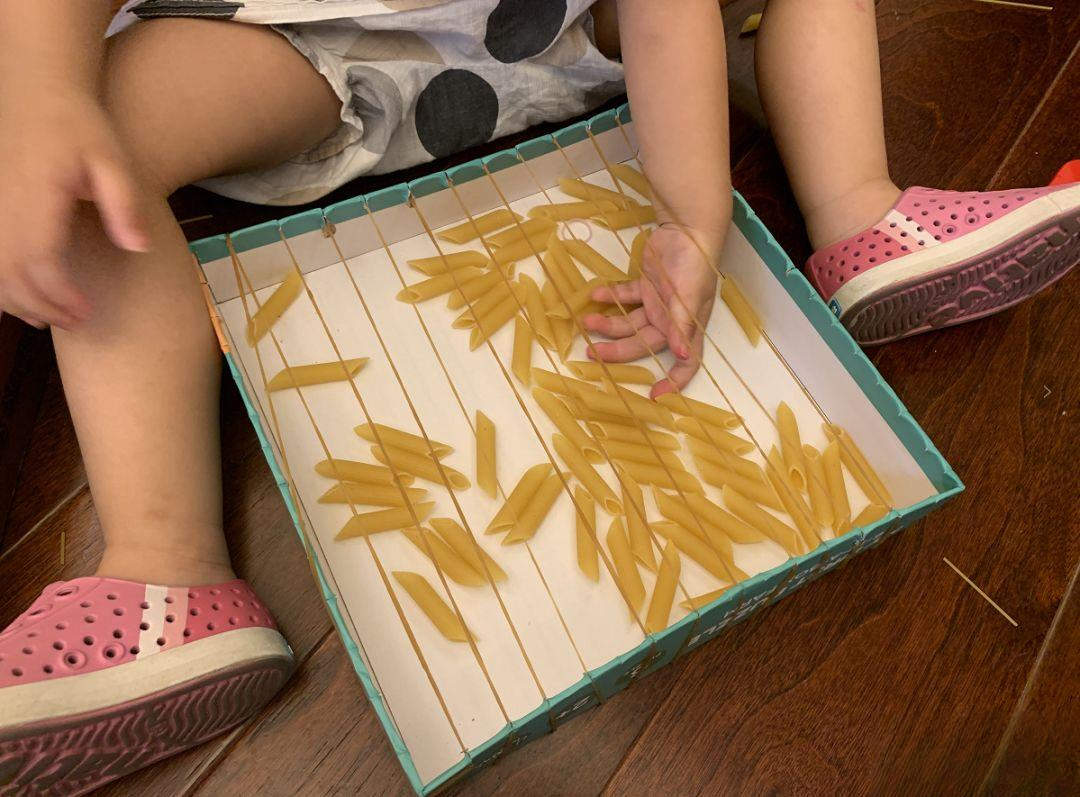
Next, put the spaghetti inside. To get the spaghetti, the child has to thread it through the gaps in the elastic band, and to get it out, they have to thread it through the elastic band again. This is very helpful for developing the child's spatial awareness and problem-solving skills. However, although it looks easy, it can still be challenging for a toddler of two years old.
My daughter didn't know how to get the pasta out at first. She couldn't turn left or right. Normally, she would have called me to help her, but this time she was so engrossed in playing that she didn't even notice me next to her. She tried to figure it out herself, moving her hand gestures to change the angle.
Therefore, if we want our children to solve problems on their own, we should first provide them with toys they like. Once they are engaged, we won't have a chance to interfere .

Socket Toys


We are very familiar with socket toys. I have all kinds of socket toys at home. For kids who like to play with small things, they can sit and play for half a day without getting bored.
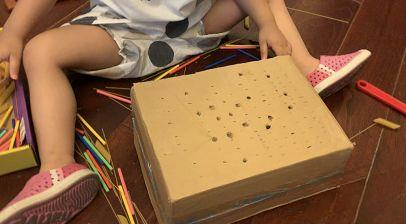
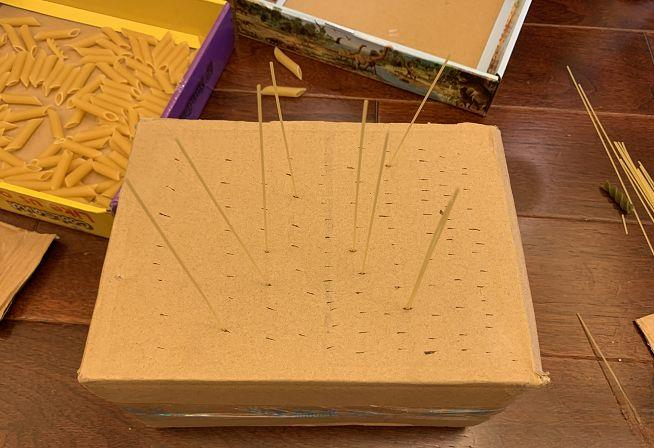
Tools needed: Unused cardboard box, long strips of spaghetti ↓
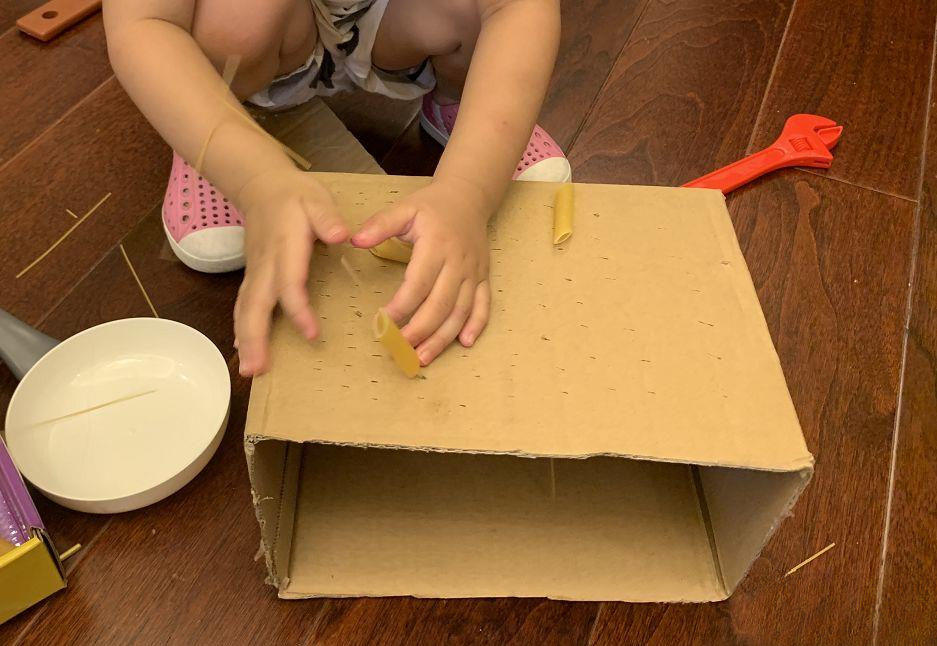
Then it was all about poking, poking, poking! They poked small, appropriately sized holes in the delivery box. My daughter immediately grabbed a piece of spaghetti and started poking it into the holes! ↓
The bottom of the delivery box was empty. My daughter flipped it over and saw spaghetti underneath. She looked curious, so I took the opportunity to explain the spatial relationship to her: "This box is empty. The spaghetti goes through the top and then down to the bottom." She immediately understood this spatial relationship, and truly understood it. Every time she passed a piece of spaghetti, I would pull her out from underneath.
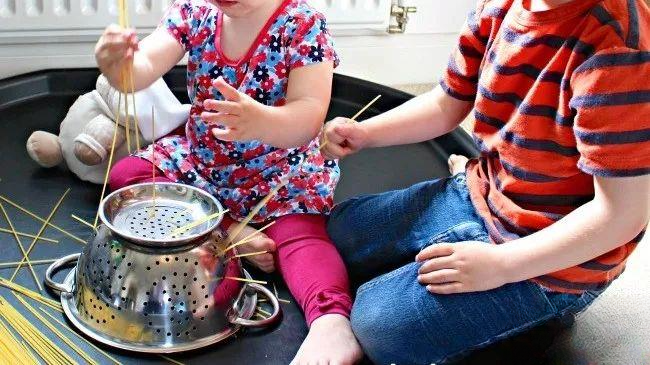
Kids love exploring the kitchen, so we can just use any pots or jars with holes to let them play with and satisfy their curiosity.
However, the pasta I bought was too thin and broke easily. Mothers can buy firmer and thicker pasta. But the thin and soft pasta also has unexpected benefits. For example, my daughter couldn't stop breaking it after she saw that it could be broken .

Ring toss toys


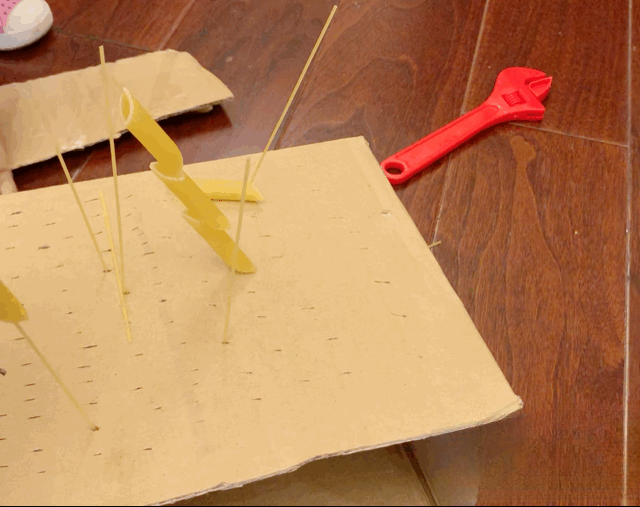
The socket box you just made can be used for more fun; together with the cylindrical spaghetti, it instantly becomes a ring toss toy.
It's incredibly satisfying to put the spaghetti pieces on the rings one by one, and unlike other ring toss toys where you only have a few rings, this one has so many spaghetti pieces that you can put on as many as you want, so kids can keep playing without having to start from the beginning.
The process of putting on the pasta can also improve fine motor skills, as well as develop concentration and observation skills. For younger children, you can use larger sizes of pasta to reduce the chance of making mistakes.
Similarly, many other ways to play can be derived from this, such as combining it with number recognition to turn it into educational mini-games.

Free exploration


Sometimes, you don't need to make it look special. Pasta can be combined with all kinds of toys, and kids can sit and play happily.
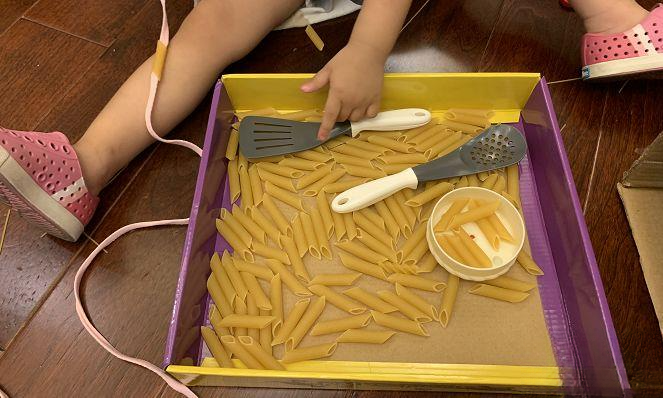
For example, my daughter will use a spoon and spatula to cook rice.
Pour the Italian sauce into small cups, then into other places, then back into the cups – this repetitive action can be fun for a long time.
Some mothers give their children paint to color pasta, helping them learn to distinguish colors.
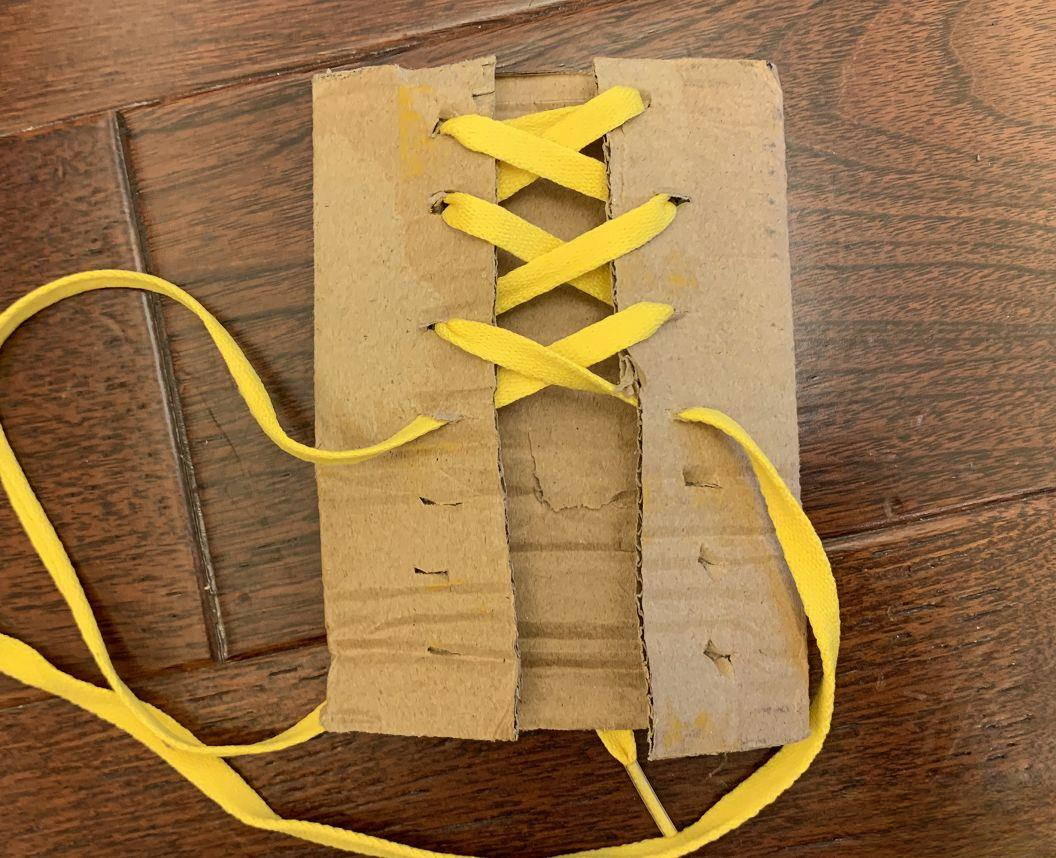
In addition, the props made earlier can also be used in other ways. For example, the rope can be combined with cardboard to make a threading toy, allowing children to practice tying shoelaces.
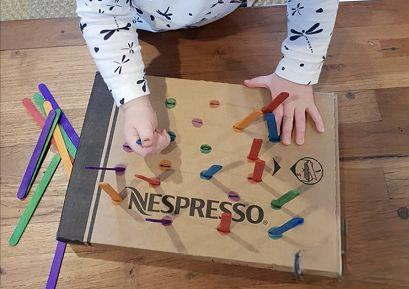
The toy box with the sockets can also be used for color matching games with the colored sticks.
What have you all been doing at home with your kids lately? Feel free to leave a comment and share!
Interests & hobbies Magic