Illustrated Guide to Pruning Potted Osmanthus
Pruning potted osmanthus trees is not easy for beginners, and many flower enthusiasts are hesitant to start since it's their first time growing osmanthus. Below are pictures of a flower enthusiast pruning a potted osmanthus tree, providing pruning references for different tree shapes, for your reference.
1. Weak branches that sprout closely spaced from strong branches of the osmanthus tree can be pruned to conserve nutrients and reduce waste. Note: The red crosses indicate pruning tips.
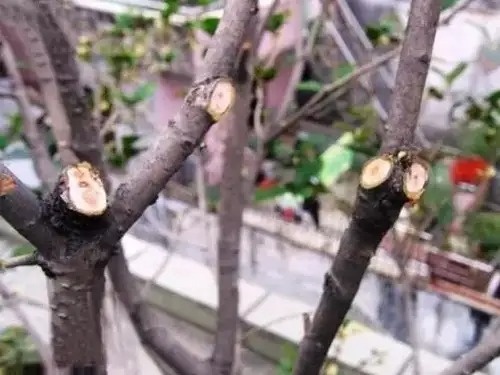
The image below shows a comparison of osmanthus trees after pruning, with the cuts made as close as possible to the nodes.
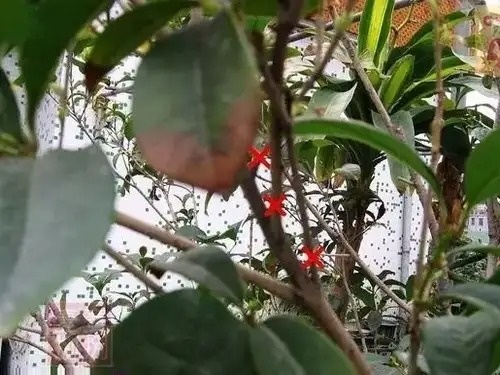
2. Overlapping young branches sprouting from the main trunk of the osmanthus tree can be pruned to conserve nutrients and reduce waste.
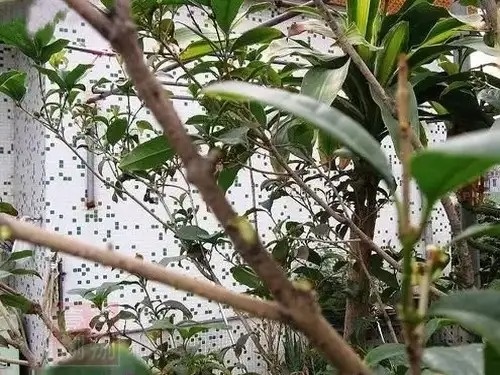
Comparison photos after pruning; the cut should be as close to the node as possible.
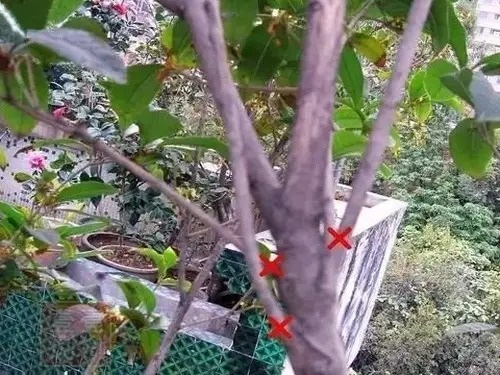
3. When osmanthus trees have multiple branches, remove the weak ones and keep the strong ones. The red crosses indicate pruning tips.
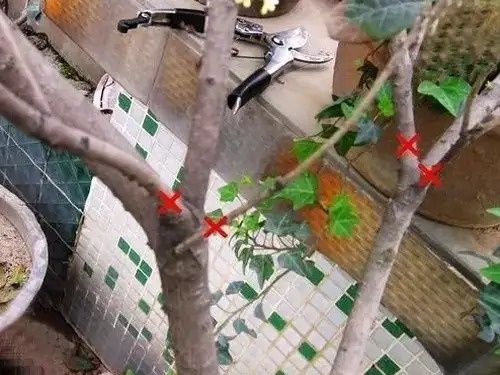
4. Weak branches in the inner part of the osmanthus tree that are too close together can be pruned. The red crosses are pruning tips.
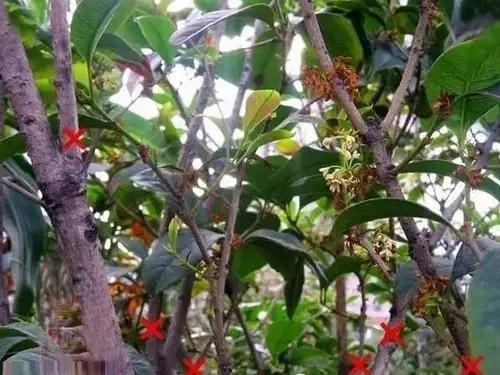
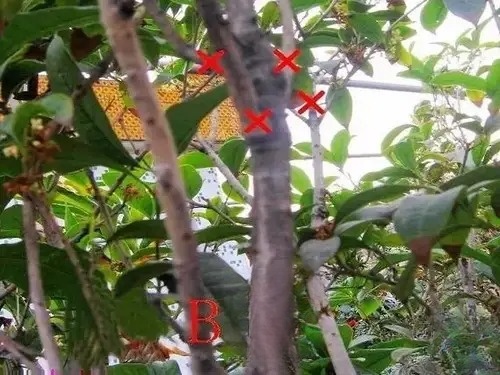
5. A and B are parallel branches. If the spacing is too close, consider pruning B. The red cross is a pruning suggestion.
When pruning osmanthus, make cuts as close to the nodes as possible and keep them smooth.
Osmanthus trees are often used as landscaping trees and street trees. Their shape is spherical or semi-circular, requiring careful cultivation and pruning from the seedling stage to ensure they grow tall and provide ample coverage. During the seedling stage (1-2 years), allow them to grow freely, retaining one upright branch as the main trunk, while side branches and sub-branches serve as auxiliary branches.
When the seedlings grow to about 80cm, check if they have branched. If they have not branched, we can cut back to the functional leaves and cut off a short branch about 15cm long. After half a month, several lateral branches will grow from the top. Keep one branch as the main stem and the rest as auxiliary branches.
All the tender shoots growing from the auxiliary branches can be removed to reduce nutrient loss and dispersion, allowing nutrients to concentrate on the main trunk. When the main trunk grows to 1.6m, we can retain several branches as main trunks. The method is the same as above: cut back to the functional leaves and cut off 15cm short branches to force the tree to branch. Depending on the situation, the branches that grow can be cultivated as main trunks, because a single main trunk cannot achieve the goal of growth.
After that, any new buds that grow at the top can be removed. In early spring, before the new buds sprout, diseased, weak, and damaged branches should be removed.