How to build a wardrobe with one door reaching the ceiling
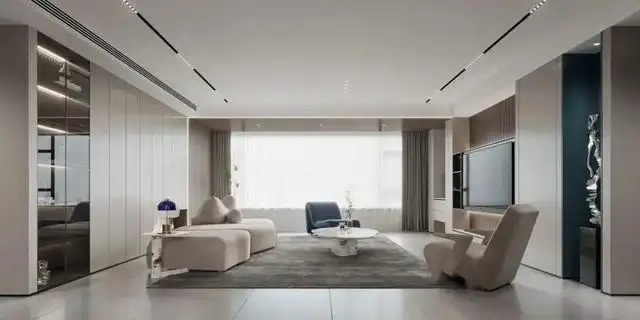
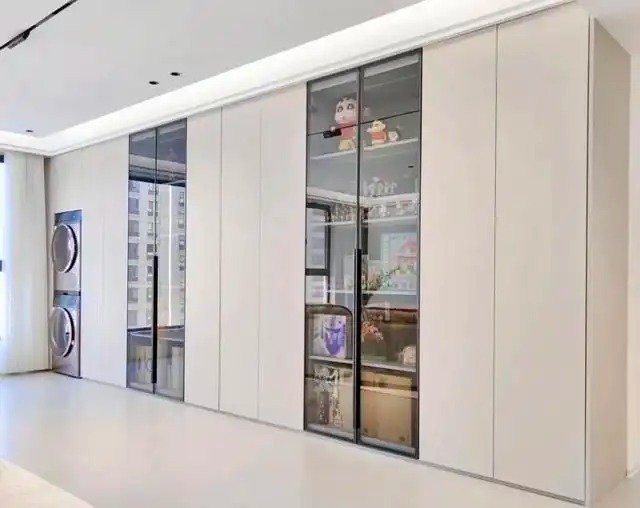
In recent years, many families have a special liking for cabinets that reach the ceiling.
It has a large storage capacity, a weak presence, a simple facade, and is easy to clean. It is beautiful and practical.
Although it is good to reach the top in one go, there are indeed many "pitfalls" , and various car rollover scenes can be called a history of blood and tears.
Everyone said: "Why did I spend so much money but the cabinet is still so tacky! What's the problem?"
.01
Sealing board
Be sure to hide it
Before installation, many people don’t realize how much the cover board affects the appearance of the cabinet! Especially this kind of cover board that is so thick that it makes you doubt your life, and even the color is different from the cabinet door.
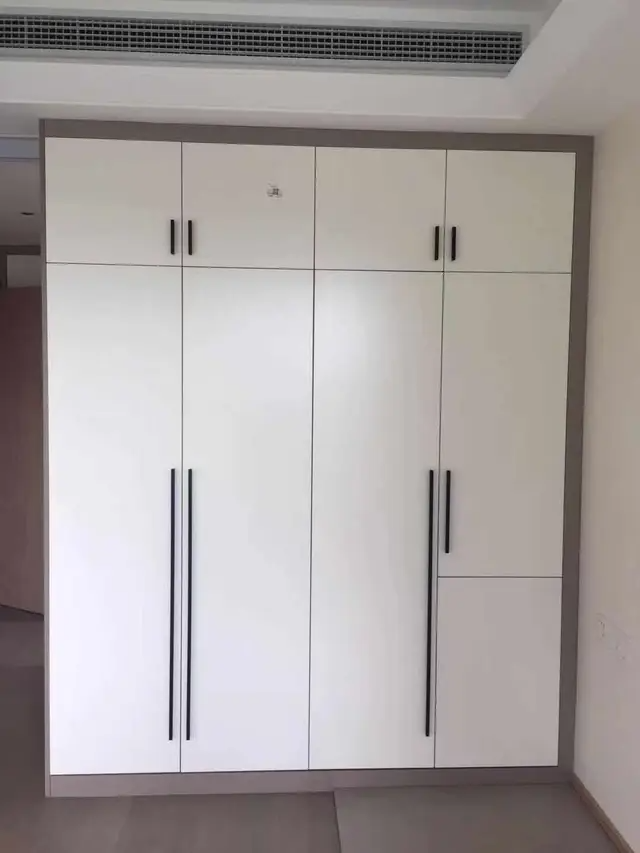
Many designers don't even ask the homeowner how to deal with the sealing board. After finishing, you can only look at the cabinets in the house that "can't tell where they are ugly, but just look uncomfortable" and fall into deep thought.
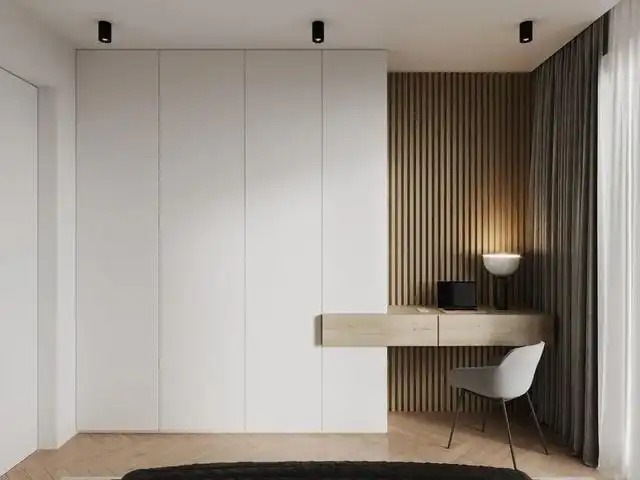
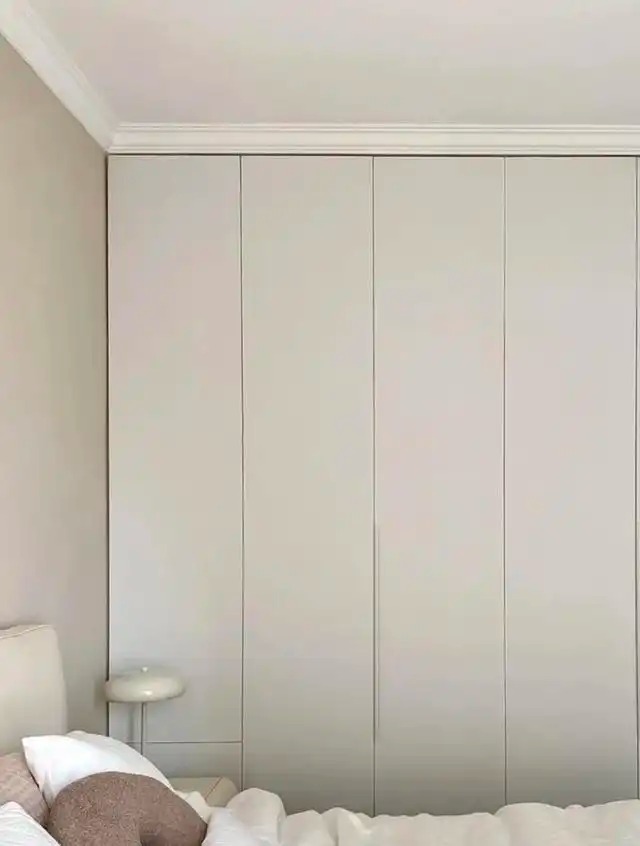
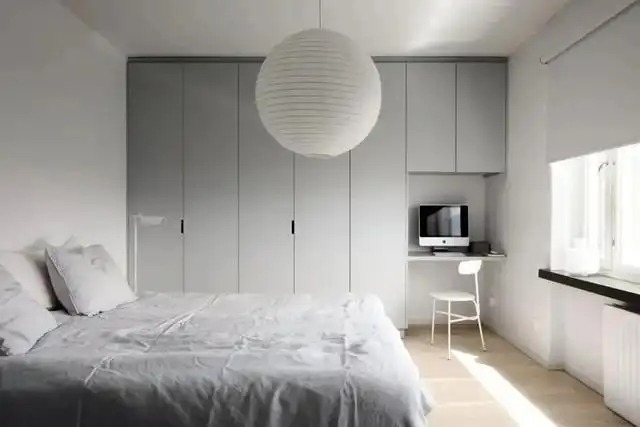
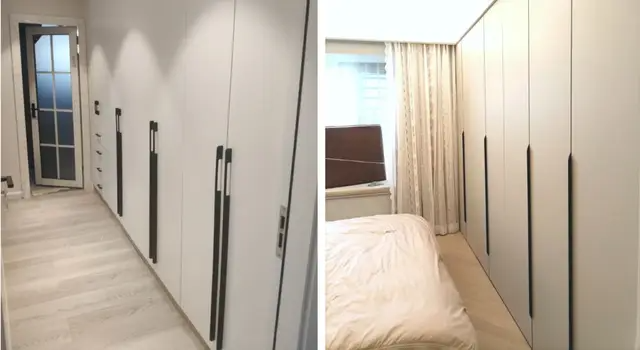
A good-looking cabinet should at least have the upper and lower panels and the cabinet doors of the same color and flush . If you don't pursue a minimalist style, this is also acceptable.
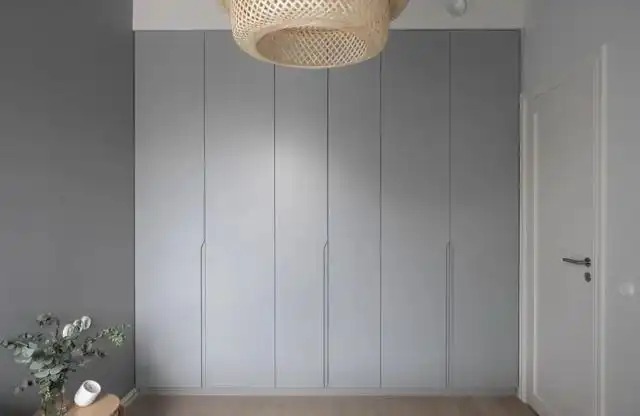
If you want to make a door that reaches the top, you must install a built-in cover and cover it with a cabinet door.
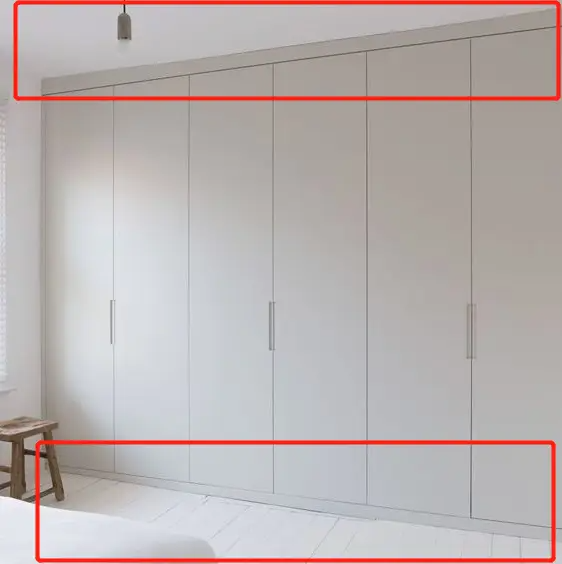
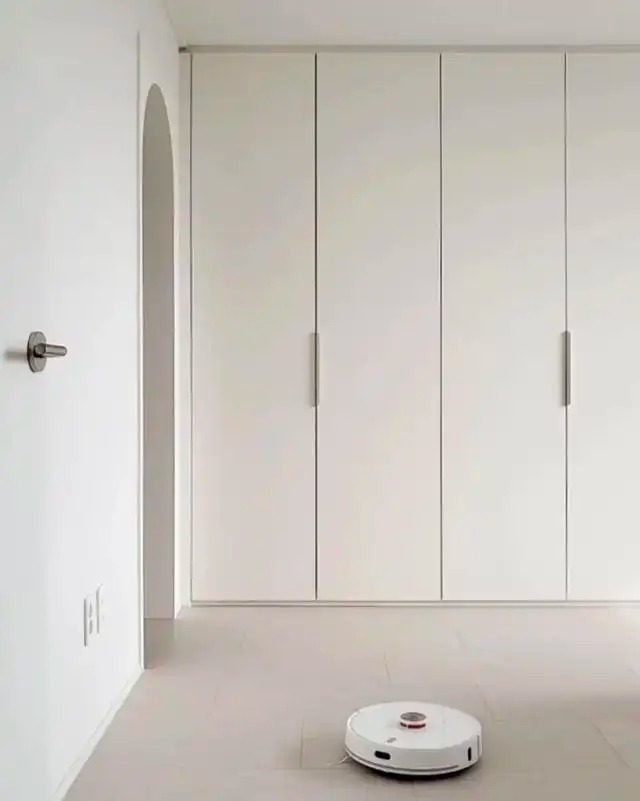
Leave a gap of about 0.8~1cm between the cabinet door and the ceiling to prevent the cabinet door from getting stuck and unable to open due to an uneven ceiling.

There should also be a 1 to 3 cm gap between the bottom of the cabinet door and the ground , so that dust will not accumulate on the bottom of the door panel, making it easier to clean with a sweeping robot or a broom. It can also prevent your feet from bumping when opening the door, and if you want to lay a carpet in the future, it can also open and close smoothly.
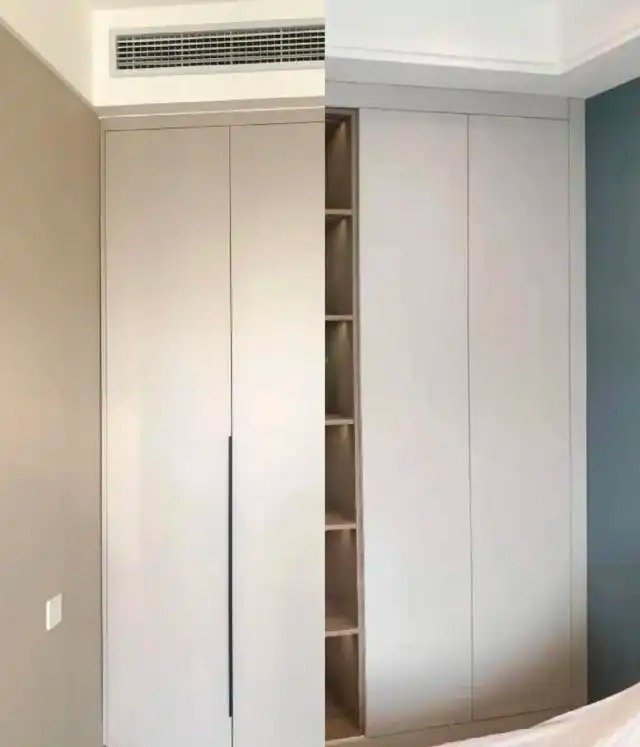
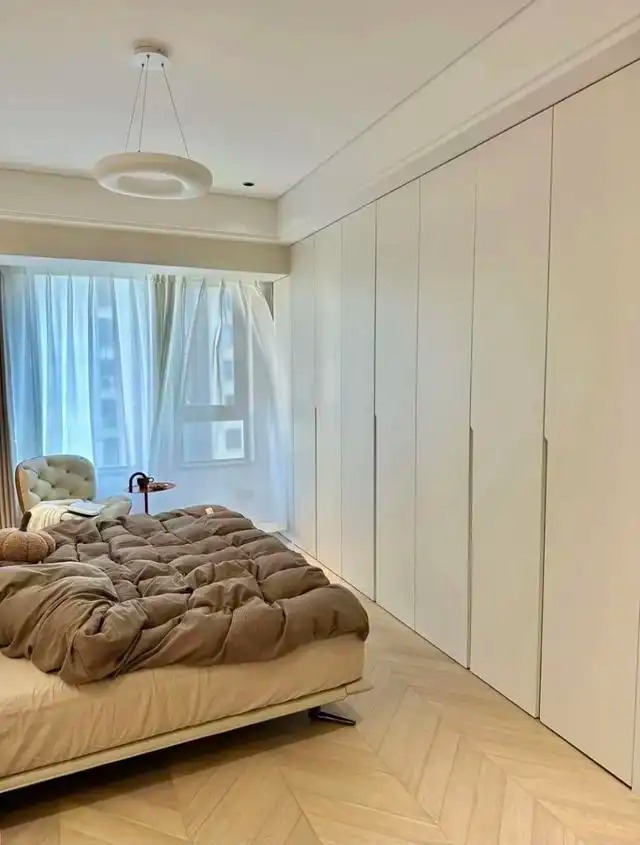
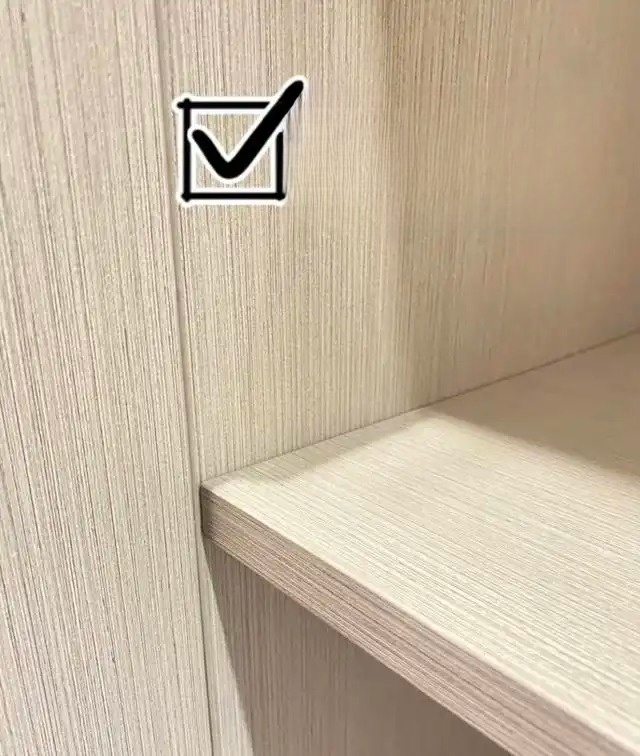
After talking about the upper and lower cover boards, let's talk about the side panels on the left and right. If the interior and surrounding frames of your cabinet are the same color as the cabinet doors, you don't need to add visible panels.
If the cabinets are of different colors and you cannot accept this color matching design , then you need to add a visible panel of the same color as the cabinet door on the side that is not against the wall .

The width of the finishing strip on the visible panel and the wall side should be consistent, and a width of 18mm looks best.
.02
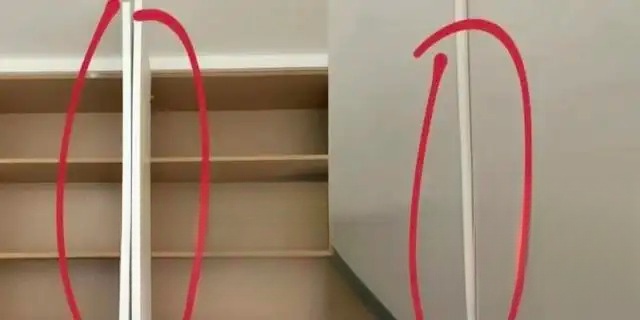
Plaster line
Don't go through the closet
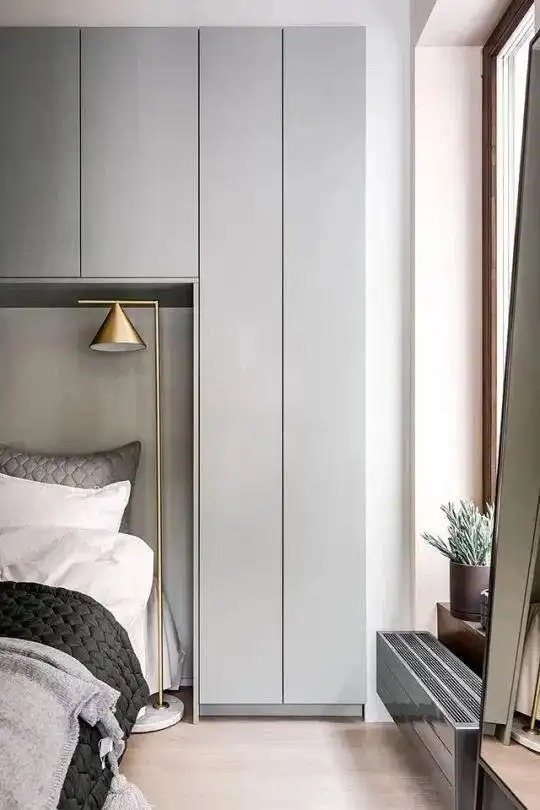
It was a good custom cabinet, but a piece of its head was cut off. It would be uncomfortable for anyone to see it.
If you don't want to cut the cabinet, you can only cut the plaster line, but the final effects of the two methods are similar.
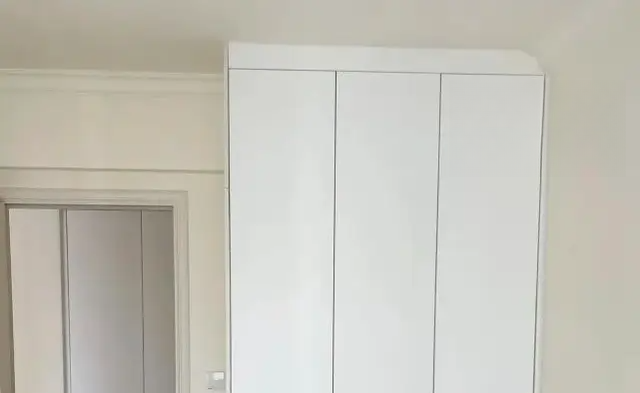
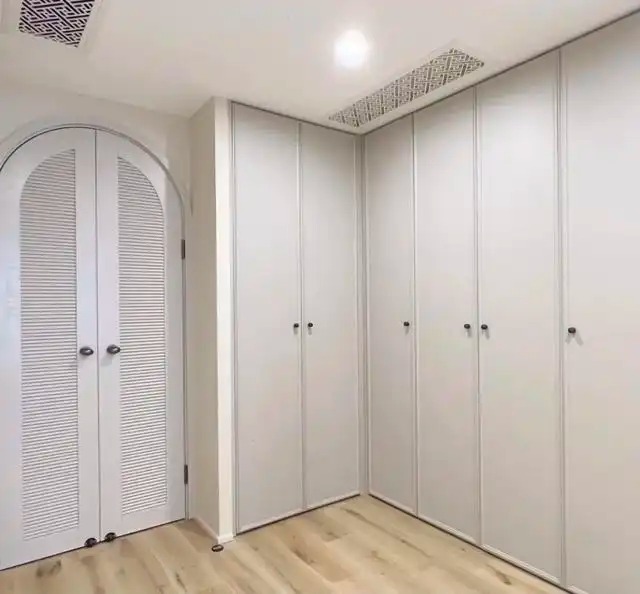
This kind of rollover accident is common in decoration. It is also very simple to solve it. Just ask the master to hang a small flat roof on the cabinet.
A wardrobe with a door that reaches the ceiling has very high requirements for the leveling of the ceiling. Making a suspended ceiling can not only allow you to have a complete circle of plaster lines, but also help you save a lot of customization costs.
The domestic floor height is generally 2.7m. The standard door panel is 2.4m long and 1.2m wide. The non-standard door panel from door to top can also be 2.78m.
A square meter of suspended ceiling costs only a hundred yuan, but door panels that exceed 2.4 meters will cost an additional 400 to 500 yuan per square meter.
If the width of the wardrobe is less than 2 meters, blindly raising the height of the cabinet will cause disproportionate proportions.
.03
Think minimalist
Don't install a rebounder blindly
In order to prevent some strange handles from ruining our well-made cabinets, many people choose to install rebounders on the cabinet doors.
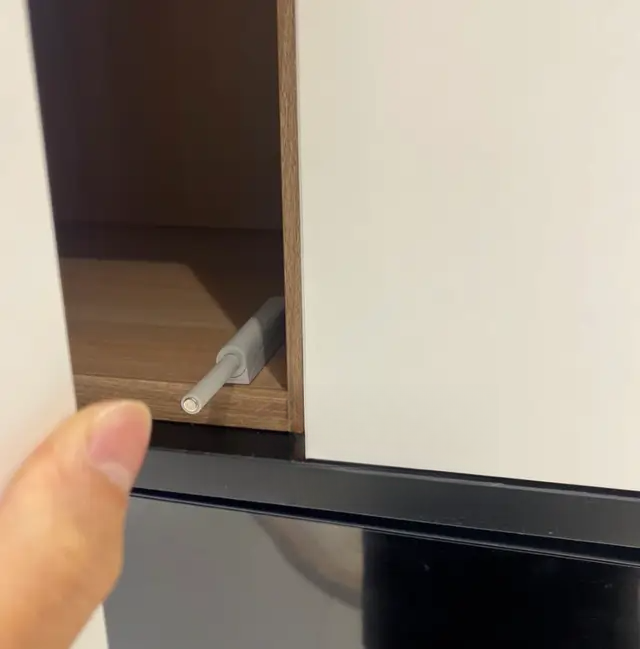
The additional pressing action not only creates more opportunities for fingerprints to be left on the cabinet door, but also requires attention to the pressing position . Often, it takes several presses to open it , and after it is opened, a small gap is left that you have to pry open with your hands.
The life of the rebounder is also relatively short, and it will not bounce open after a period of time.
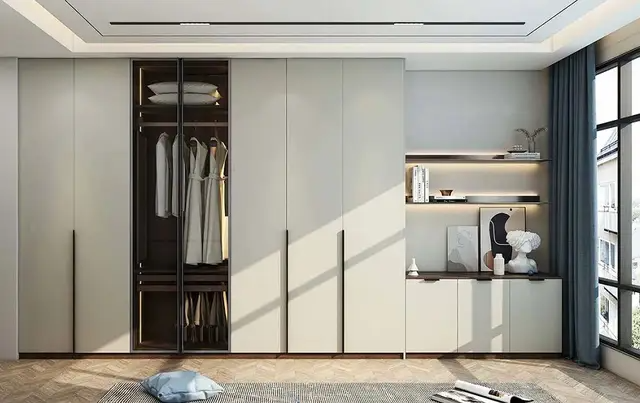
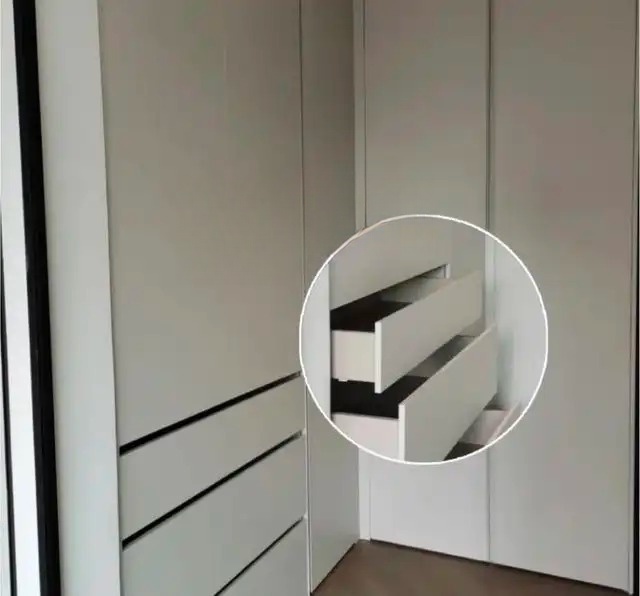
If you really want to make the handle invisible , you can cut the door panel or make grooves in it . It is indeed more expensive than the rebounder, but it is much easier to use.
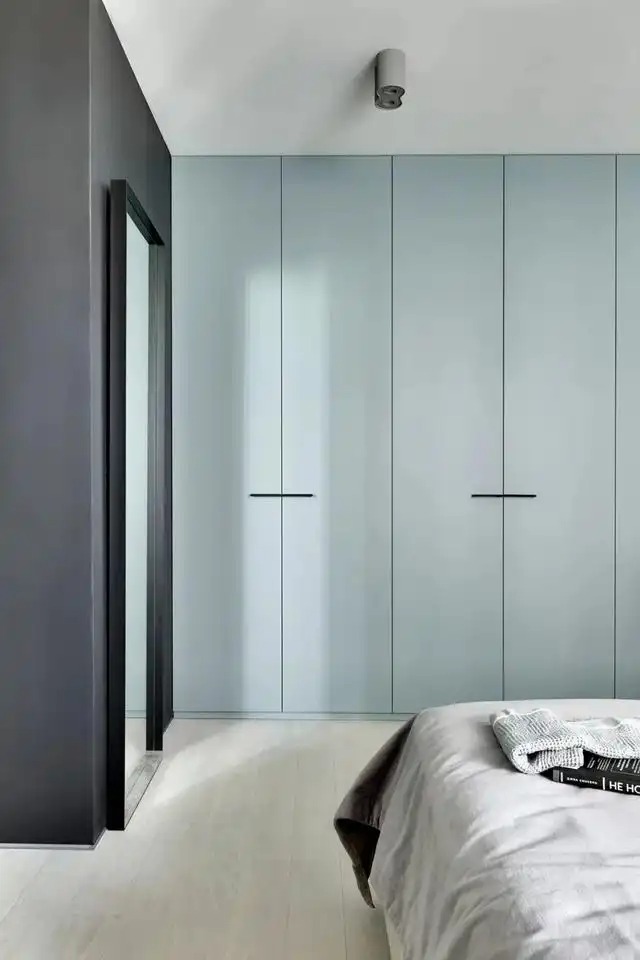
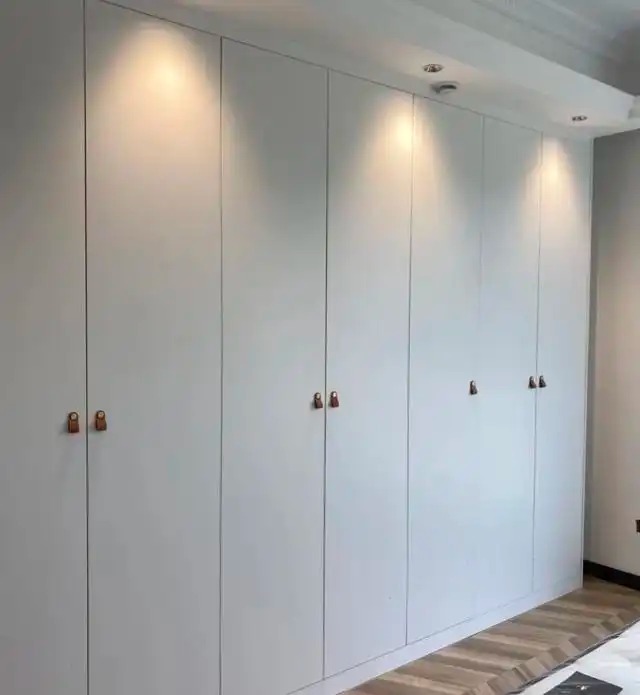
In addition, you can also choose small copper, wooden, crystal or leather handles (to prevent children from bumping into them).
When handles appear as embellishments, the wardrobe will become elegant and attractive.
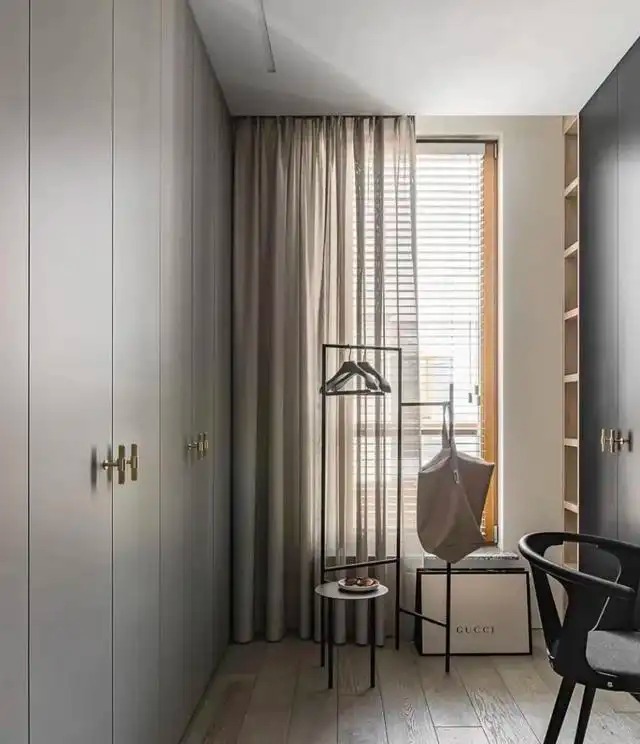
If there are many cabinet doors, avoid using long handles uniformly , which will look messy. Single-sided cabinet door handles will look much better.
.04
Three-point look at the product
70% depends on installation
80% of the whole house customization rollovers are in the on-site installation stage. At this time, you must not take it lightly. Xiaozhu summarizes some precautions for on-site acceptance. Let's take it step by step.
The first step when entering the site is to sort the goods and divide the cabinets into spaces. At this time, you need to take the contract and details you signed at the beginning , and ask the master to remove the packaging and check each space to see if the board and pattern are the ones you originally decided on.
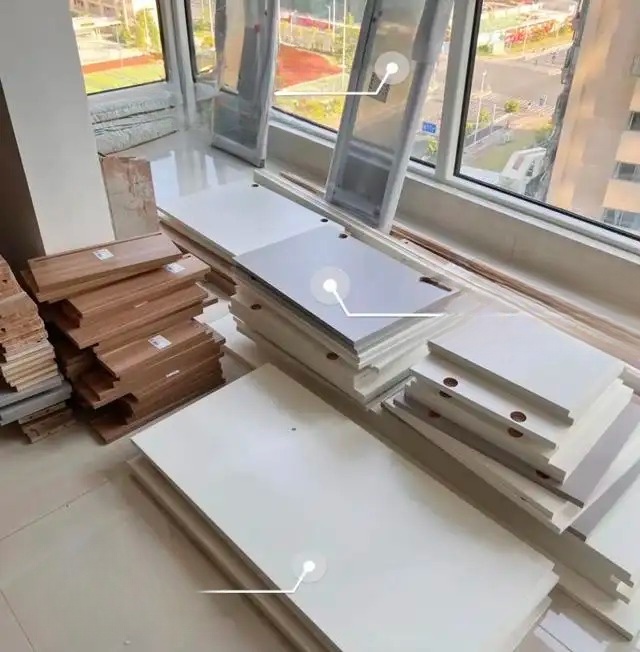
Step 2: Is the edge banding process consistent with the order? EVA edge banding is generally not a big problem. If it is PUR, it is best to take a piece of scrap and burn it with a lighter . It is difficult to tear off the PUR edge banding by hand after burning . If you find that the merchant is cheating you, just take it away.
Step 3: Check whether the brand of the hardware, the thickness of the back panel are consistent with the order, and the style of the handle is correct . Don’t worry about the quantity, the merchant will naturally make up for it if it is missing.
If it is a small handle , be sure to communicate with the master about the installation height ; it is recommended to use 9mm or 18mm for the back panel, not 5mm.
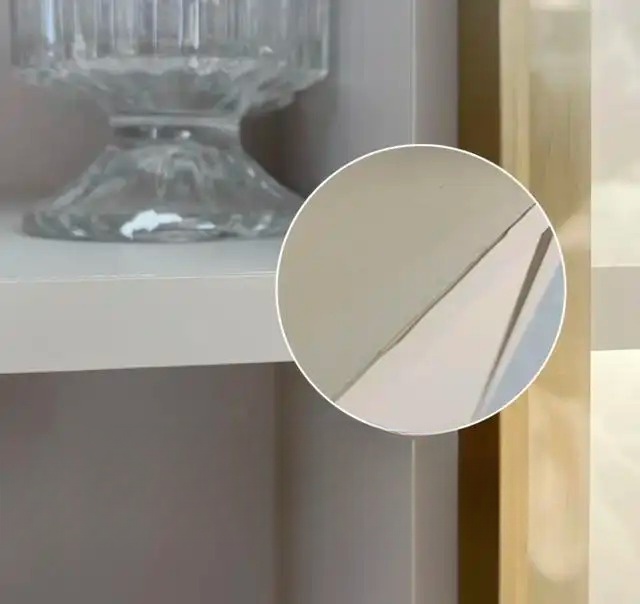
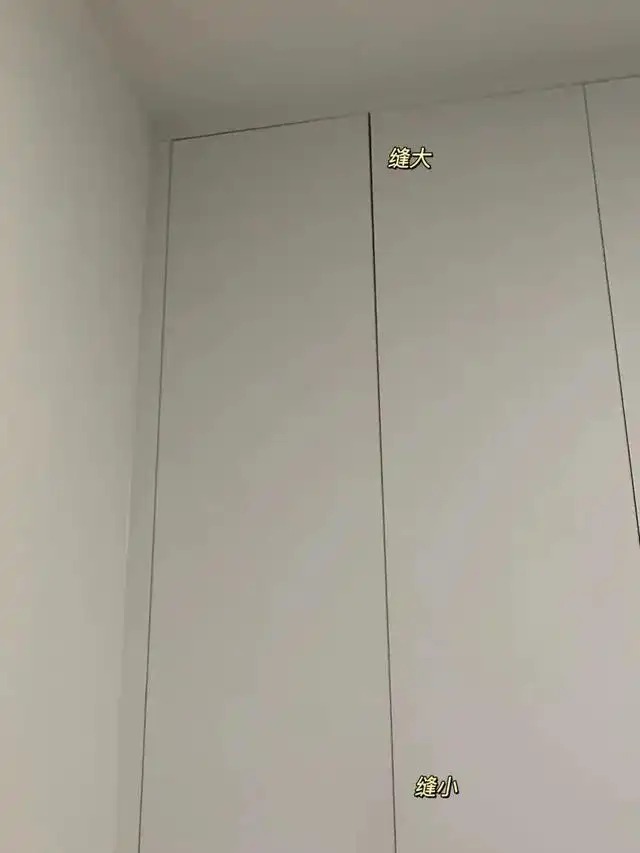
After the cabinet is installed, the first thing to do is to check whether the cabinet door panels are flat and whether there is any deformation ; the width of the cabinet door gaps on the same wall should be kept consistent , both horizontally and vertically.
Finally, tear off the protective film of the cabinet door and check whether there are any bumps or scratches on the surface of the cabinet door . Some minor scratches can only be seen after tearing off the protective film.
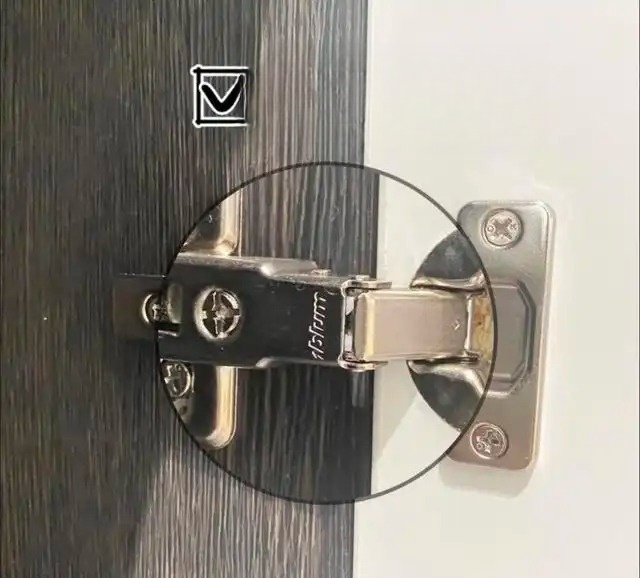
In addition to the above, we also need to see whether the hardware is smooth after installation , and whether all the drawers and hinges are stuck or making abnormal noises.
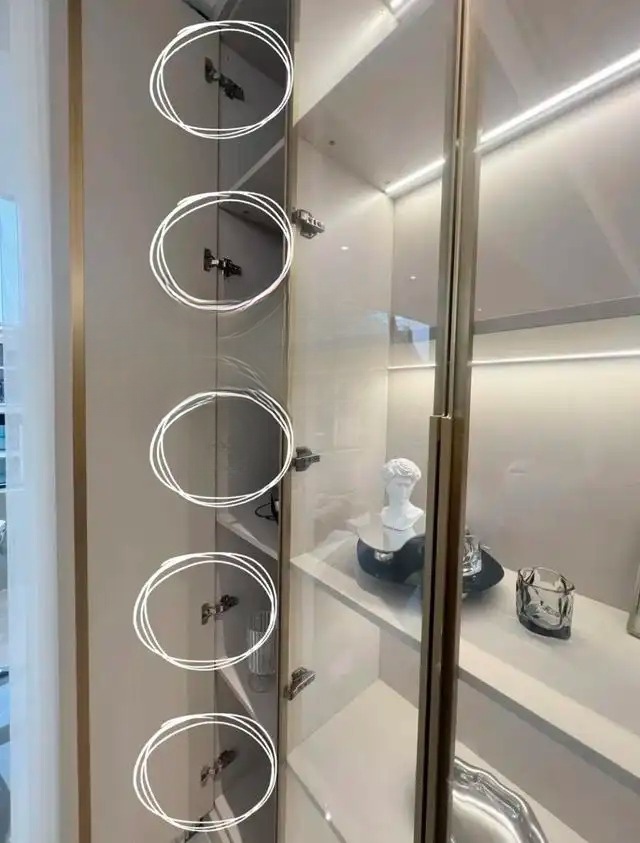
Check the number of hinges again . Cabinet doors over 1.5 meters must have at least 3 hinges, those over 1.8 meters must have 4 hinges, and those over 2.3 meters must have 5 hinges.
Finally, push the cabinet hard to see if it shakes. If it doesn't shake, it is qualified. After everything is completed, remember to tear off the identification codes of all the boards , as they will not be able to be torn off after a long time.
As for environmental protection issues, you can read this article written by Xiaozhu: "If you choose a whole house customization, you deserve to absorb formaldehyde? Which type of board is the most environmentally friendly?"
The above are some tips for creating a good-looking wardrobe. Do you have any other questions or pitfalls? Leave a message and let's chat together~