(Horticultural Knowledge) Planting Astilbe
1. Determine if you have a suitable growing environment. Astilbe originates from the cold, humid northern regions of North America and Europe. They thrive best in such environments, although they can also grow near the equator, provided they receive sufficient shade and moisture. If you live in a region with consistently high temperatures or little rainfall, you may not be able to grow astilbe. Consult your local nursery for detailed information about the growing conditions in your area.
1. Preparing for planting

2. Decide how to plant. Astilbe plants can be grown in three ways: from seeds, bulbs, and divisions (such as cuttings). While all three are options, gardeners tend to prefer division over the other two. Astilbe seeds are difficult to grow and tend to rot before germination, while bulbs take a long time and don't produce enough color or branching. Clumps of Astilbe have independent root systems called "branch roots." These can be separated and transplanted to form new, larger plants.
3. Know when to plant. Astilbe should be planted in spring or fall. Most Astilbe plants are planted directly in the garden in mid-spring, after the threat of several foggy periods has passed. Flowers usually bloom from June to early July. Astilbe can also be planted in early to mid-autumn, after the summer heat has subsided, and often blooms the following year.
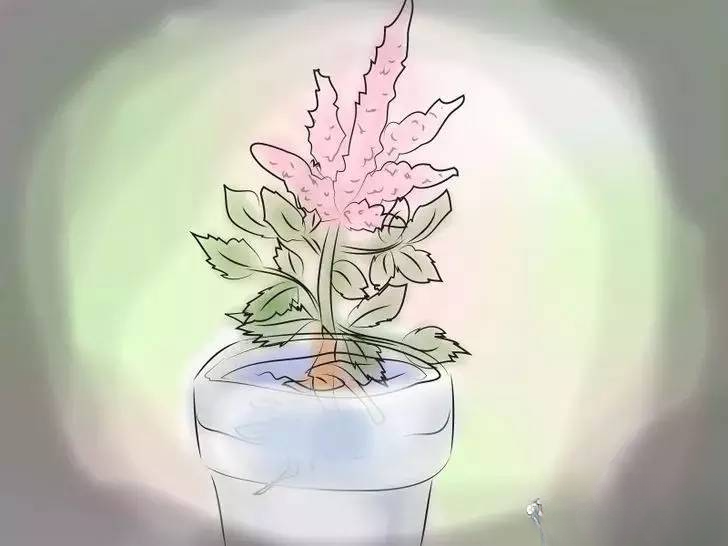
4. Choose a location. Astilbe thrives in partial to complete shade; hot soil and direct sunlight are the least suitable conditions for it. Therefore, find a spot in your garden that is shaded at least part of the time, and also a very dark spot (such as under a tree canopy). Ensure the location has good drainage, as while astilbe likes plenty of water, it does not like being soaked.
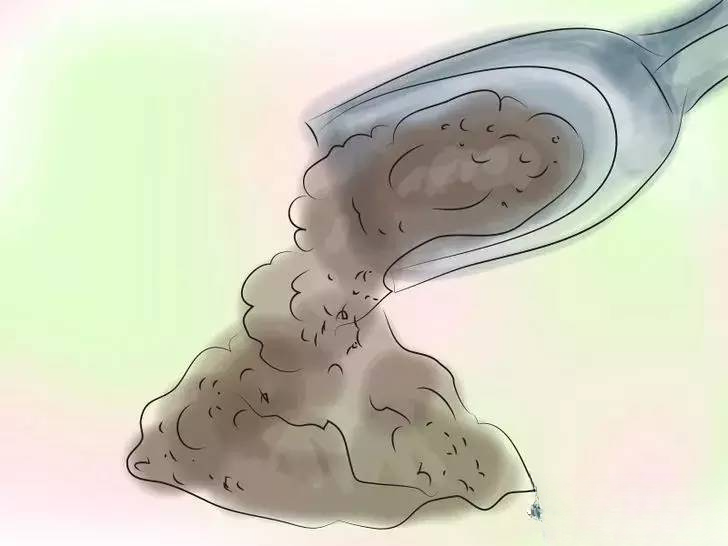
5. Improve the soil. This flowering plant prefers fertile, loose soil, but it also needs to be able to retain moisture. Mix humus or peat moss together and place it in the planting bed, digging out several large mounds of soil using a garden shovel or machete. If the location you've chosen has poor drainage, mixing sand and perlite together will help drain excess water.
Second: To give the branch to the Bride of the Fallen
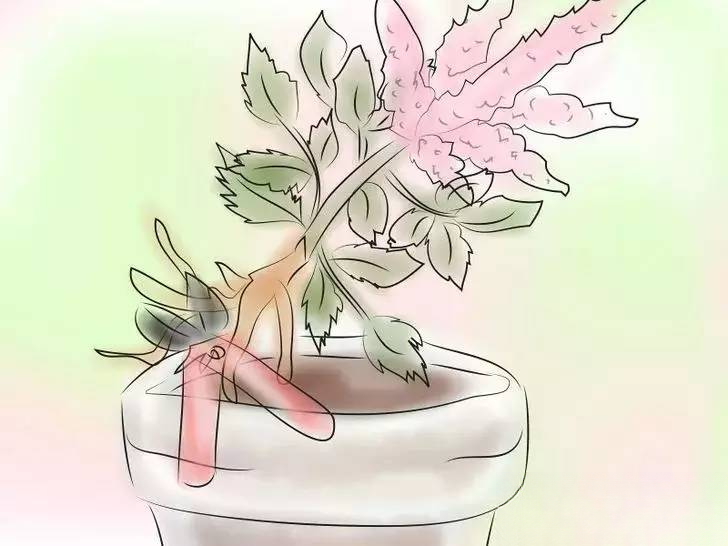
1. Choose a plant. Select an Astilbe sapling that is a few years old, as it will develop large, bushy roots after a few years. Astilbe will produce a variety of attractive colors, including white, red, pink, and purple. Dig the plant out of the soil or planting box.
2. Divide the Astilbe. Cut a large rootstock from the plant using clean garden shears. Choose a section with a "crown" or heart shape. The crown should look somewhat dry, but even an immature crown can mature.
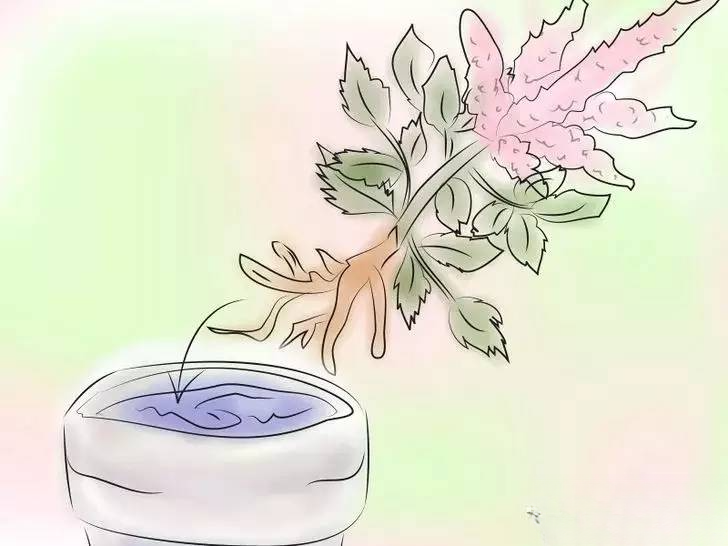
3. Soak the roots. Place the roots in a bucket of warm water for several hours or overnight. Soaking the roots can help it grow vigorously.
Three: Planting Astilbe
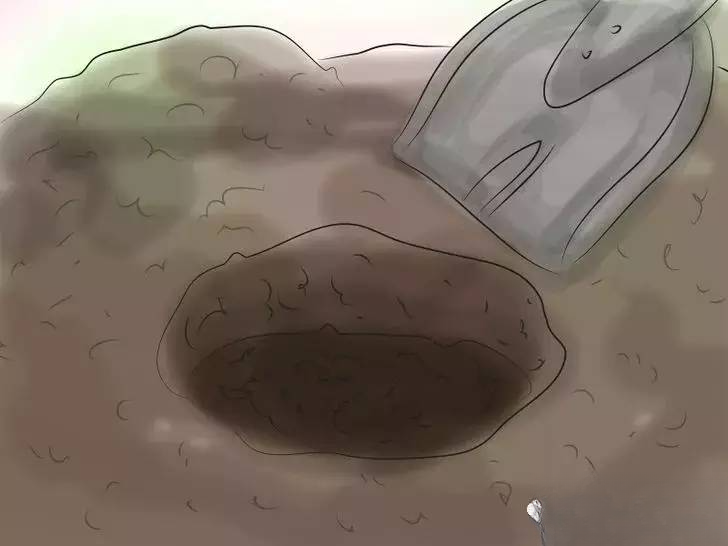
1. Dig a hole roughly the same size as the roots. The hole should be wide enough to prevent accidental damage when you plant the roots. After making a wide enough hole, you also need to ensure that the soil around the roots is not too compacted, allowing it to spread out. In addition to being twice the width of the roots, the hole should also be 10 to 15 centimeters deep.
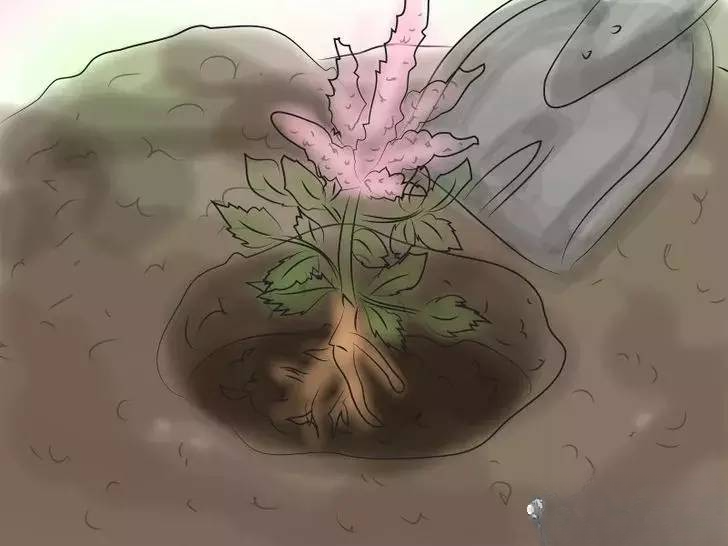
2. Insert the rootlets into the holes. The roots should be below ground level, and the "crown" should also be 2.5 to 5 centimeters below ground level.
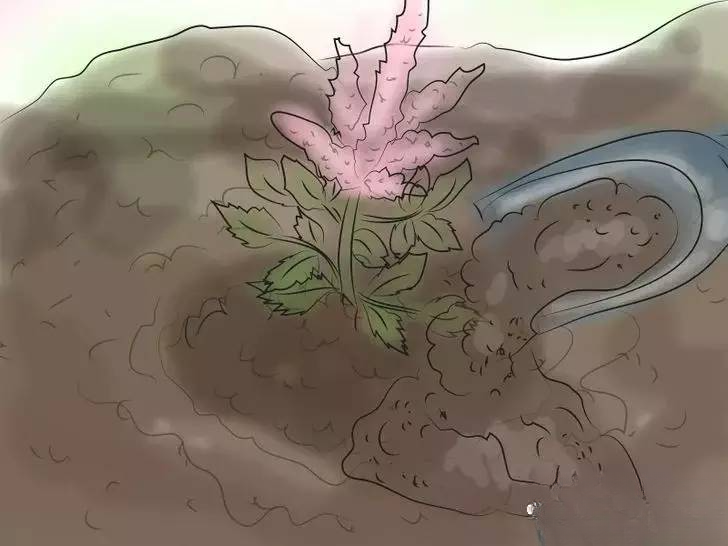
3. Fill the hole with soil. Use the soil you initially dug to fill the hole. The soil should have the same nutrients as the surrounding soil. Make sure the roots are completely covered, then pat the soil in place to seal any air gaps.

The four roots should be spaced 30 centimeters to 1 meter apart. If planting multiple Astilbe divisions at once, the holes should be far enough apart to ensure that the roots have enough space to spread.
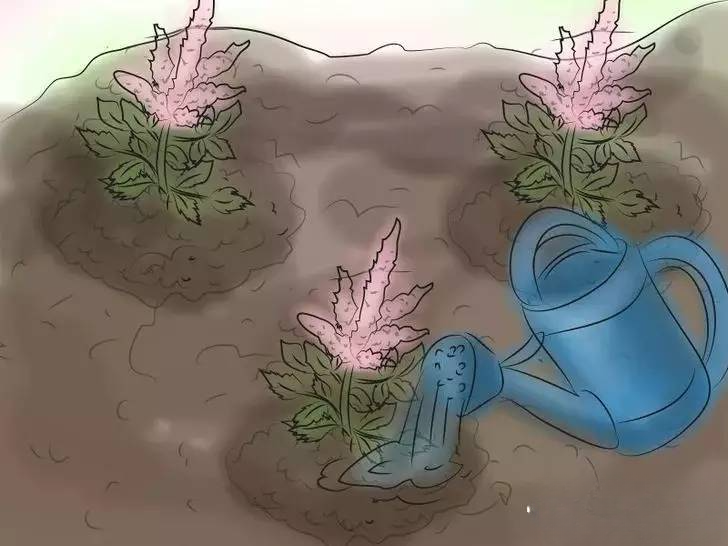
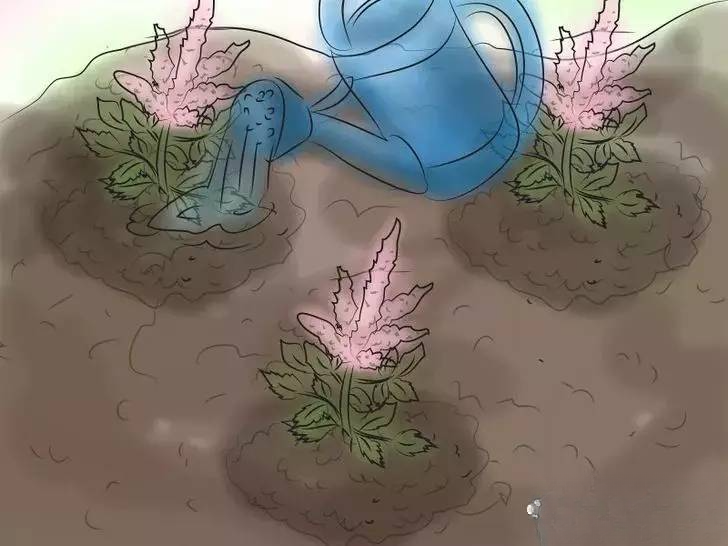
5. Water the roots thoroughly. Immediately after planting, moisten the soil with a garden hose or bucket. New plants need to absorb plenty of water before sprouting and flowering, and if the roots are dehydrated during this time, the growth process can be ruined.
Fourth: Caring for the Laxin Bride
1. Ensure your astilbe plant is watered on time. In rainy weather, it may not need extra water. However, if it doesn't rain for several days or even weeks, watering is almost certainly necessary. Regularly check the soil condition. If the surface feels dry, you should water the soil thoroughly. Never let the roots dry out for too long, even if the plant has already established itself.
Instead of watering a little every day, you can water it more frequently every few days.
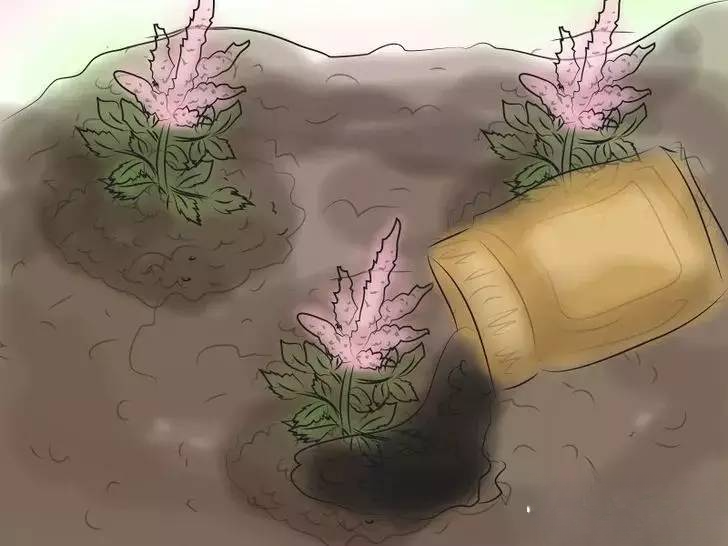
2. Fertilize at least twice per quarter. Apply a slow-release fertilizer to the plants in early spring, then give them an additional dose 6 to 8 weeks later. You can use a compound fertilizer containing equal amounts of nitrogen, phosphorus, and potassium, or you can choose a fertilizer high in nitrogen and phosphorus. Phosphorus helps with root development and flowering, while nitrogen helps with abundant, lush foliage.
Fertilizer should only be applied when the soil is moist. It should be applied in the early morning or evening when temperatures are low. Following these steps will prevent fertilizer from burning your plants.

3. The plants should be covered with a mulch. Use bark or other types of mulch to help retain moisture. Spreading a layer of firm mulch helps keep the soil moist and controls weeds. In addition, decomposing mulch can add more nutrients to the surrounding soil.
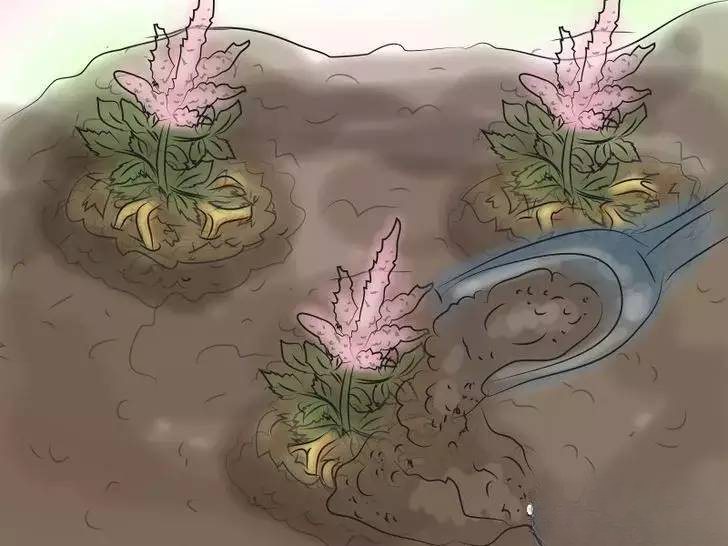
4. Bury the crown as soon as it emerges from the soil. Plants grow quickly, and as they spread, large root systems form. These clumps of crown easily emerge from the soil. You should cover the crown with fertile soil to prevent the roots from drying out.
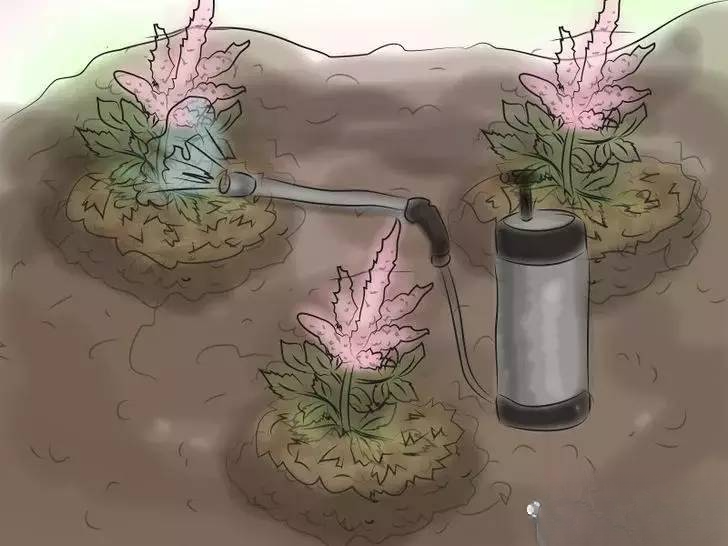
5. Treat pests only when necessary. The most common insects and diseases attacking Astilbe include pasture bugs, powdery mildew, and bacterial leaf spot. Even so, the plant is not easily susceptible to pests and diseases. If one of these problems does occur, you can apply a suitable insecticide to kill it. However, preventative insecticide use is not recommended.
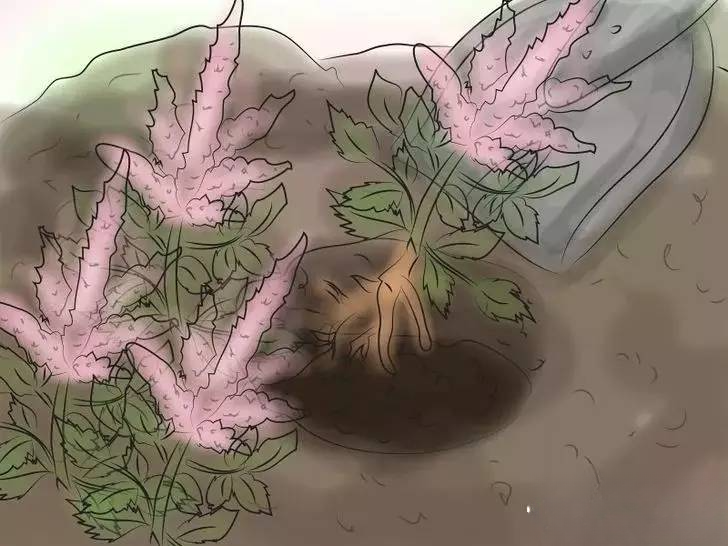
6. Divide the roots every few years. Every spring, you should divide the roots of your astilb plant to prevent them from suffocating. You can transplant these divisions to grow new plants, give them to gardening friends, or simply throw them away.
6. Divide the roots every few years. Every spring, you should divide the roots of your astilb plant to prevent them from suffocating. You can transplant these divisions to grow new plants, give them to gardening friends, or simply throw them away.