Hop cultivation: mastering these cultivation techniques and key points of planting techniques is the key to increasing production and income
Hops Planting Technology
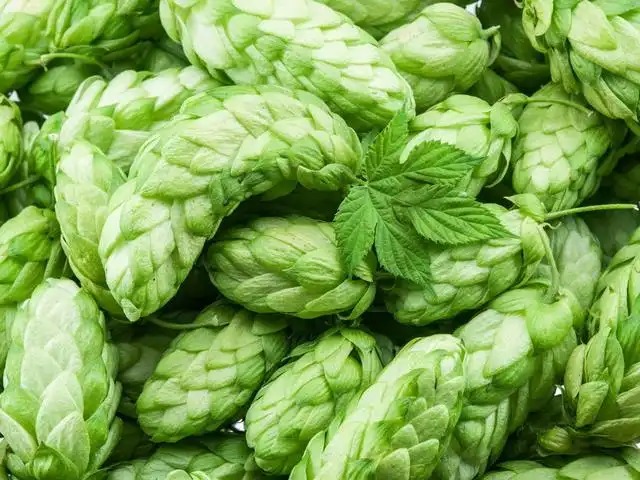
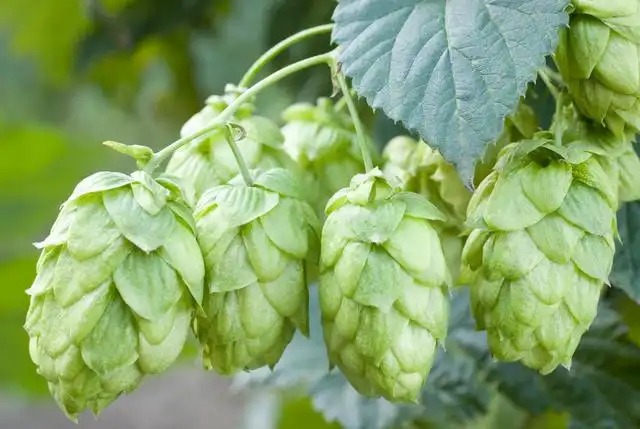
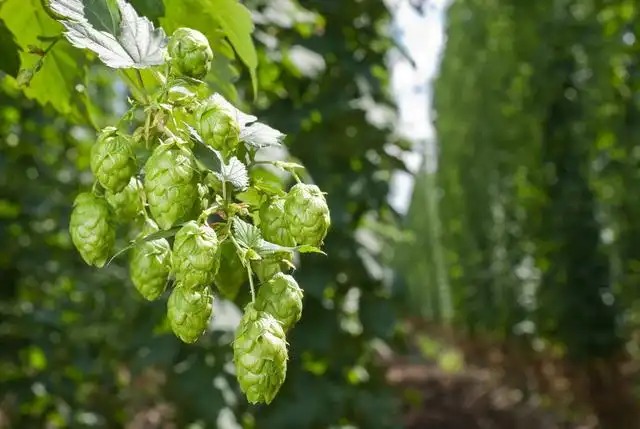
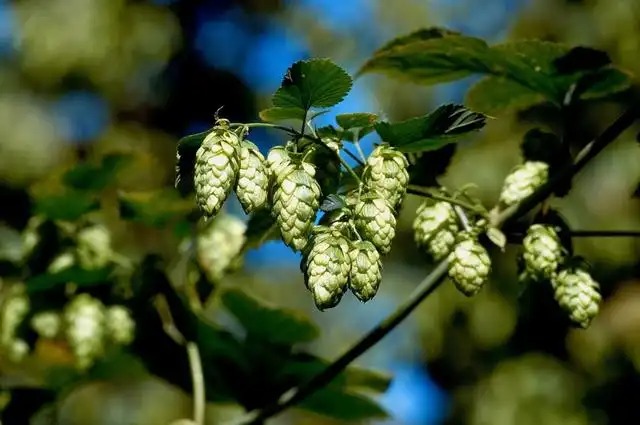
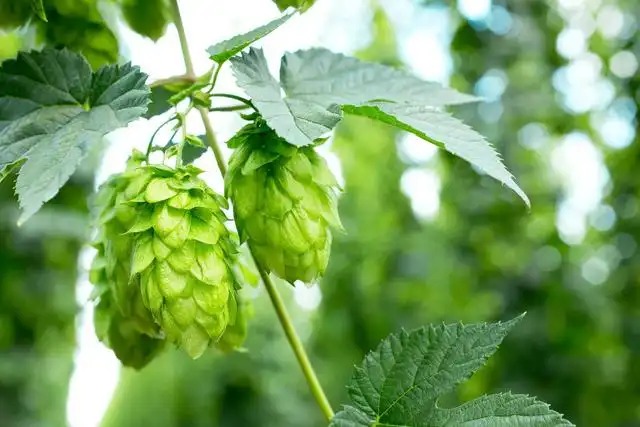
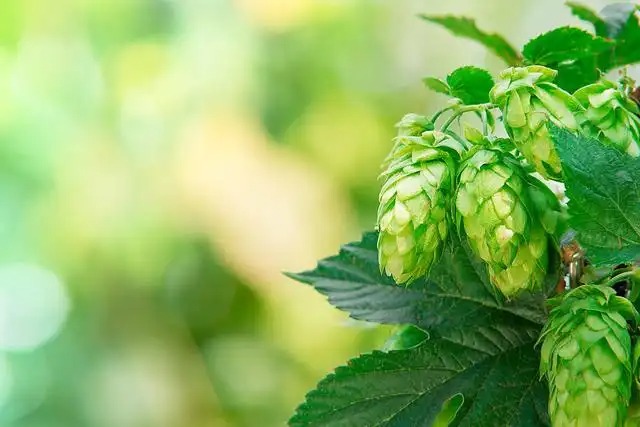
Hops is a perennial climbing herb of the Moraceae family. Hops are the main raw material for making beer. Hops are native to Europe, America and Asia. Hops have high requirements for light and generally grow in mountains, bushes or wetlands on both sides of rivers with good light, and are distributed in patches. In areas with more fertile soil, wild hops are distributed in patches and the plants are tall, while in environments with lower soil fertility, they generally grow poorly, the plants are short, the leaf shapes vary greatly, and the maturity of hops in different distribution areas varies greatly. So, how should hops be cultivated artificially?
1. Breeding method
1.1 Seed propagation
Seed propagation is mainly used for hybrid breeding of hops. The seed coat of hops seeds is relatively hard, so its germination rate is relatively low, about only 10%. Therefore, growers should choose full seeds before sowing, then soak them in warm water at about 35°C and place them in a room at 24°C for germination. When the average temperature reaches about 20°C, sowing can be done. After sowing, growers need to cover the surface with a layer of fine soil, water frequently to keep the soil moist, and the seedlings can emerge after about 4 days . After the seedlings emerge, shade measures should be taken, and topdressing should be applied twice in the middle of the seedlings.
1.2 Propagation by underground stem cuttings
Rhizome cutting propagation is one of the simpler methods of hop propagation and is also the most commonly used method. When cutting hops every year, select robust, pest-free, 12 cm long, 1.8 cm thick, and smooth rhizome seedlings for direct cutting. If cuttings cannot be made in time, they should be transplanted. Dig a 70 cm deep trench in a dry place, then bundle the seedlings into small bundles according to specifications and varieties, and then classify them and put them in the trench for transplanting. If transportation is required, growers must also take measures to prevent moisture loss and temperature control in the seedlings .
1.3 Green branch cuttings
Green branch cuttings are also a common method for propagating hops. Moreover, the propagation coefficient of green branch cuttings is relatively high, and it can be carried out in a greenhouse and seedbed environment. Experiments have shown that the survival rate of green branch cuttings can reach more than 95% when plants with about two bud nodes are selected for green branch cuttings in May and June. Alternatively, you can postpone it for a month, select a green branch with a bud node, treat it with indoleacetic acid, and then cut it for rooting. The rooting rate is very high.
1.4 Bud propagation
When cutting buds, growers should select buds that are 8 to 12 cm long, plump and strong, free of pests and diseases, and with an appropriate amount of fibrous roots. Control the spacing between plants and rows and plant them directly in the nursery. When planting buds, all buds should be planted in the soil, and the distance between the top of the bud and the ground should be controlled at about 3 cm. After planting, growers should cover the soil appropriately, then water and keep the soil moist. Under normal circumstances, seedlings will emerge in 2 to 3 weeks . After germination, management work can be done according to the management requirements of the seedlings.
2. Site selection and land preparation
Hops was originally a weed, so it has a strong adaptability to soil. However, when planting hops, growers must fully consider the yield and quality of hops. Therefore, growers should choose thick and fertile soil to plant hops. The planting site should be located in a convenient place for transportation to facilitate later transportation. After selecting the planting site, land preparation is required. The soil should be turned about 28 cm deep, and then trenches should be dug. The depth and width of the trenches should be kept at about 50 cm. Then, about 3,000 kg of decomposed farmyard manure should be applied per 667 m2 . The fertilizer should be applied to the trench and fully mixed with the soil to improve soil fertility.
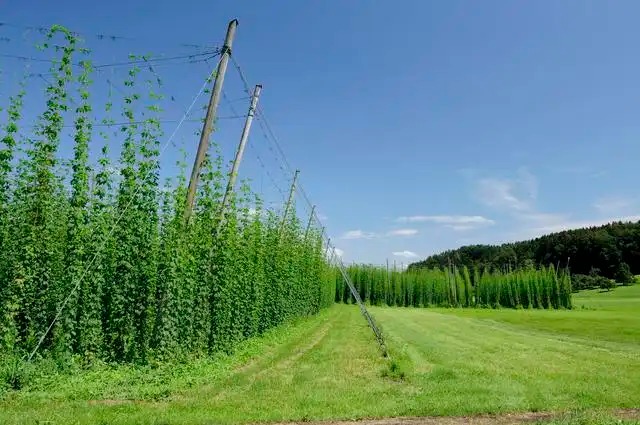
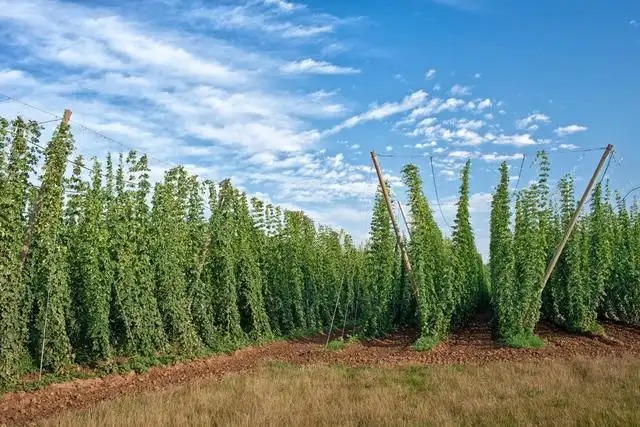
3. Build a scaffold
Hops is a climbing plant, so when planting hops, growers should build a trellis. The trellis is divided into low trellises and high trellises. The low trellis requires that 3 m long cement columns be buried at a certain distance in the garden, buried 80-100 cm in the soil, and the surrounding columns are thickened and tilted outward appropriately. The side columns are 12 cm×12 cm×300 cm in size, and the pull wire is tied. The pull wire is made of iron wire. The upper end of the column is fixed with iron wire or angle iron, and a wire is pulled every 45 cm on the frame. This type of frame is relatively low, with less investment, strong wind resistance, and fewer weeds, but the ventilation and light conditions are poor, which affects the quality of hops, and thinning branches and leaves is more labor-intensive.
The basic structure of the high trellis is the same as that of the low trellis, except that the columns are high, the distance between the columns is large, and the side columns are 12 cm × 12 cm × 350 cm. This type of trellis has good ventilation and light transmission, and the plants grow vigorously, which is convenient for mechanized management, but the investment is large and requires a high level of mechanized management.
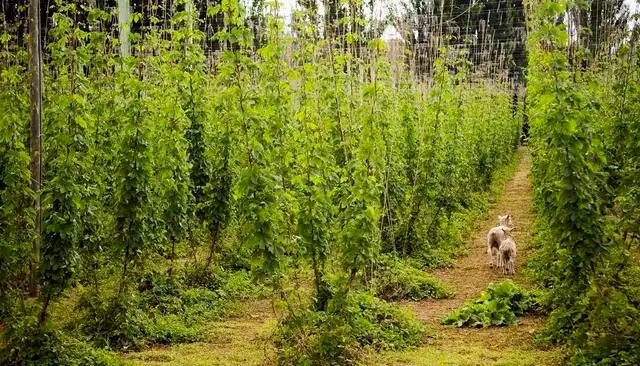
4. Tie and guide the vines
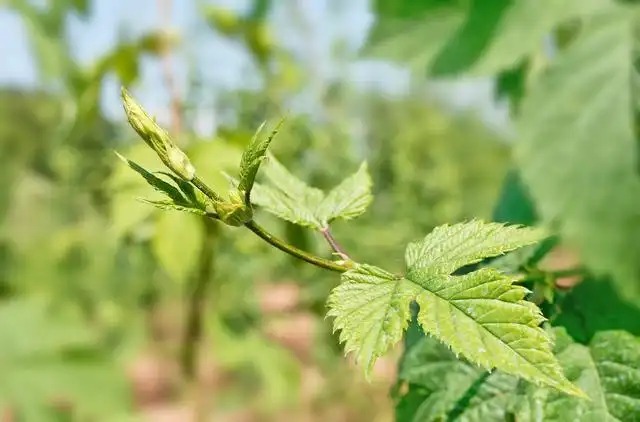
When the hop seedlings grow to about 50 cm in height, growers need to tie and guide the vines. You can use thin ropes or plastic ropes to tie the hop branches to the iron wire of the trellis according to their growth habits, usually once every 4 days. It is best to tie the vines on a sunny day when the plants are slightly wilted to avoid the branches being too hard and causing them to be broken when tied. When the seedlings grow to 2 meters in height, thin out the branches and leaves. Remove the branches that are too dense, overlapping, and infected with pests and diseases in a timely manner to improve permeability, promote the growth of the main vines, and reduce the occurrence of pests and diseases.
5. Planting at the right time
Hops are usually planted in early spring. Usually, when the temperature rises to about 11℃ in spring and the seedlings grow to about 20 cm in height, seedlings can be planted. Farmers should control the spacing between plants and rows according to factors such as climate, soil fertility, varieties and trellises, reserve sufficient growth space for strong seedlings, remove some weak seedlings and avoid consuming too much nutrients. When planting in the first year, the spacing between plants should be controlled at about 50 cm, and the row spacing should be kept at about 2.8 m. Then in the second year, thin out one plant every other plant, and expand the spacing between plants to about 1 m. Before planting, the seedlings should be disinfected with Bordeaux liquid to prevent infection. When planting, place the seedlings in the middle of the ditch, keep the distance from the top of the seedlings to the ground at about 11 cm, then fill the ditch and cover with soil, and water after planting.
6. Cut off the remaining buds
Bud cutting is to cut off the extra buds and leave a few strong buds, so that the nutrients are concentrated on these strong buds, develop into strong aboveground stems and underground root systems, and remove rotten roots, diseased roots, and insect pupae. Most areas cut buds in spring, and it is better to cut buds early rather than late in spring, and the time of cutting buds should not be delayed too long. The method is to dig up the soil around the rhizomes until all the old roots are exposed, then use a wooden knife to remove the soil outside the pit, and use a sharp bud cutting knife to cut off the new rhizomes or rotten roots 1.5 to 2 cm from the new and old rhizomes, leaving only 5 to 8 strong buds on the new and old rhizomes . The cutting edge of the bud cutting knife should be smooth, and the rhizomes should not be cut. After cutting, let it dry for 1 to 2 hours before covering with soil.
7. Covering with mulch
After the hop seedlings are planted, the film should be covered in time when there is no water in the planting ditch. In order to improve the film covering effect, a wooden stick is erected at a certain distance in each ditch as a support. After covering the film, the edges of the film should be pressed with stones. Then, when the seedlings grow to about 20 cm in the ditch, the seedlings are released. When releasing the seedlings, pay attention to the film opening to prevent air leakage. When the seedlings grow to about 2 m, the film is broken and the ground film is recovered.
8. Water and fertilizer management
During the growth period of hops, growers must do a good job of watering, especially during the winter. If there is a lack of water, it will have a great impact on the growth of hops and the yield will also decrease. Especially during the flowering period, growers must ensure that hops have sufficient water. During its entire growth period, growers need to water 7 times. When watering, it can be done together with fertilization, applying 12 kg of nitrogen fertilizer per 667 m2. Topdressing is required once during the budding period and flowering period.
9. Intertillage and weeding
Intertillage and weeding are very important for the growth of hops. If weeding is not done in time, weeds will rob hops of their growth nutrients. Intertillage and weeding should be done in time after each irrigation or rain. The depth of intertillage should be adjusted reasonably according to the growth period of hops. For example, deep hoeing can be done appropriately in the early and late stages of hop growth. In the flowering period, shallow hoeing should be used as the main method to avoid excessively deep hoeing that may cause root damage and reduce yield.