Handmade Bookshelf Tutorial DIY Inverted Creative Bookshelf
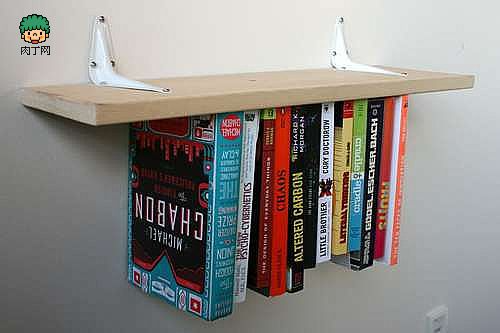
This kind of inverted bookshelf is very popular recently. I happened to see the method of making it yesterday. It is very simple from the tools to the method. You can also try it if you are tired of the monotonous life like me, and if you still have the childlike interest in your heart.
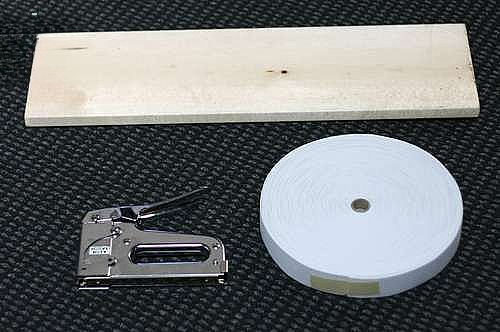
In addition to the basic materials such as the wooden bookshelf and the brackets, you will also need elastic bands and a stapler. The elastic bands I used here can stretch to twice their original size and are strong enough to hold the books in place.
Optional materials: Glue sprayer.
DIY instructions for creating a personalized wall bookshelf
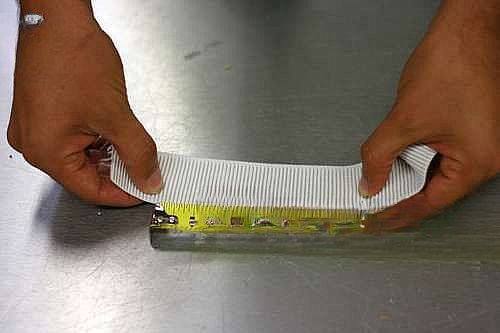
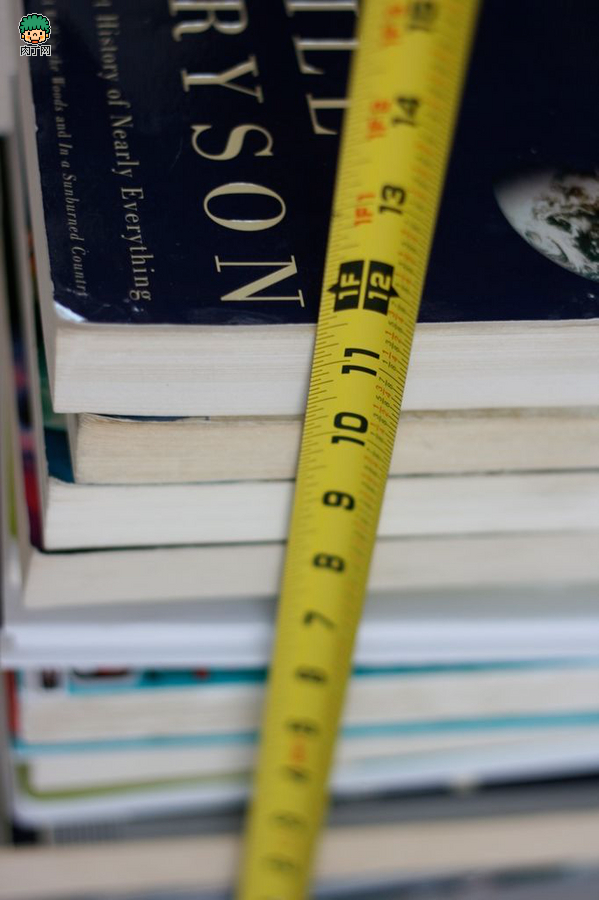
The key is to figure out the width of the book and how long the elastic is to hold it to the board without wrinkling it. The average book measured to be one inch wide, and the ideal elastic length is 14 inches.
Handmade bookshelf production process
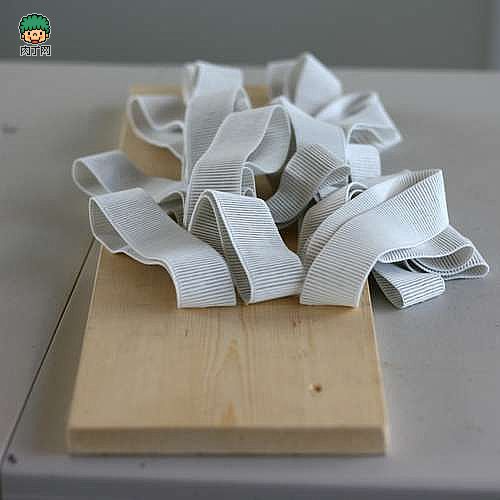
Now that you know the length and width, the next step is to nail the two elastic strips to the bottom center of the board. I plan to hang 12 books, so I have over 14 feet of material on each side.
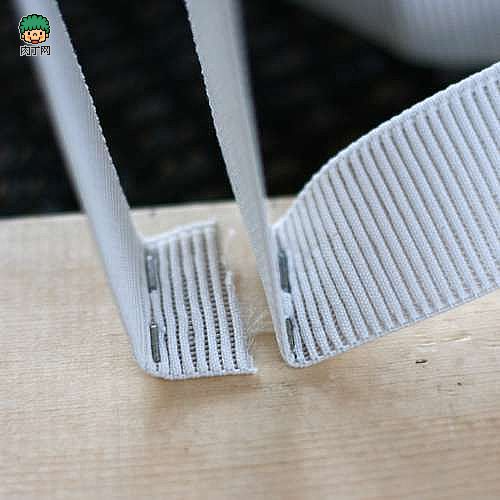
Start working each section of elastic with the extra length facing inward. Nail it down, fold the elastic back and start running it along the board. Measure out 14 inches, nail one inch away, repeat this process until you are done, then fold the extra length back inward and nail it down.
Simple and practical bookshelf creative DIY
Handmade bookshelf production process
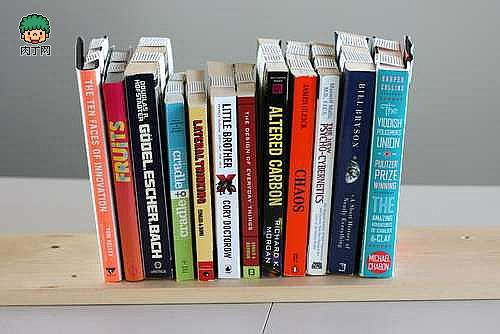
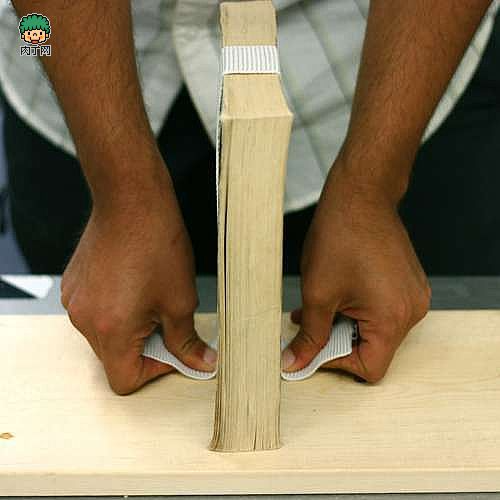
I inserted the book in there and it held even the heaviest of books snugly. For smaller books, two elastics would have been too much and would have weighed the book down, so I only used the front elastic and put the other one in the back.
Now that the bookshelf itself is solid, attach a pair of brackets to the other side of the board. Then use screws to secure the bookshelf to the wall.
NOTE: This is suitable for short term installations. For more durability it is recommended to hide a pair of L brackets underneath.
That's it. You can also stick some toys, book clips, or even fake drinks under the board to create a seamless look. Put seldom-used books on such a simple bookshelf, and put some favorite plush toys or other gadgets on the board as decoration. Wouldn't it add a lot of fairy tale colors to your home?