Gardening World: How to grow Australia’s expensive vegetables yourself?
When it comes to planting, of course, planting a money tree is the ideal. Shake it and it will drop down all the money. How wonderful!
But in Australia, there's actually a "money tree" that's very close to home. If you shake it, a kilogram of fruit will drop and turn into 100 Australian dollars. Would you believe it? You can believe it. Ginger in Australia has recently reached an all-time high of $100 per kilogram (see Figure 1).
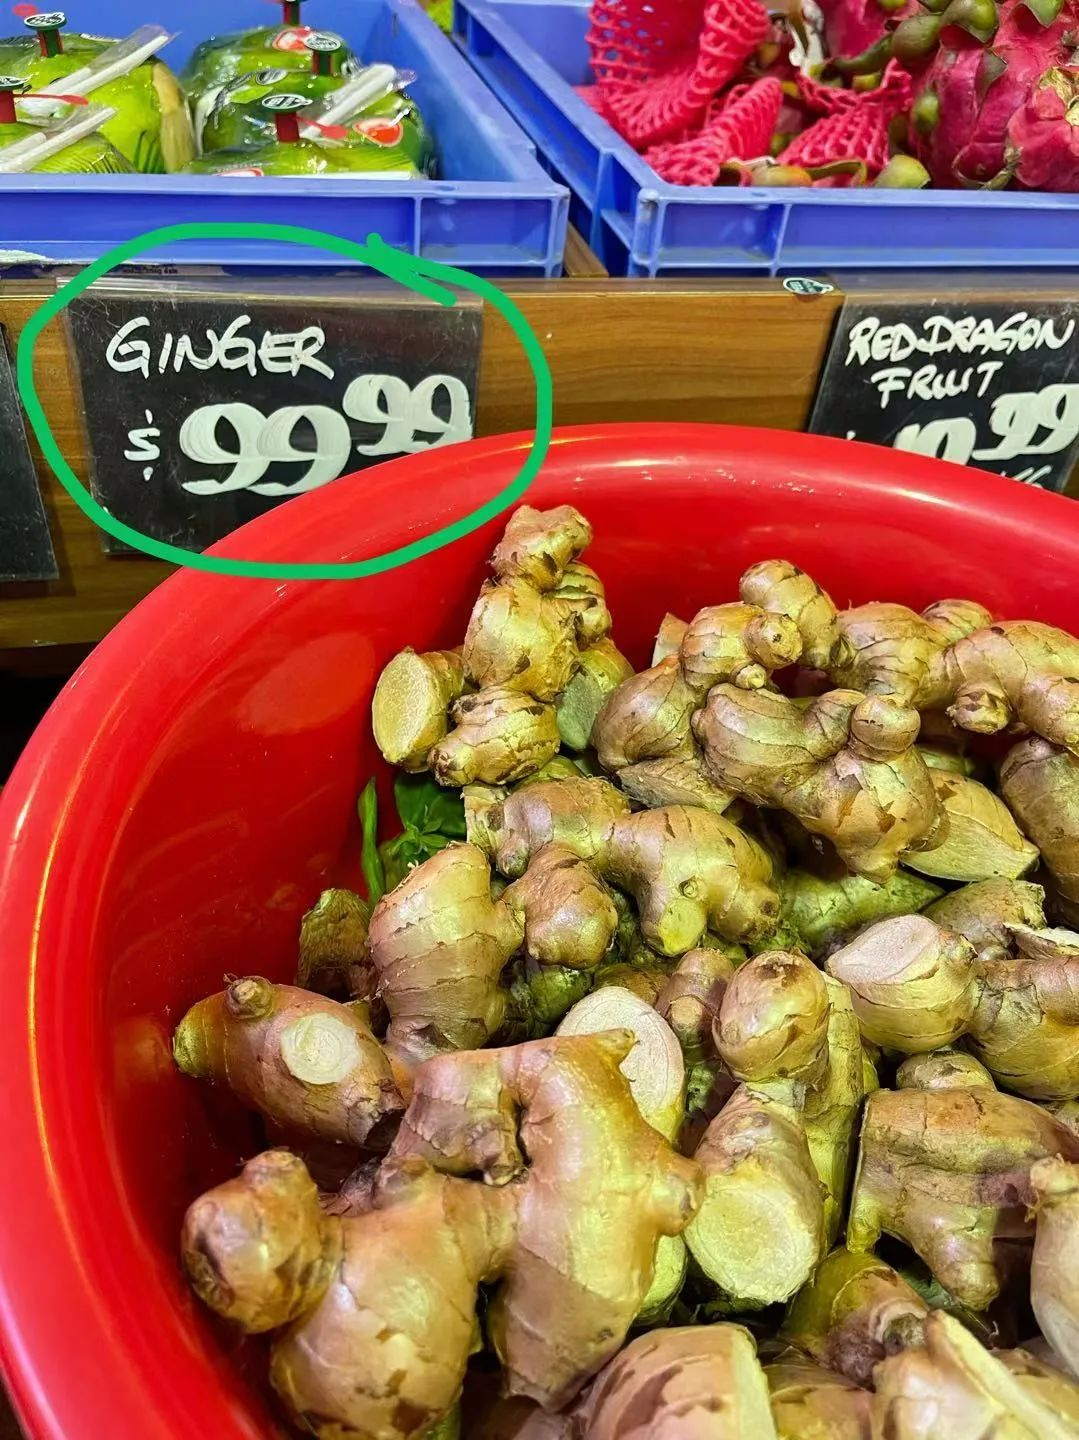
(Figure 1)
Next, I will share with you my experience in growing ginger.
Long ago, we went to the countryside to learn how to grow various agricultural products. Ginger was one of them.
My first attempt at growing ginger, using my experience from the Northern Hemisphere, ended in failure. I buried a kilogram of ginger seeds, but by harvest time, I couldn't even harvest a kilogram of ginger. After years of reflection, I've finally figured out some tips for growing ginger in Sydney.
It is winter in Australia now, which is considered the slack season for planting, but in fact we cannot be idle at all. The process of preparing the soil is carried out in winter.
The first step is to dry the soil in the sun to increase the oxygen content in the soil, which is beneficial to the development of the plant roots (see Figure 2).
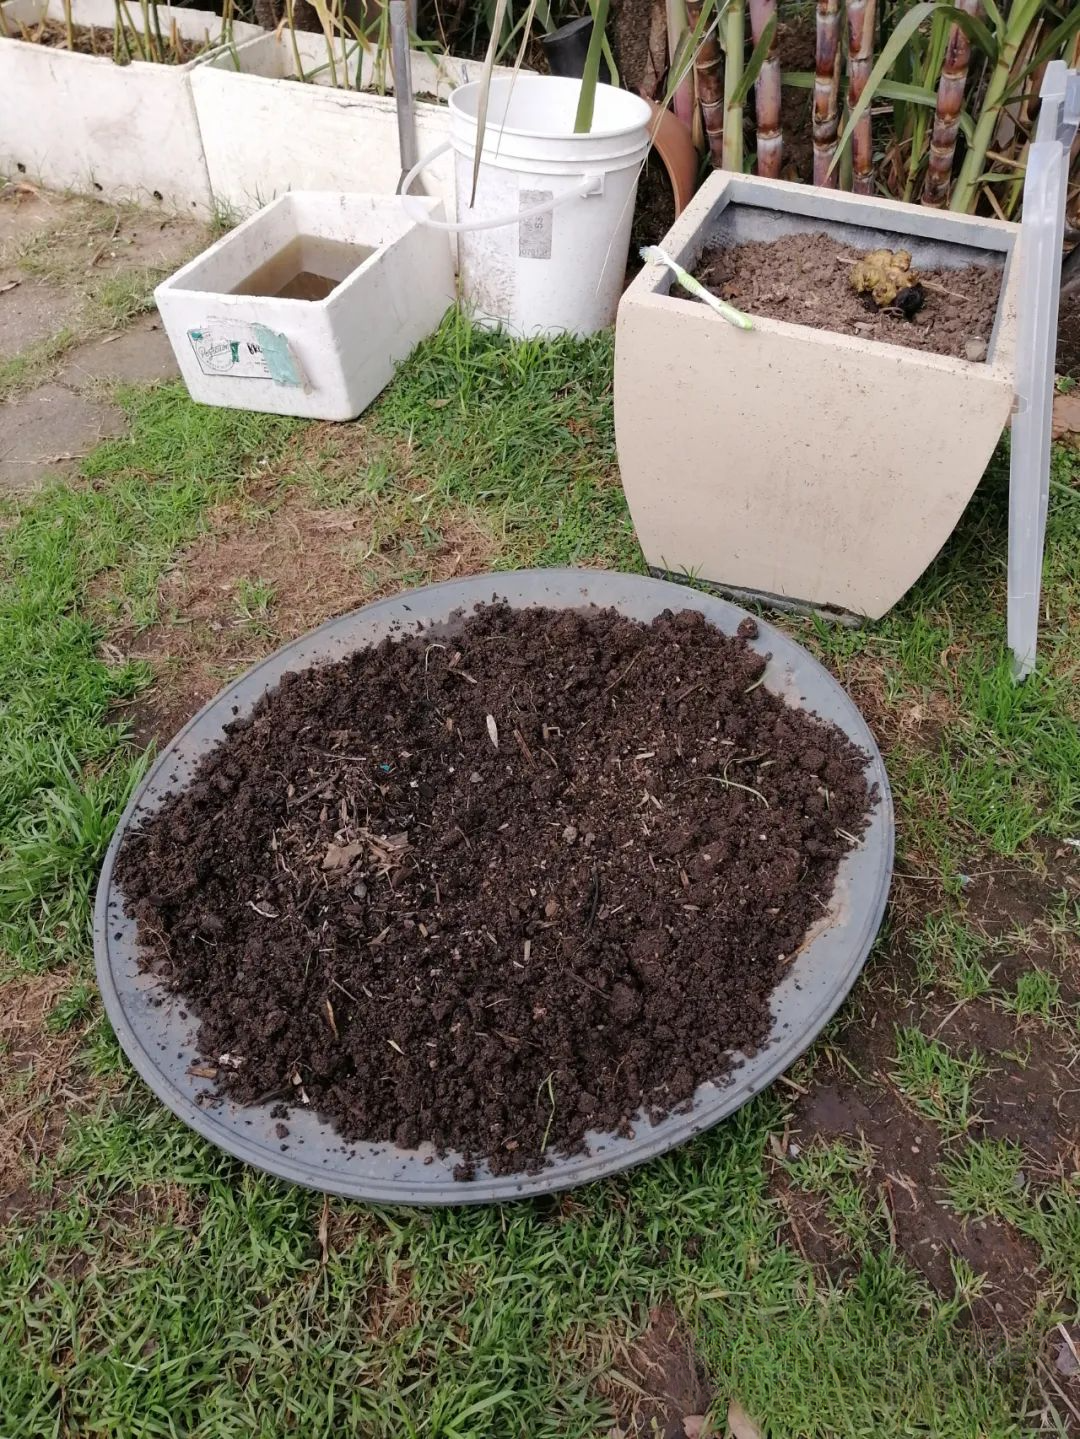
(Figure 2)
You can plant any plants in the sun-dried soil when spring comes.
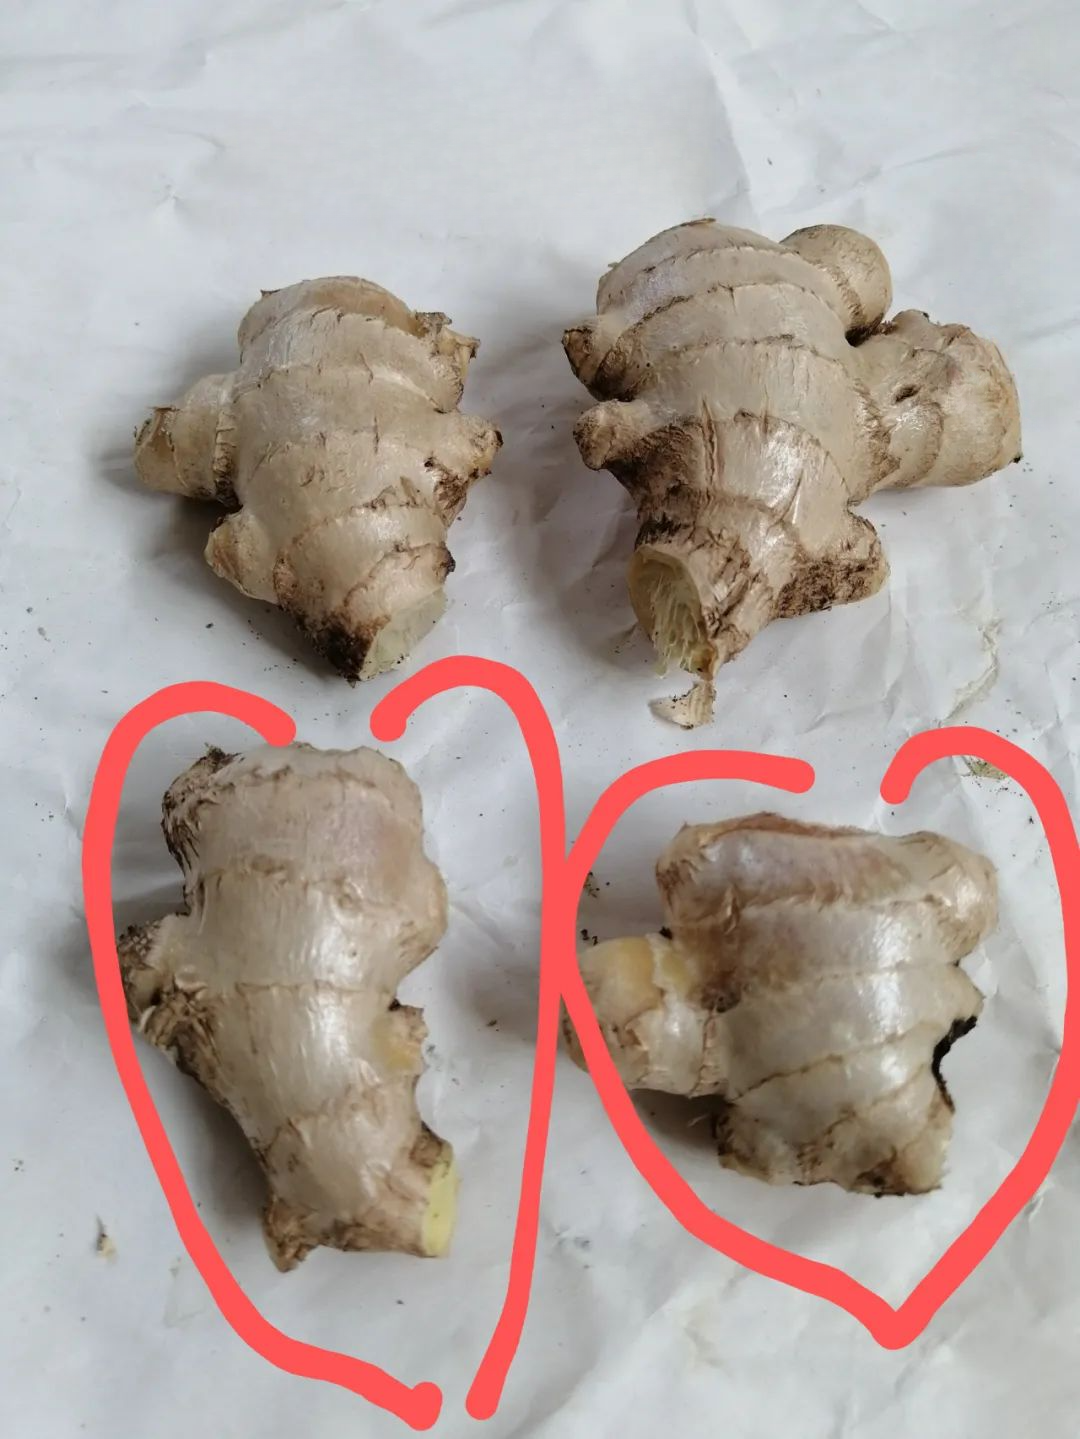
The second step is to select ginger seeds . Baidu has many good methods, so I won't go into detail here. I'll just briefly talk about my own habits. I choose some ginger with a plump heart-shaped shape for seed. I feel that this type of ginger has a higher yield than ginger with a round head and round shape. (See Figure 3)
The third step is to choose a flower pot : I have been growing ginger in Sydney for many years, and I don’t feel that I have any special requirements for the flower pot. Precisely because there are no special requirements, it is very suitable for everyone to grow in the yard or on the balcony. Having said that, I like to use the foam boxes discarded by grocery stores or restaurants. There is enough space inside for the roots to stretch. Foam boxes are very safe direct packaging materials for food, and they are also safe for growing plants, so you can use them with confidence. Generally, the foam boxes they discard have a tight bottom and are leak-proof. I will poke 2-3 drainage holes on the lower side of the box. Why not poke the bottom? The main reason is that the box is placed on the ground, and the bottom holes are also blocked, which is equivalent to not poking, so you have to poke the side. (As shown in Figure 4, Figure 5)
(Figure 4)
(Figure 5)
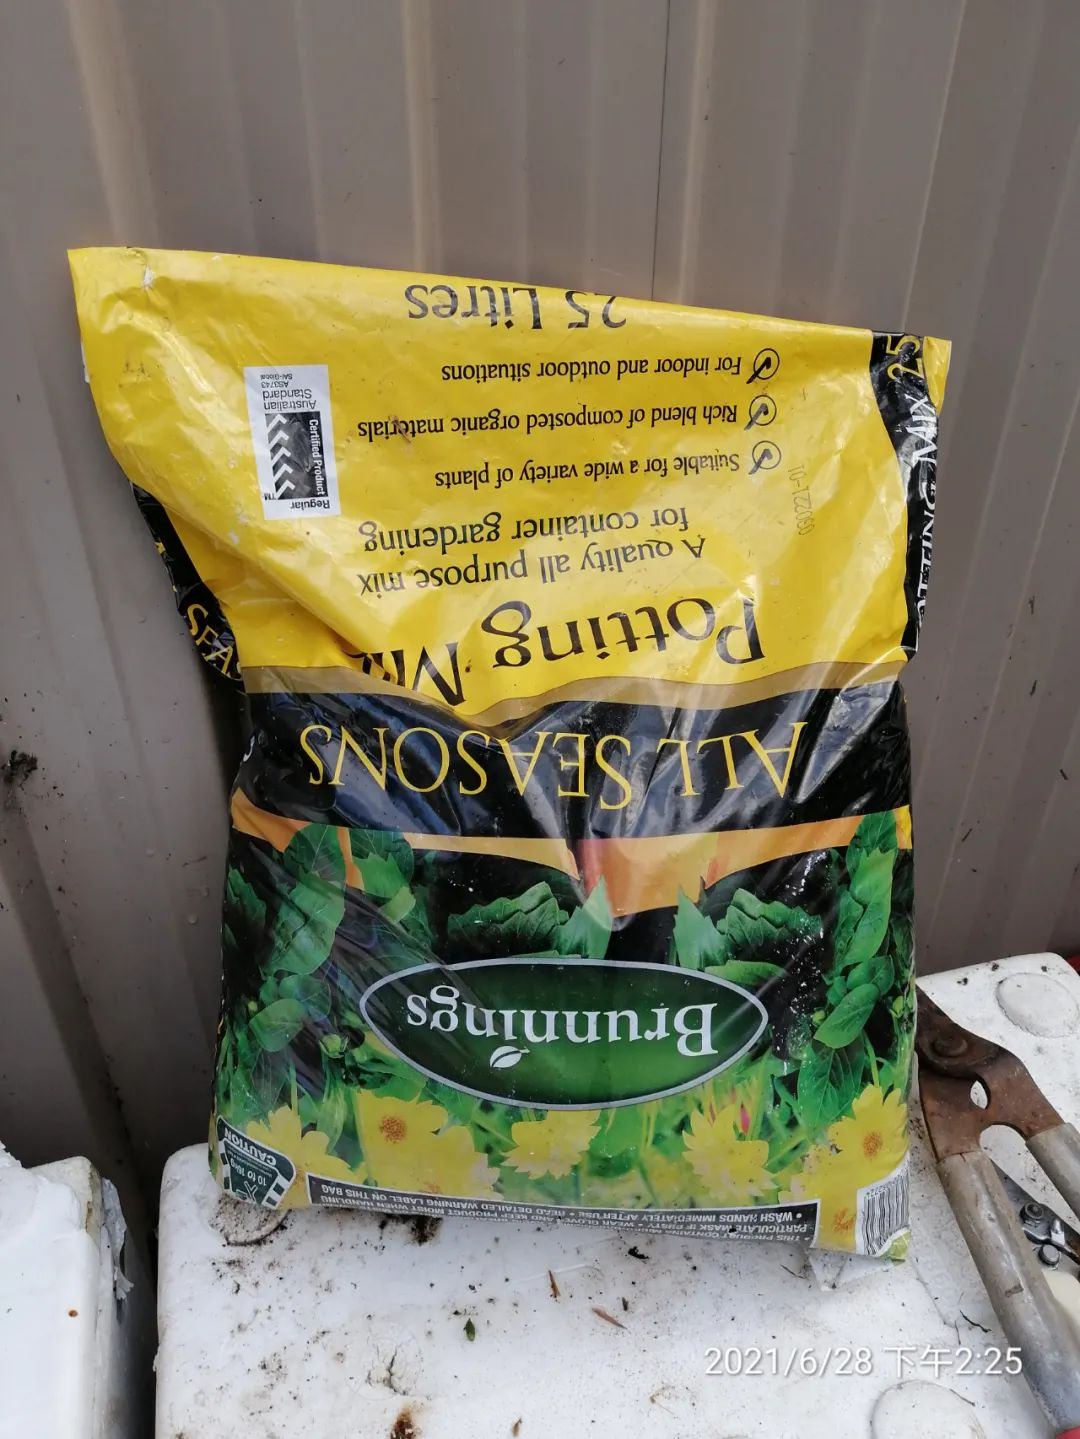
The fourth step is to place the soil and the amount . The placement technique is: I will mix the sun-dried soil mentioned above with nutrient soil sold in large supermarkets to make the soil loose and breathable. The ratio is about 1:3, that is, 3 parts soil to 1 part nutrient soil. (See Figure 6)
(Figure 6)
The mixed soil is placed in a foam box, layering the soil and kitchen waste on top. Then, cover and wait for the season to arrive. If you have some other fertilizers on hand, add a small amount to the mix along with the soil. This is the traditional method of applying base fertilizer.
For those who enjoy barbecuing, take note: charcoal ash from barbecues is the best potassium fertilizer. Adding it to the soil is a great nutrient for ginger. I don't recommend mixing sand with soil, as the sandy soil will be difficult to grow other plants.
Step 5: Plant the ginger. Now that everything is ready, we just need to wait for the right season to arrive and start planting. Ginger prefers temperatures between 20 and 30 degrees Celsius. September is spring in Sydney, but the temperatures before the month are still relatively low. Over the years, I've found that burying the seeds in late September is still the best time. If you're short on time, you can simply bury the ginger pieces in the soil. If you have more time, you can start germinating the ginger seedlings, which will help them germinate faster. To do this, first sun-dry the ginger seeds for two days, then place them in a foam box. Add dried sand and let it sit for two or three days (a ginger-growing expert friend of mine hides his seeds in rice). After that, we can happily plant the seed pieces. It's recommended to place four seeds per foam box.
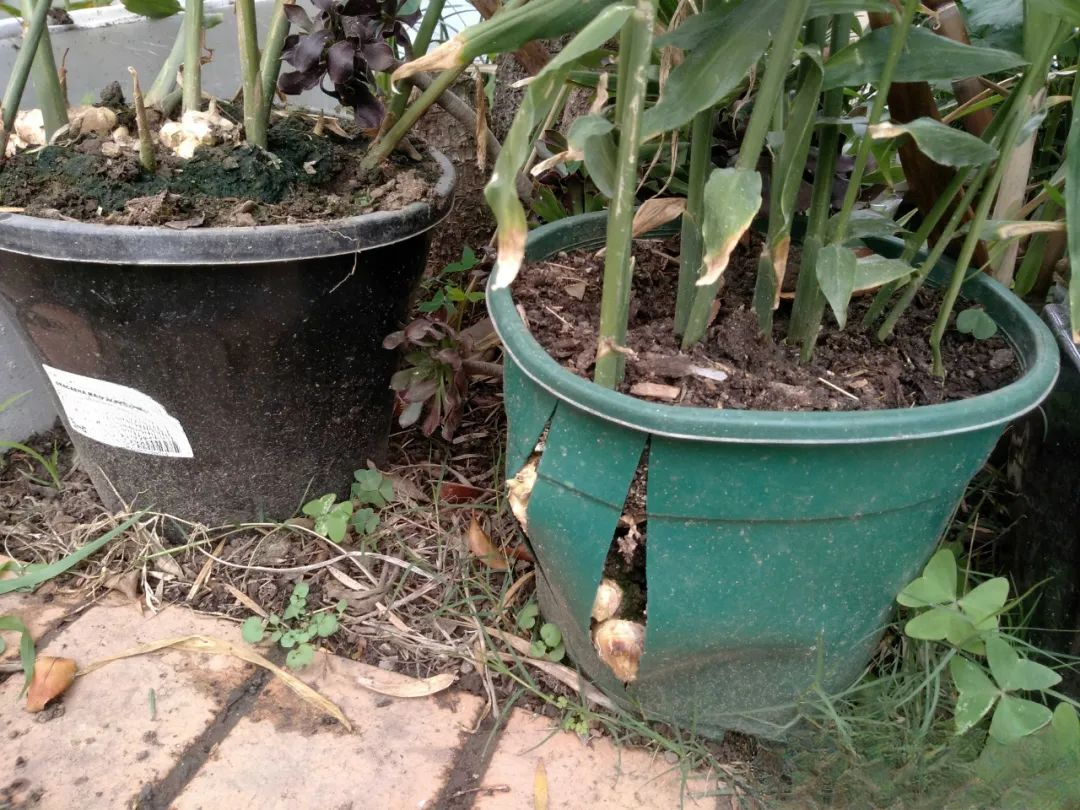
Whether you're using a foam box or a flower pot, fill it 2/3 full with soil. Plant the ginger upright, and add about 2-3cm of soil. After growing for about six months, cover the entire pot or box with soil. (See hand-drawn Figure 7)
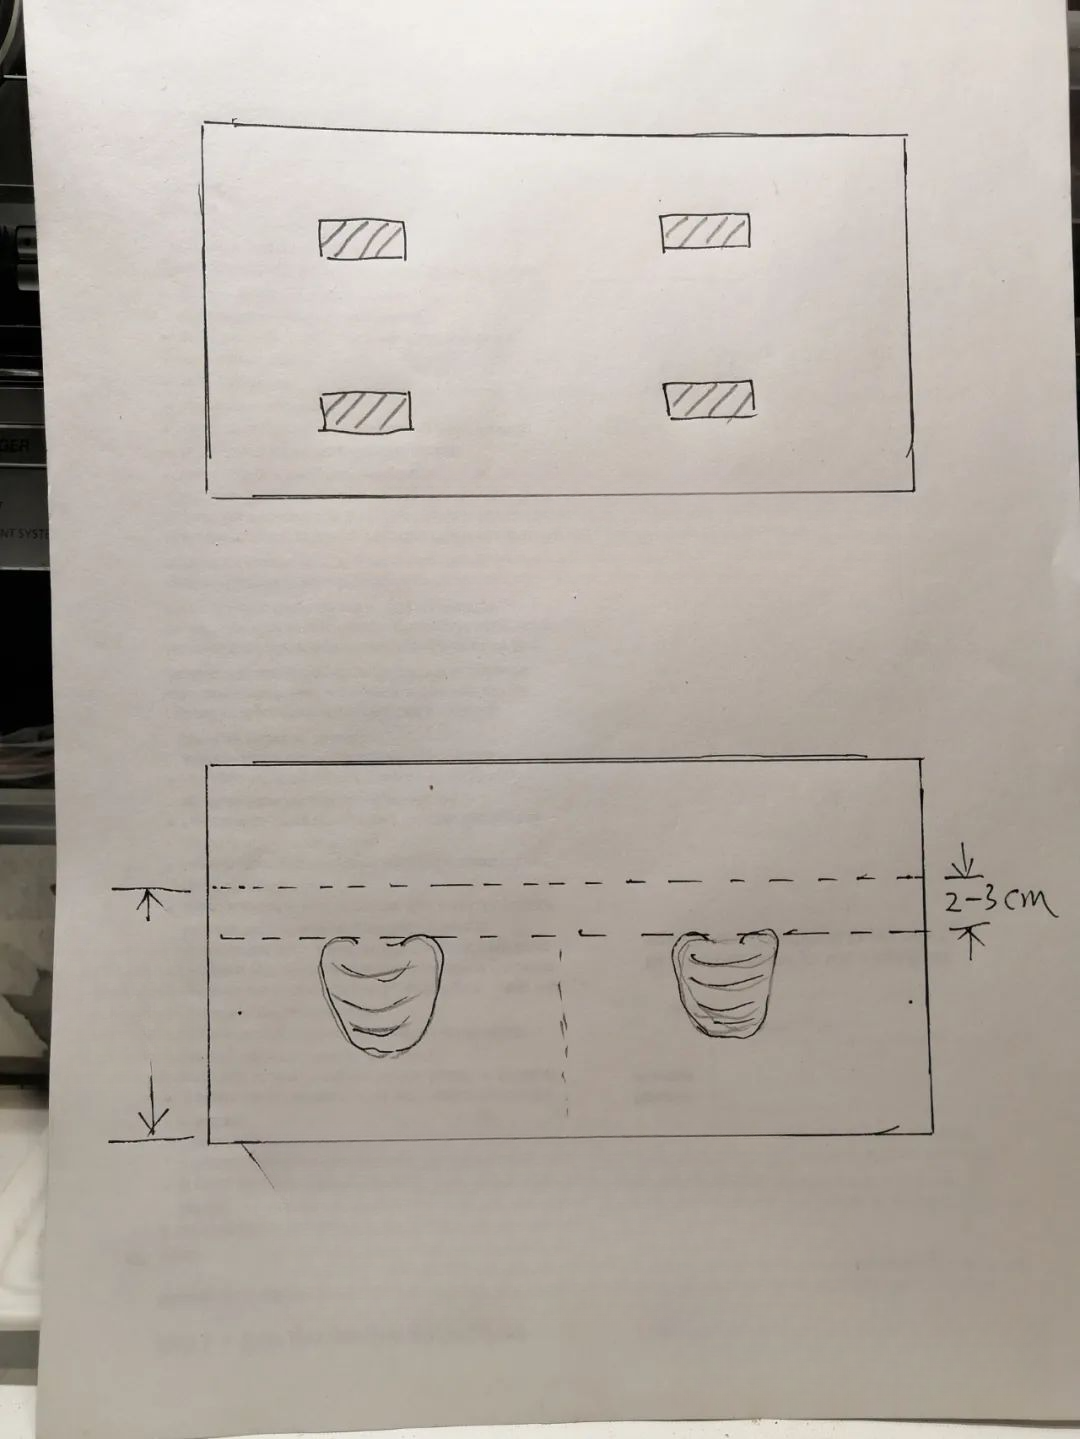
(Figure 7)
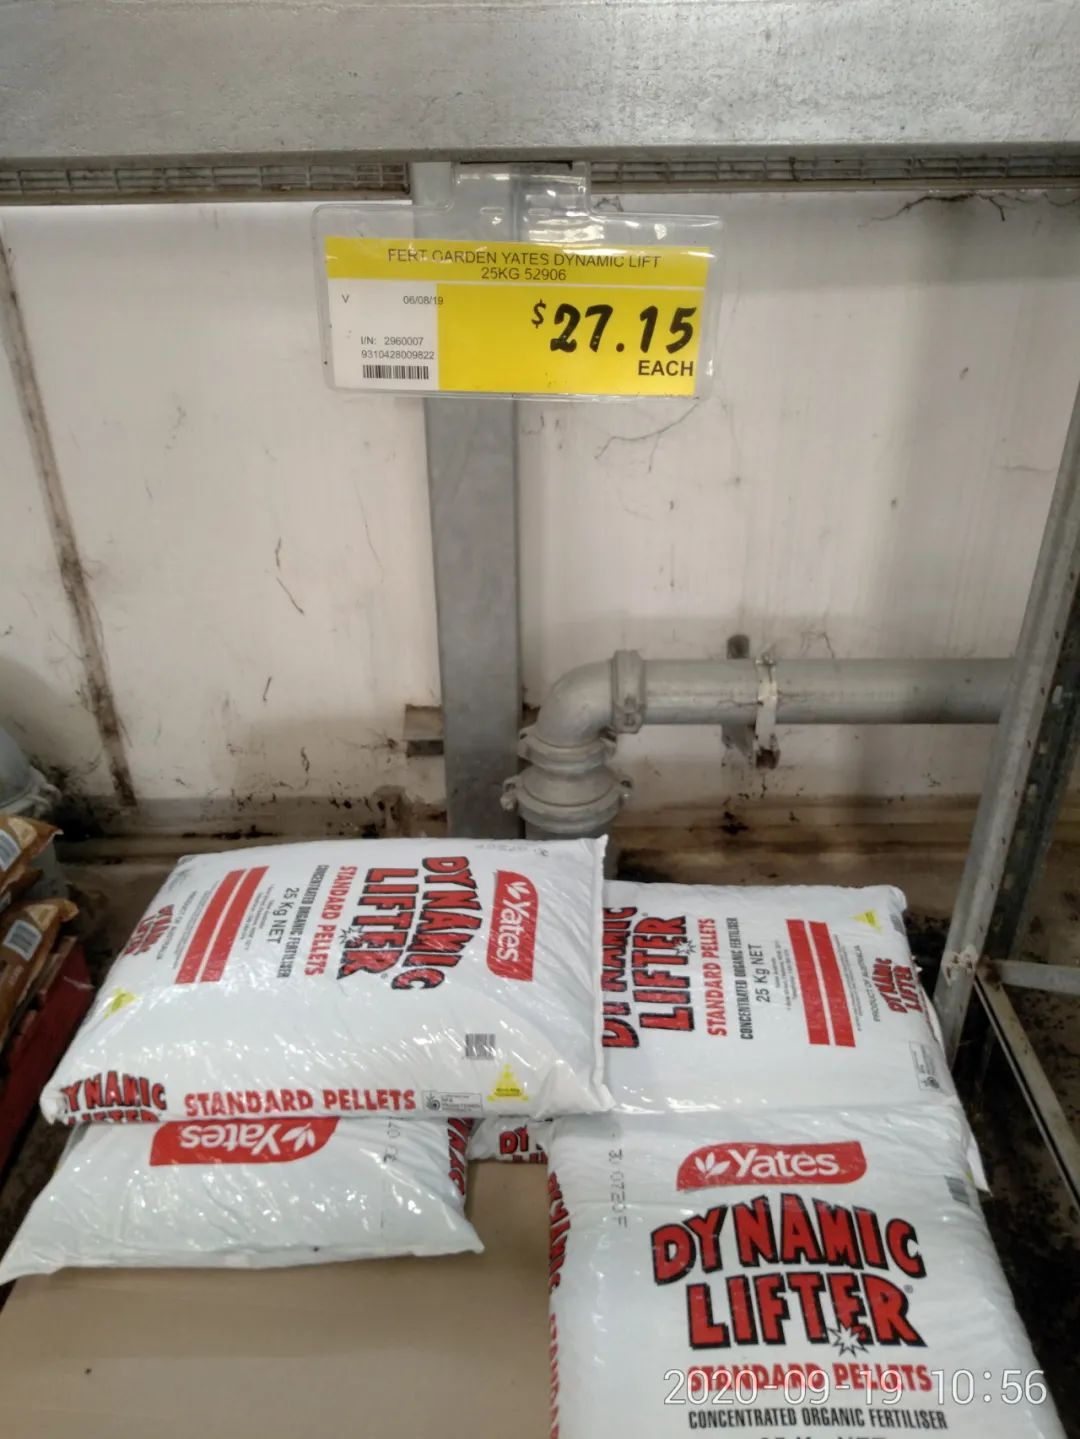
Step 6: Choose fertilizer . There are many types of fertilizers available in Sydney's shopping malls. I only bought two: one is cheap chicken manure, and the other is more expensive organic fertilizer. I also added some daily kitchen waste. (See Figure 8)
(Figure 8)
Step 7: Daily care. After planting the ginger, water it thoroughly for the first time. After that, you can check on it once a week and water it as well. When you see the green shoots emerging from the soil, your excitement will explode. At this stage, try to get as much sunlight as possible so that the seedlings grow faster. I also recommend that you plant green onions around the box at this stage. This is because the roots of green onions produce some elements that are health supplements for ginger. When the sun is strong, you can also block the sun for the ginger seedlings. The ginger yield in the foam box with green onions is significantly higher than that without green onions. This way everyone can get a bargain.
Step 8: Dealing with Common Problems. Growing ginger in Australia is truly a lazy job, requiring minimal manual effort. For years, pests and diseases have remained relatively unaffected, perhaps a blessing from the Southern Hemisphere. Ginger diseases and diseases were previously common in the Northern Hemisphere, and you can find information online. I usually just water and fertilize. Ginger is sensitive to excessive watering, so a small amount of watering is sufficient. For fertilization, I usually use a bucket and soak chicken manure or organic fertilizer in water before fertilizing. The concentration can be anything, but I keep it odorless. I fertilize once a week. This is the simplest period of care from planting to six months. After six months, you need to increase your care by thoroughly covering the pots with soil. Fertilization should be increased to twice a week. It's also best to move the pots to a less sunny location to prevent the stems from being burned by the sun. If possible, water the ginger once in the morning and evening, using small amounts frequently.
Step 9: Preservation and seed saving.
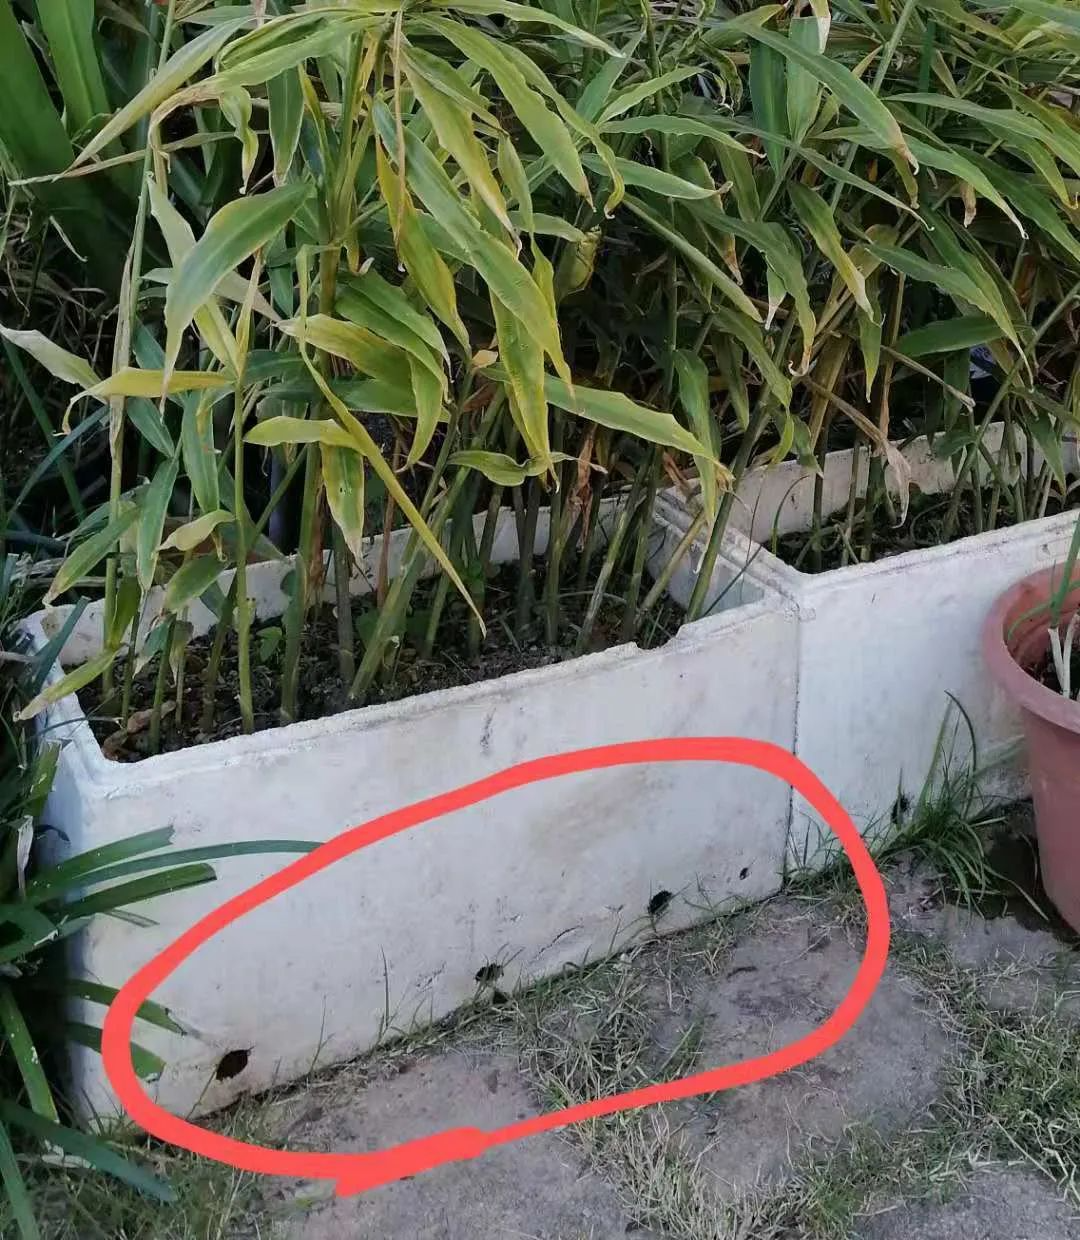
A unique way to preserve ginger for the winter. I've found this method to be the simplest and safest, and over the years, it's barely rotted. At home, it's convenient to just break off a piece whenever you need it. You can also pick out ginger for seed. See Figure 9 (Ginger pot placed on its side).

(Figure 9)

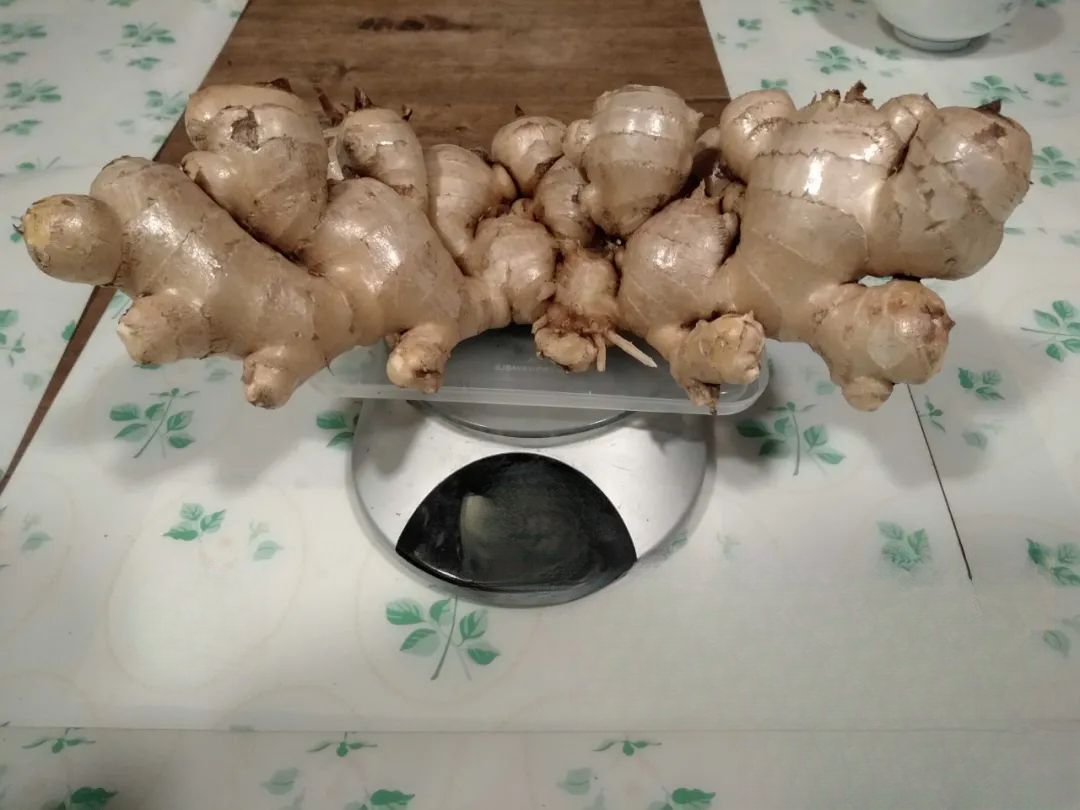
(Figure 10, Jiang Fengshou)
(Figure 11, a single ginger with a market value of over $90)
In summary, among many Australian vegetables, Chinese people are surprised by the high price of ginger. So, if you have the means, you might want to learn how to grow your own ginger.