DIY refurbishment of old sofas: detailed steps to make this transformation easier and save money
Everyone has such a terrible old sofa in their home! Teach you a DIY method to refurbish an old sofa. This way of renovating an old sofa is easy and saves money!
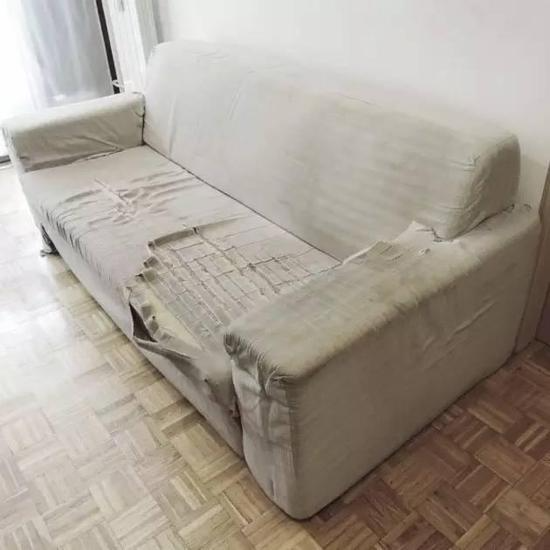
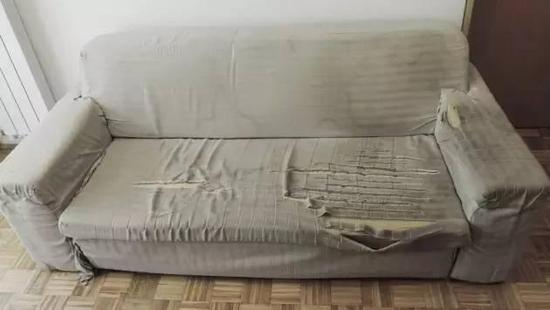
Everyone has such a terrible old sofa in their home!
▼ Before renovation
Of course, occasionally we will give the landlord a surprise.
(Yes, that’s right, if you meet such a tenant, you, the landlord, will make a profit!!!)
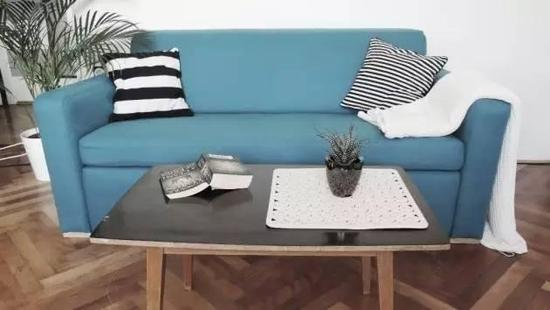
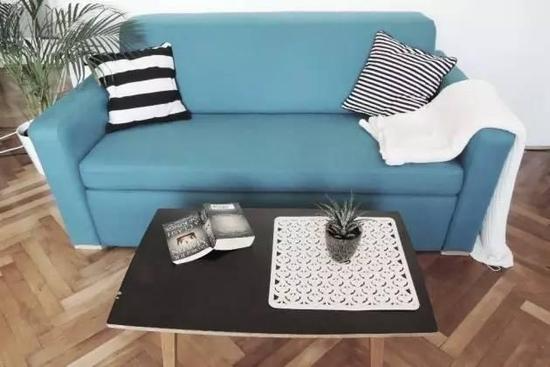
▼ After the transformation
Renovation process
Checklist:
2m3 polyurethane sponge pad (thickness: 10cm, 5cm, 3cm, 1cm)
2 cans of spray glue
9 meters of polyester cloth
Packaging Materials
12 meters of Velcro and loop straps
2 meters of burlap
12 meters of tape
Sutures
step
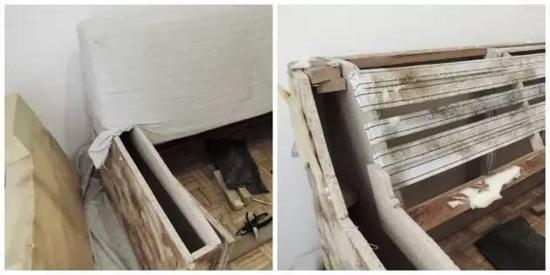
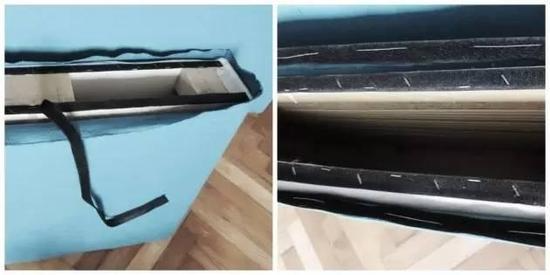
The first step is to remove the old sofa cover and worn-out cushions to expose the original frame. Fortunately, the frame is basically intact, which saves time and money.
Before nailing the foam, straps were reinstalled on the back and bottom of the sofa, and the straps were made of burlap.
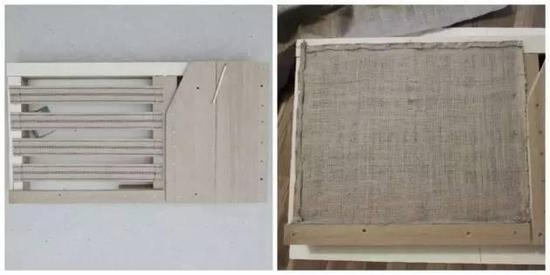
Note: The straps are nailed on in an interlaced manner.
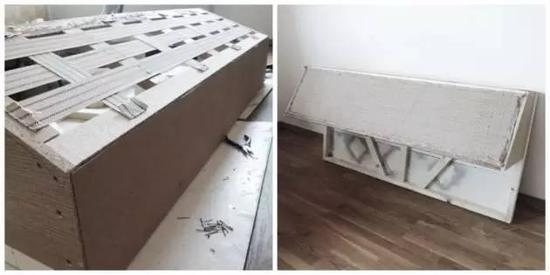
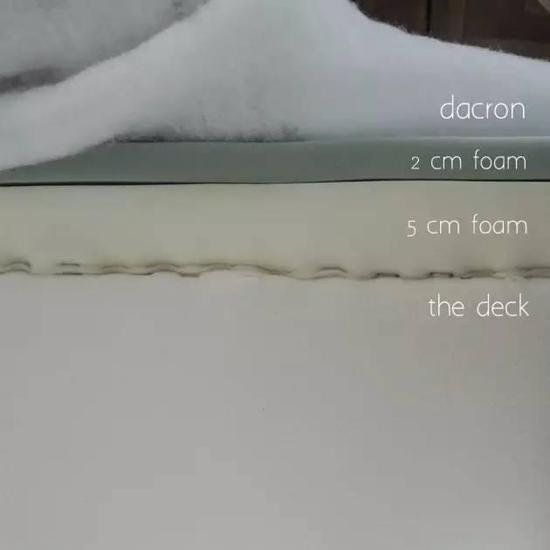
Then we nailed all the foam pads to the frame.
Sofa arms (3cm and 1cm thick sponges are stacked)
Sofa back (5cm and 1cm thick sponges are stacked)
Sofa cushion (10cm thick sponge used)
The bottom part under the sofa cushion (using 5cm and 2cm thick sponge)
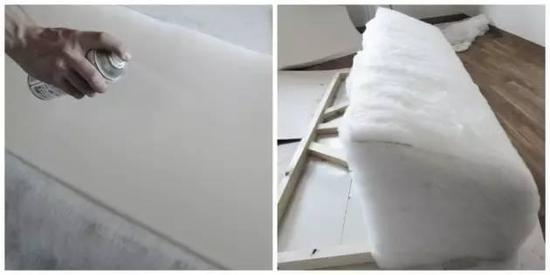
In order to make the sponge cushions better integrated and more comfortable, we evenly spray glue on each piece of the sofa.
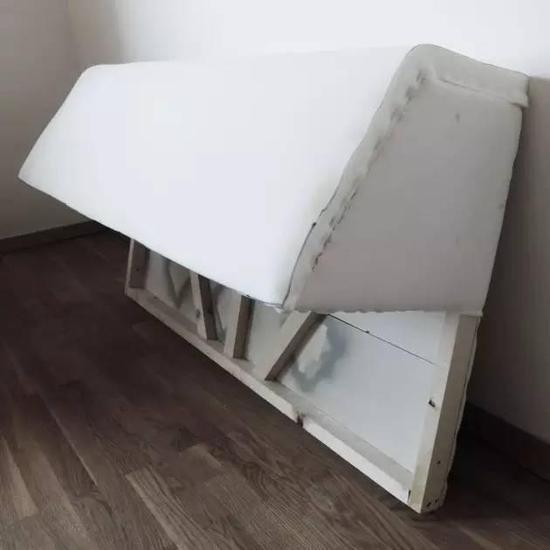
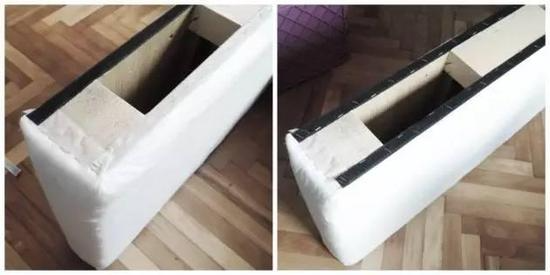
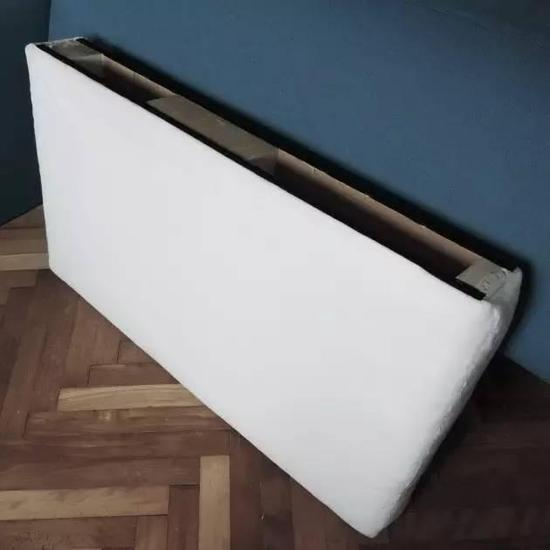
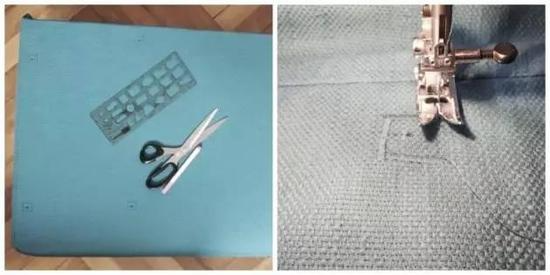
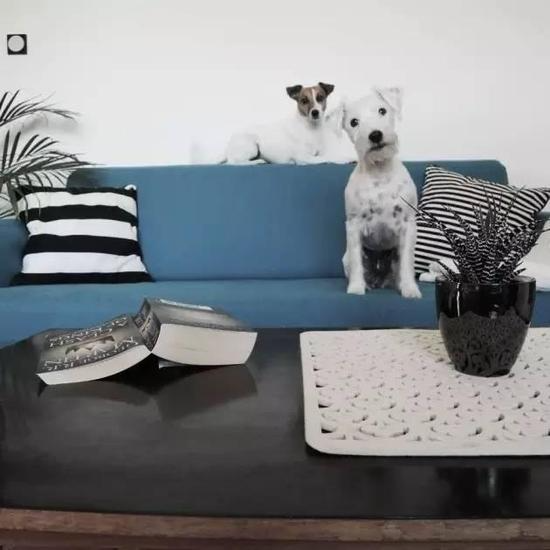
Every family with pets understands how important it is to have a removable and washable sofa. We decided to design a removable and washable sofa cover. So we sewed a layer of packaging material on each part.

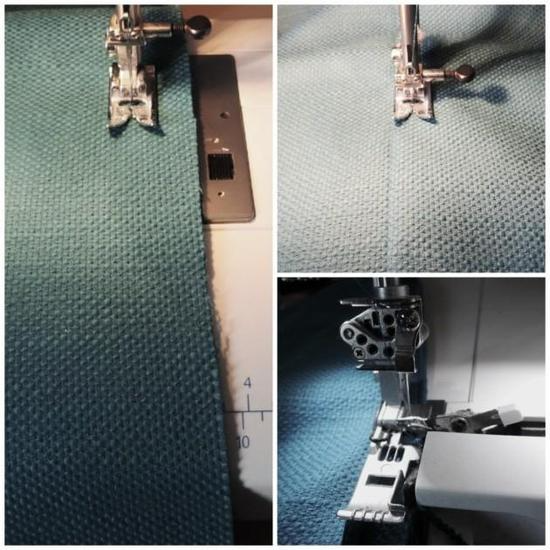
After measuring the size, we started cutting. We chose blue polyester fabric. The size should not be too wide, but a little tight. Because the fabric is elastic.
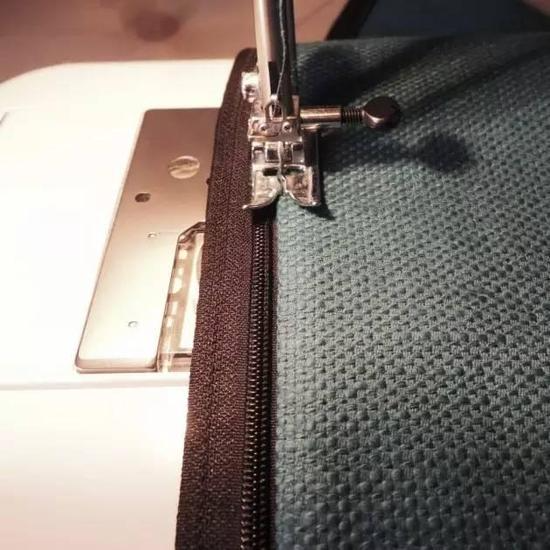
Next comes the Velcro strips, stapled to the frame, and hand sewn to the back cover.
Cut the corresponding size according to the position of the sofa arm and the screws. To prevent tearing, sew again on the cut edge.
Sew zipper
Assembly time!
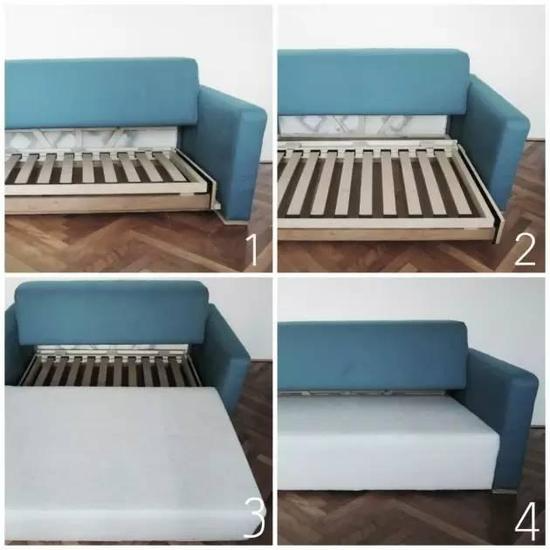
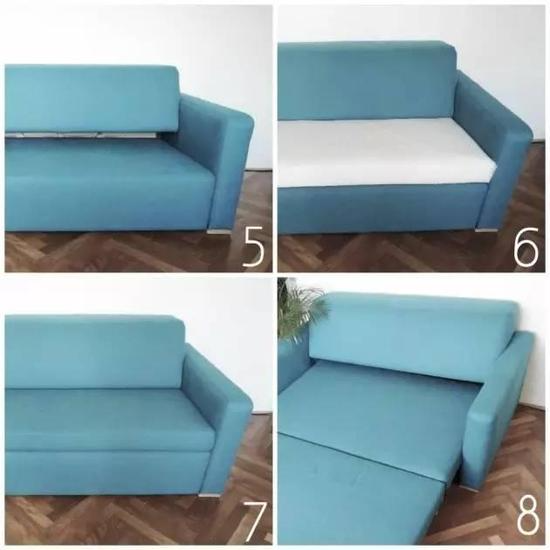
Add the pillows and you’re done!
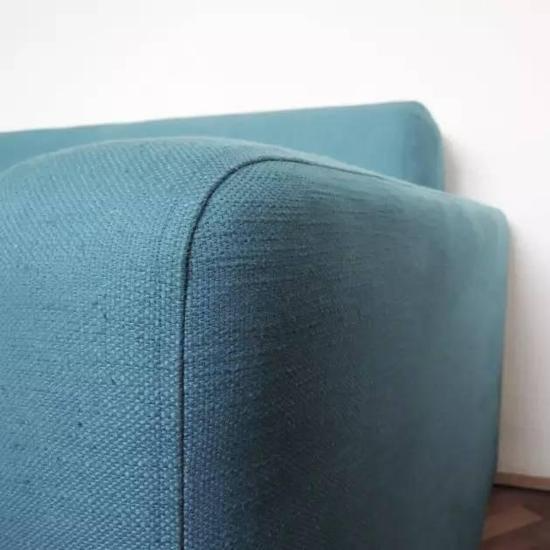
detail
Cute dog online
(Source: Renovation House)
Source: NetEase Home Editor: HN031
(Tip: The original webpage has been transcoded by 360, feedback is welcome)