Deyijia tells you that renovating old walls is not difficult at all, just master the skills
Many people want to renovate old walls at home, but they don’t know where to start. Coincidentally, my relative’s house was renovating old walls, so I went to the site to collect and edit, and made a guide for your reference.
Step 1: Wall Assessment
First, accurately measure the room area, wall humidity and other wall conditions, and choose colors and products according to the home decoration style
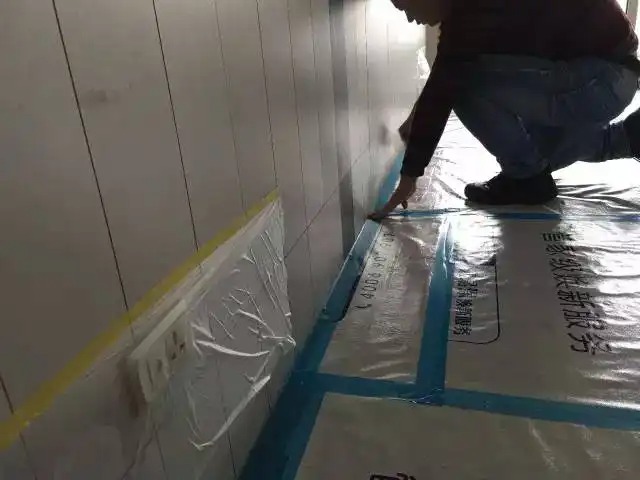
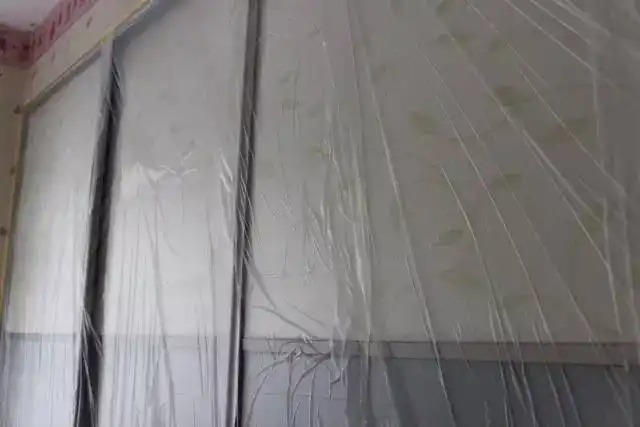
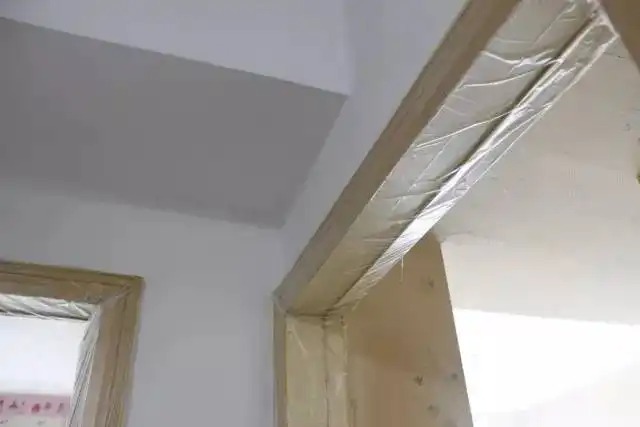
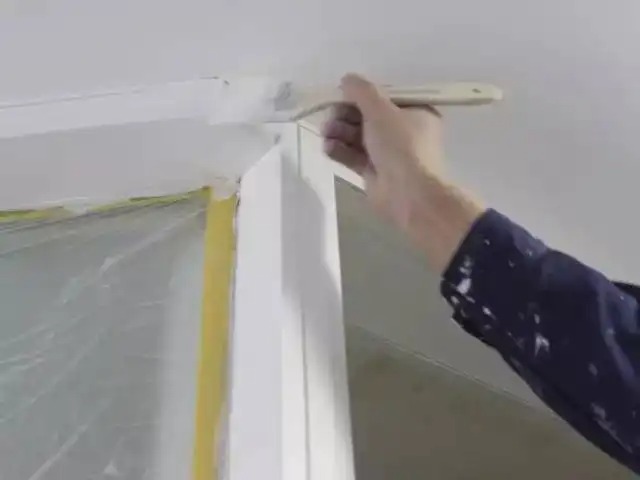
Step 2: Move and protect
Before wall construction, carefully move household items such as furniture and appliances, and use professional masking materials to protect every detail, even the door frame.
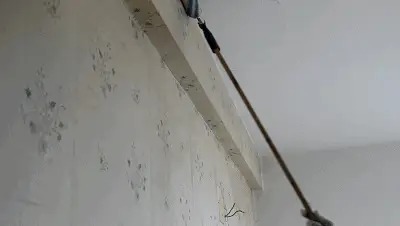
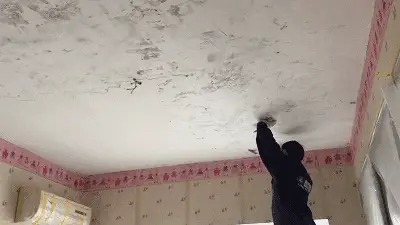
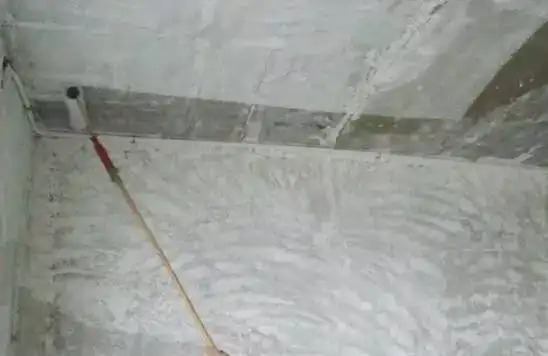
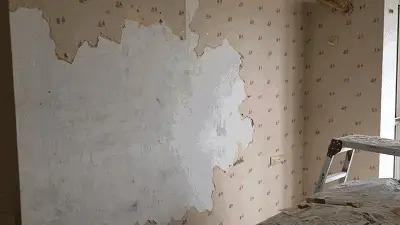
Step 3: Wet the wall and scrape the wall
After wetting each wall, it will be easier to scrape off the wallpaper with less effort.
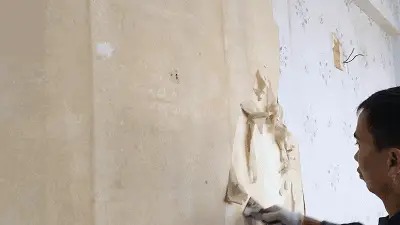
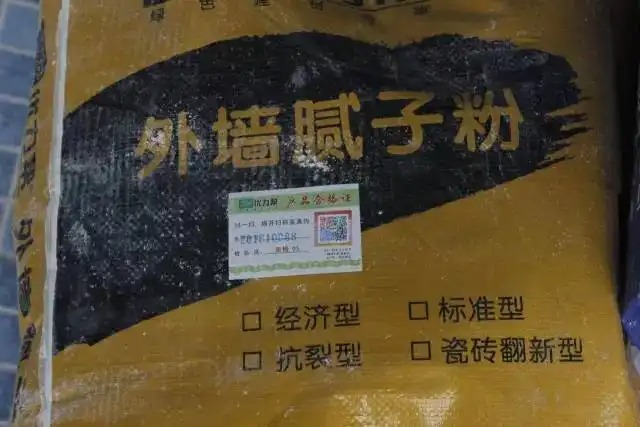
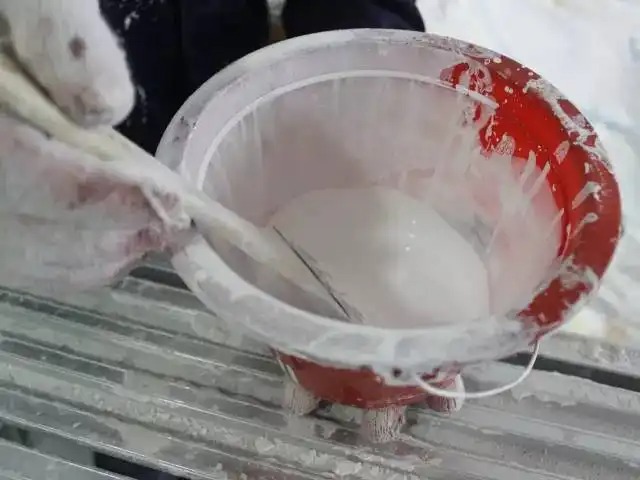
Step 4: Apply interface agent and putty
Applying interface agent on the wall can effectively prevent moisture, make the wall resistant to acid and alkali, and more wear-resistant.
Apply putty at least twice to prepare and level the base layer and ensure a secure bond between the paint film and the base layer. Water or white cement can be added to the base layer. As a base for latex paint on walls, it must be waterproof to isolate the wall from direct contact with the latex paint, preventing moisture from causing the paint to peel.
One of the important functions of putty is to level the wall, fill the concave parts, cover the convex parts, and then manually polish and level it.
Step 5: Wall polishing
Wall sanding can effectively keep the wall smooth and can also solve some minor flaws in the wall. In the process of putty scraping, some minor flaws are inevitable, such as the joints at the junction of putty, marks left by partial scraping too thin or too thick, pinholes caused by water absorption on the wall, etc. These flaws can also be solved by wall sanding. The surface structure of the putty after overall sanding is more uniform and consistent, which can enhance the performance of latex paint and avoid some problems that may be caused by differences in surface structure.

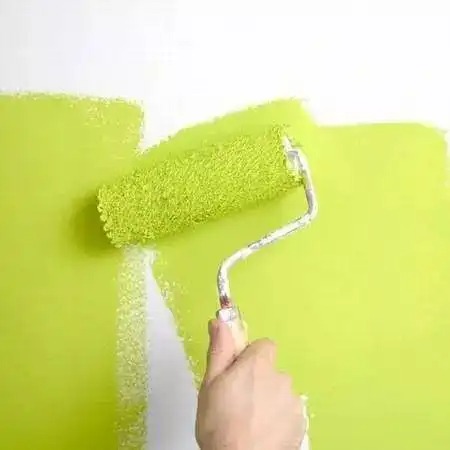
Step 6: Paint the wall
Apply latex paint at least 3-4 times, primer - topcoat - topcoat
Before painting the walls, remove any dust and dirt with a regular detergent or water and allow to dry. Fill any nail holes with filler. Small cracks can be filled with a high-quality 100% acrylic caulk.
When painting interior walls, first use a brush to create a "frame" around the outside edge of the wall, then use a roller to paint inside the "frame." An effective roller painting method is to dip the roller in paint and roll it out in a large "W" or "M" shape on the wall, then fill it in and paint in different directions.
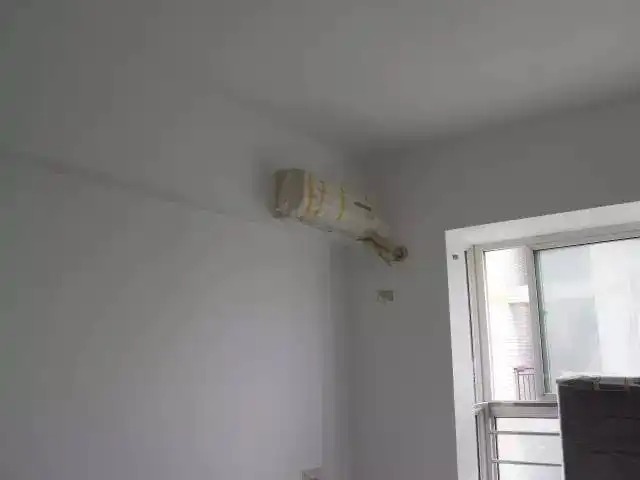
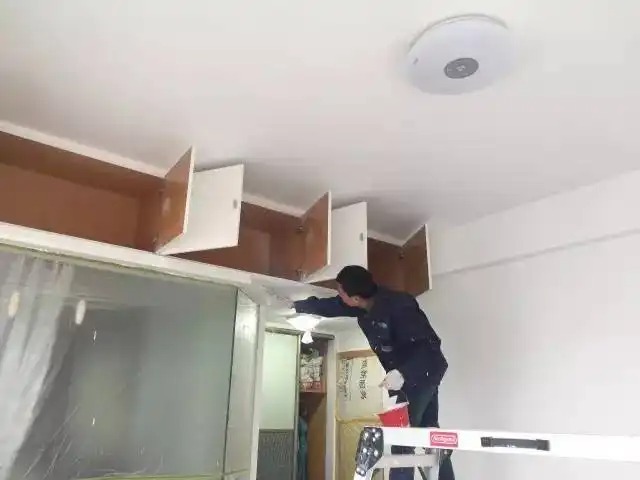
Let me show you the before and after comparison. Do you feel like you have refreshed your look?
Before
After
Of course, after everything is done, don’t forget to clean the house, put all the furniture and appliances back in place, and then let the house sit for at least 1-2 days before moving in.