A beginner's guide to home renovation: a mustread for firsttime renovators, and highly recommended to save this!
This article introduces the key points and precautions for each step of the renovation process. It is full of practical information without any fluff, and every point is important. Renovation novices should definitely bookmark it and refer to it at any time during the renovation process.
Step 1: Renovation Preparation
1. No construction will begin until all custom-made furniture and other furniture have been finalized.
Before starting renovations, you should find a whole-house customization company to conduct preliminary designs for kitchen cabinets, wardrobes, desks, dressing tables, tatami mats, etc., and have the whole-house customization company determine the exact reserved locations of power supplies and switches for kitchen appliances, wardrobe lighting strips, desks, dressing tables, etc. on-site.
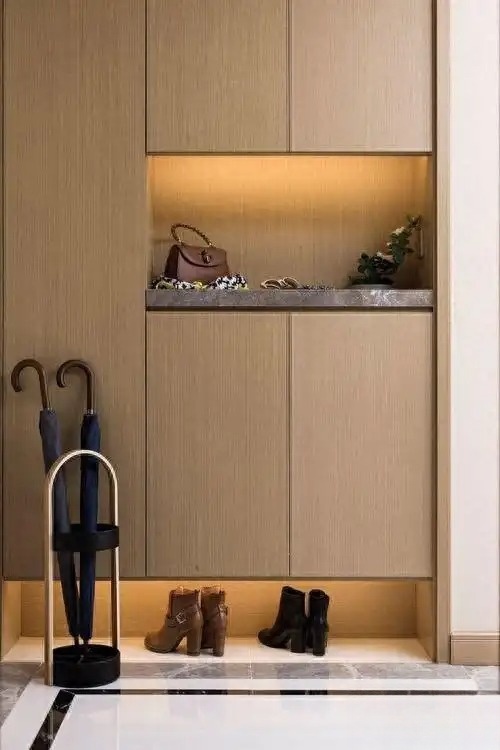
Decide whether the TV cabinet will be floor-standing or floating, and make sure to install electrical outlets inside the TV cabinet;
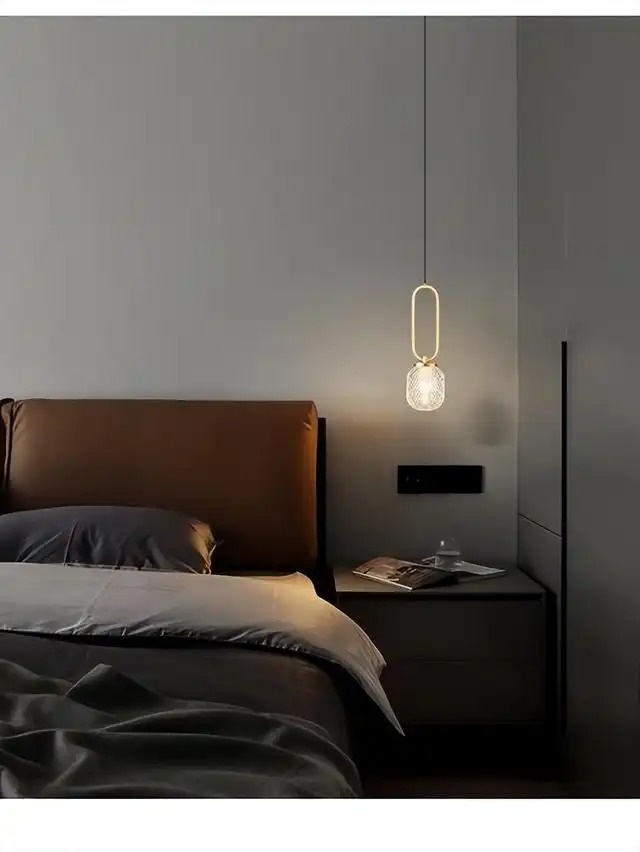
Once you've decided whether to put a single or double bed in the bedroom, and the bed width is 1.8/1.5/1.35/1.2/0.8m, you can then reserve space for bedside switches and sockets on both sides, as well as bedside pendant lights.
What length of sofa do you want? Do you want a retractable sofa or a regular sofa? Once you've decided, reserve power outlets on both sides of the sofa and a hidden power outlet for the retractable sofa.
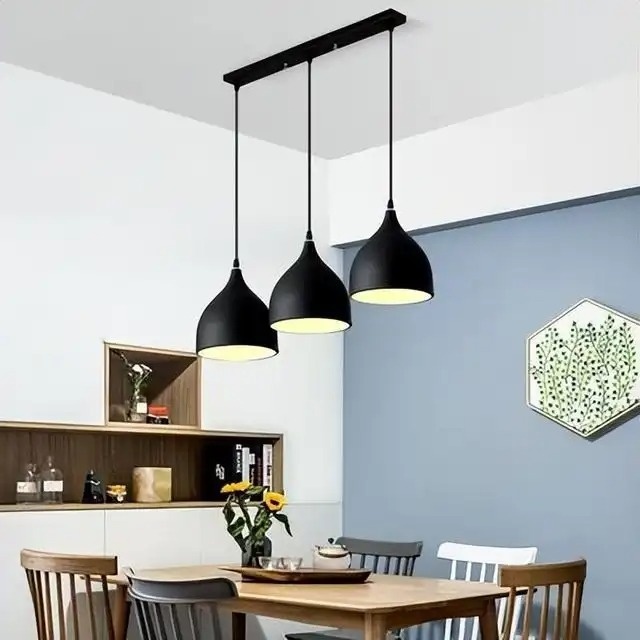
Choose between a round or rectangular dining table, determine the exact placement of the dining table, and pre-install a power cord for a pendant light in the center of the ceiling above the dining table.
2. Construction will not begin until all appliances have been selected.
Determine how many routers to install, their installation locations, and to reserve network cables and power supplies.
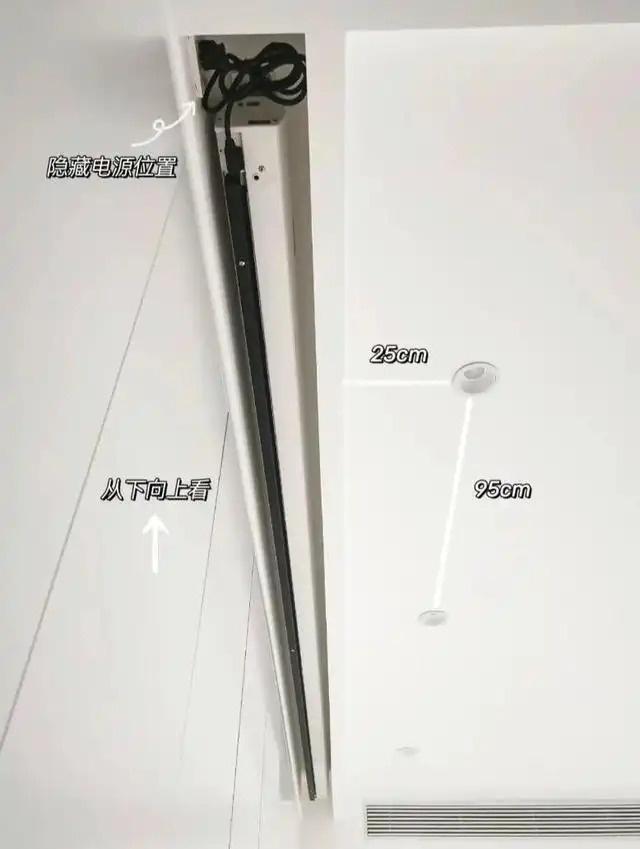
Once you've decided on a projector or a TV, and if it's a projector, choose either a motorized retractable screen or a framed screen, making sure to pre-install the corresponding power supply. Also, pre-install an HDMI cable between the projector and the TV cabinet.
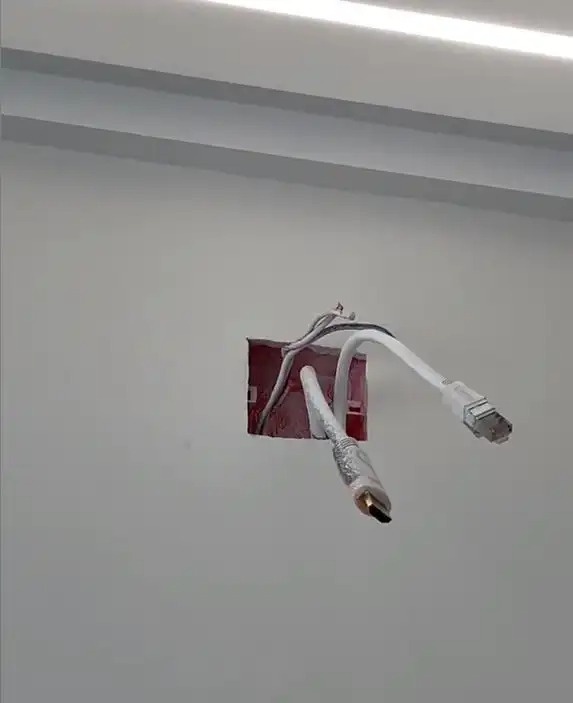
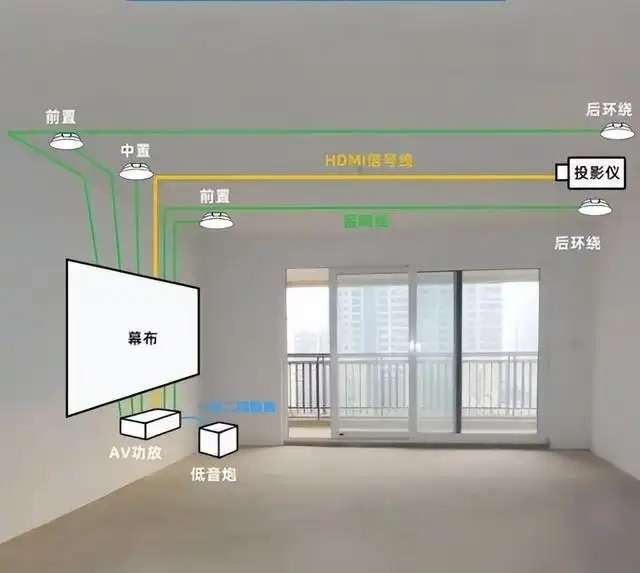
Determine whether to set up a home theater or home karaoke system, and pre-install speaker cables, HDMI cables, and power supplies for amplifiers and subwoofers.
Determine whether to implement smart home technology. If so, ensure all switches have a pre-installed neutral wire and that power supplies are available for smart devices such as electric curtains, security cameras, and smart speakers.
Should kitchen and bathroom blinds be motorized? A power supply should be provided.
A power supply should be reserved at the location of the electric clothes drying rack.
Choose between central air conditioning and individual air conditioning, and ensure you have sufficient power supply.
Whether to install a central water purifier, water softener, water purifier, pipeline water dispenser, etc., and reserve water and power supply.

Choose between an electric or gas water heater, and make sure to reserve the water and power supply lines.
Determine the locations for the washing machine and robot vacuum cleaner, and ensure that power supply and water supply are available.

Check whether gas alarms and fresh air systems are installed, and ensure sufficient power supply is available.
3. Construction cannot begin until the built-in kitchen appliances have been finalized.
Once you've determined the built-in kitchen appliances you'll be using, such as refrigerators, dishwashers, integrated cooktops, integrated sinks, disinfection cabinets, water purifiers, steam ovens, and microwaves, ensure that power supply lines are installed in the built-in side or upper cabinets. For water purifiers, ensure that both water inlet and drainage lines are installed.
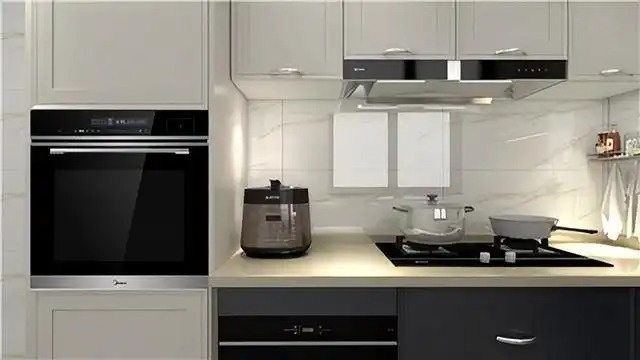
Provide accurate dimensions for custom cabinetry.
Step 2: Demolition and Alteration
1. The worst thing to do is to carry out large-scale demolition and alteration, and make unnecessary changes.
Extensive demolition and alteration is the main culprit for exceeding renovation budgets. It will generate demolition fees, masonry fees, garbage removal fees, etc., which not only affect structural safety, but also likely lead to regret, making it better to leave it as is.
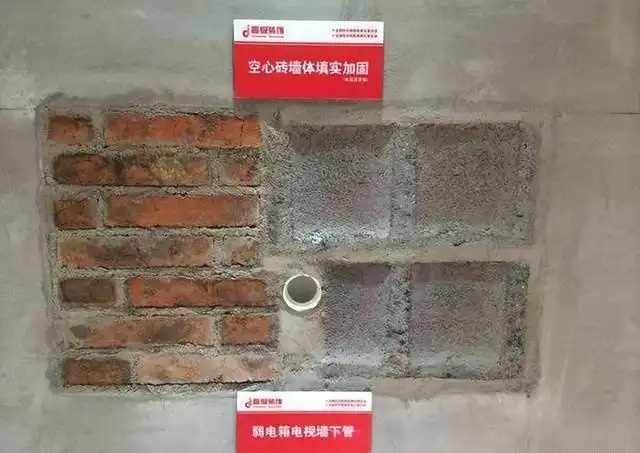
2. If the TV installation location is made of hollow bricks, it must be removed and replaced with solid bricks, otherwise the TV will not be able to be mounted.
3. If it is necessary to seal the windows, seal the windows immediately after removing the railings.
4. Drilling holes for air conditioners and range hoods.
Step 3: Water and Electricity Renovation
1. First, find a tile setter to use a level to determine the floor height after the tiles are laid, and mark the lines. Measure the height of the switches and sockets after the tiles are laid.
2. For water and electricity trenching, lines must be marked and laid out first. The width of the trench must be the same as the diameter of the pipe, and it is best if the pipe can be inserted into the trench without falling out.
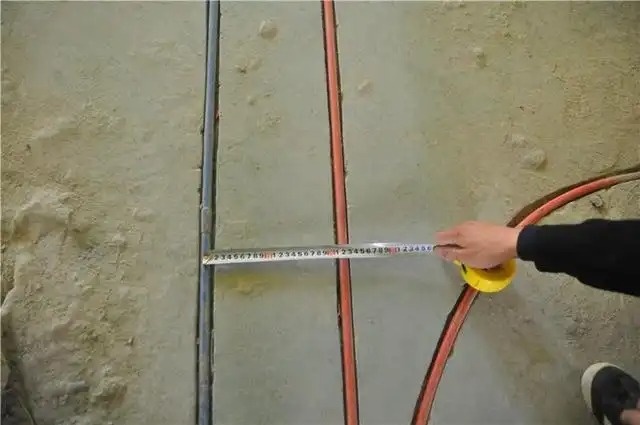
3. The groove depth must ensure that the conduit end can be inserted through the conduit hole of the junction box, and all electrical wires and network cables must be able to be threaded through and replaced. All wiring must be completed and threaded through the conduit.
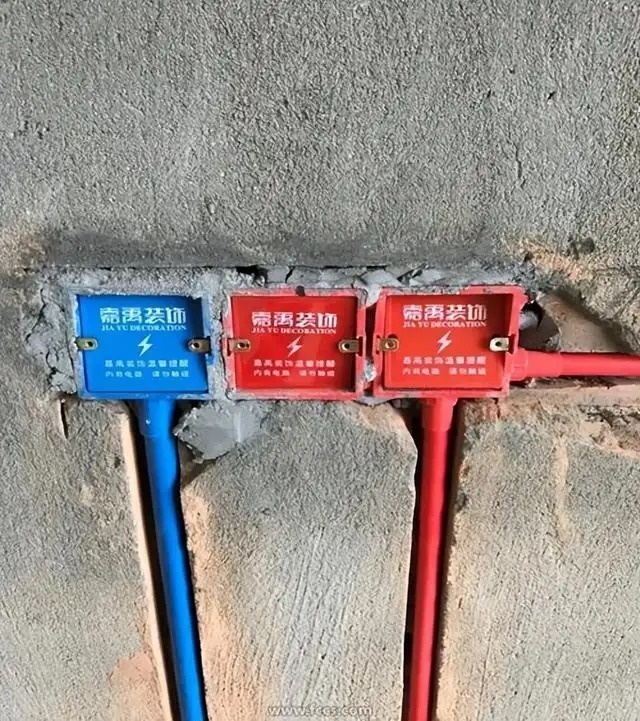
4. Water and electricity pipes should not be laid horizontally or vertically on the ground and ceiling, but rather point-to-point, which saves materials and makes it easier to run the wires.
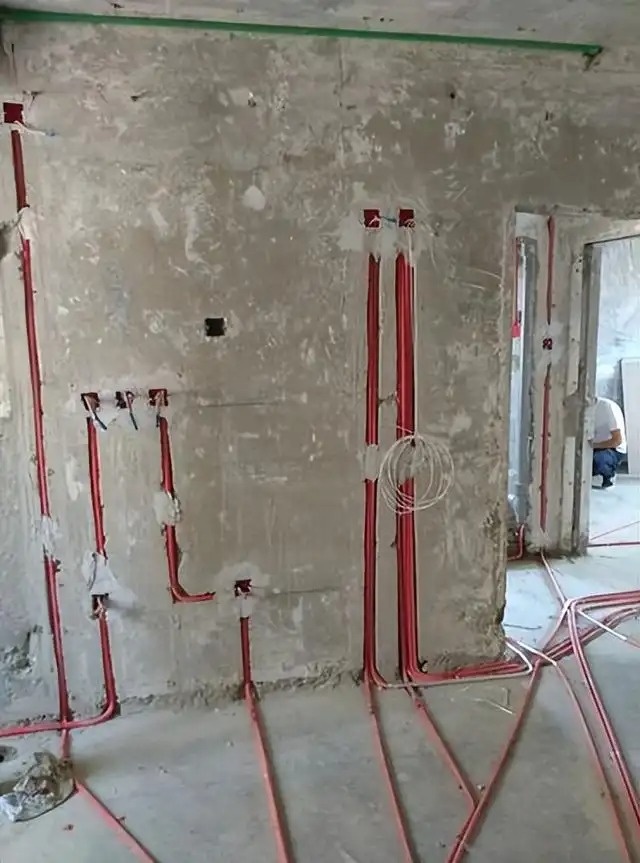
5. To prevent damage to water and electricity pipes when nailing or drilling into the wall later, water and electricity pipes can only run vertically on the wall, not horizontally or diagonally.
6. Hot and cold water pipes must be installed with hot water on the left and cold water on the right. Water pipes should not be run along the ceiling, as this is labor-intensive, requires materials, and necessitates insulation to prevent condensation and reduce water pressure.
7. Buy water pipes from well-known brands with a 50-year warranty; they will compensate you for leaks in the future.
8. Kitchen appliances, electric water heaters, instant water heaters, standing air conditioners, and dining table sockets should have 4 square millimeter wires reserved, while other areas should have 2.5 square millimeter wires.
9. Avoid moving the toilet drain as much as possible; the floor drain usually needs to be moved, but the tile setter should be allowed to position it, and it should not be moved before the tile setter positions it.
10. The existing electrical wiring in the house does not need to be replaced; only some areas need to be added. It is best to replace all the water pipes. If only some areas are added, the water pipe supplier will not provide warranty coverage.
11. Underfloor heating and water supply must be pressure tested.
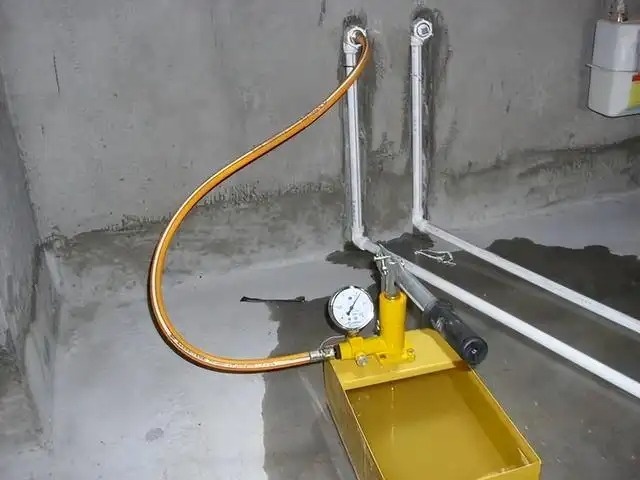
12. If there is underfloor heating, lay the underfloor heating pipes first, then lay the water and electricity pipes, and then have the water pipe supplier inspect the pipes together. Before inspection, all pipes must be visible.
13. After the plumbing and electrical work is completed, don't forget to take a video of the entire house and keep visual records of the plumbing and electrical lines.
Step 4: Insulate the drain pipe with soundproofing cotton
1. First wrap damping pads at elbows and tees, then wrap sound insulation cotton uniformly.
2. Buy damping sheets and sound insulation cotton online and pack them yourself; it should cost around 50 yuan.
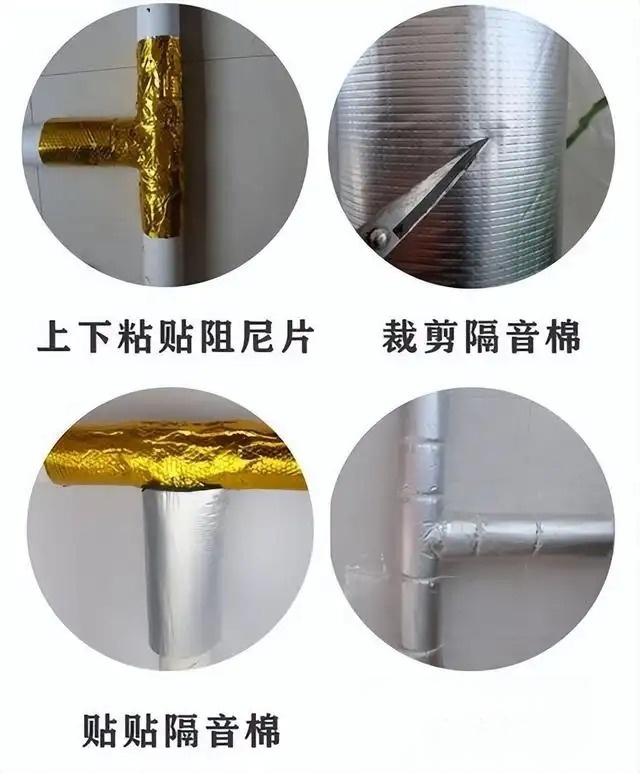
3. The main source of noise is the horizontal pipes. If the vertical pipes are bricked, there is no need to cover them. Neither the horizontal nor vertical pipes for drainage on the same floor need to be covered, and the top floor does not need to be covered either.
Step 5: Bathroom waterproofing
1. Find a well-known local brand that offers a lifetime warranty for waterproofing. It will only cost a few hundred yuan for one bathroom. Don't do it yourself.
2. When the tile setter is leveling the bathroom, it's best to communicate with the waterproofing contractor. Don't forget to install a water-blocking strip at the doorway.
3. After the waterproofing is completed, a water test must be conducted for 48 hours. If there is no leakage, the tiles should be laid as soon as possible to prevent damage or cracking due to drying.
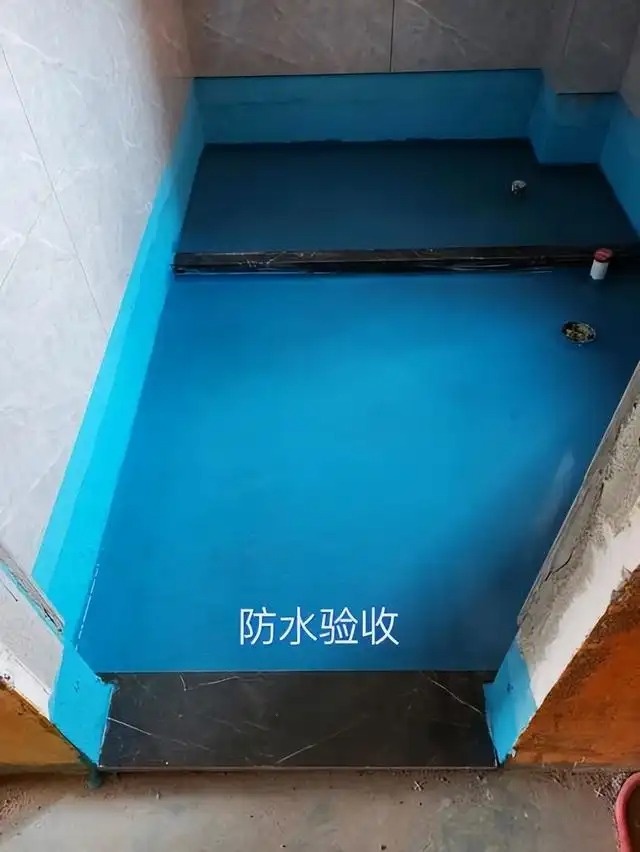
4. If the walls are all tiled and sealed with grout, there is almost no water seepage and the walls do not retain water. Therefore, waterproofing should be done on the walls up to 30cm high, including the shower area. Doing more than that is just a waste of money.
Step 6: Masonry work, wall leveling, and bricklaying.
Don't rush to bring in the tiles.
1. For areas that require masonry work after demolition and alteration, including areas where drain pipes need to be covered, the mason calculates the amount of bricks, sand, and cement needed to be brought to the site. After the materials arrive, the mason begins the masonry work.
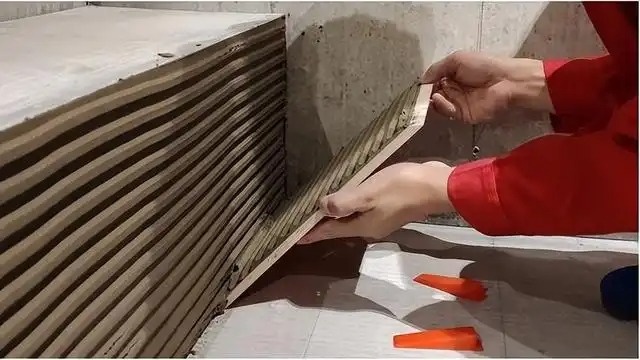
2. If you are using ceramic tiles instead of ceramic tiles for kitchen and bathroom walls, you need to level the surface with mortar first, and then apply tile adhesive to the tiles thinly.
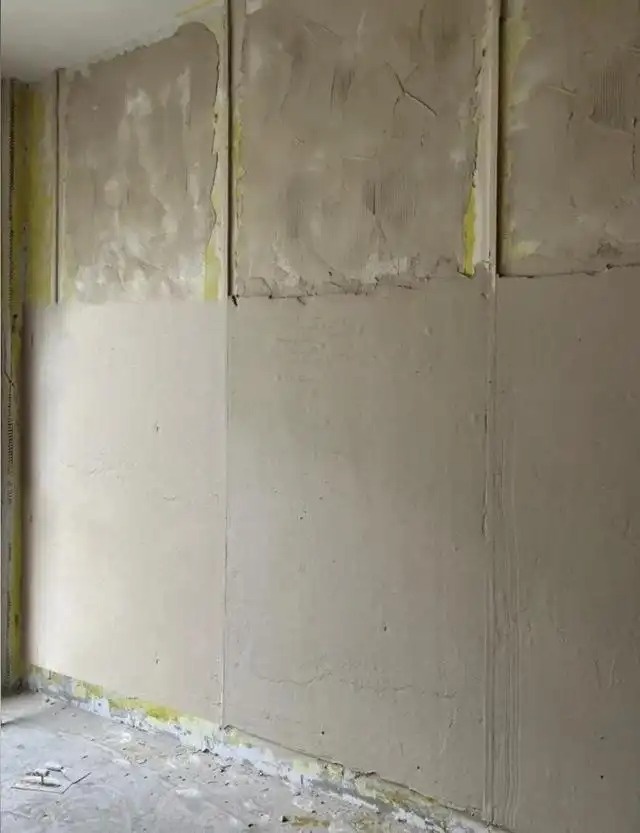
3. After the wall is leveled, the tile setter calculates the size and quantity of the corner tiles that need to be cut. When paying for and picking up the tiles, the tile setter gives the order for cutting the tiles to the workers who transport the tiles. The workers will take the tiles to the factory for processing and then deliver them to the new house along with other tiles.
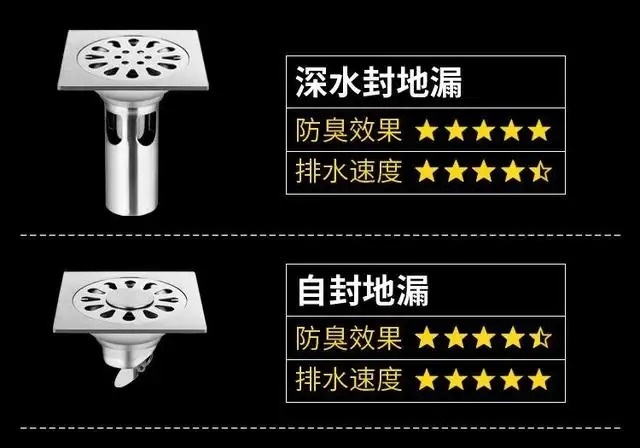
4. Choose a self-sealing floor drain, not a water-sealing floor drain.
5. The tiles must be laid out in the correct pattern and the starting point determined before laying begins.
6. Except for the bathroom, the entire house has a bedroom.
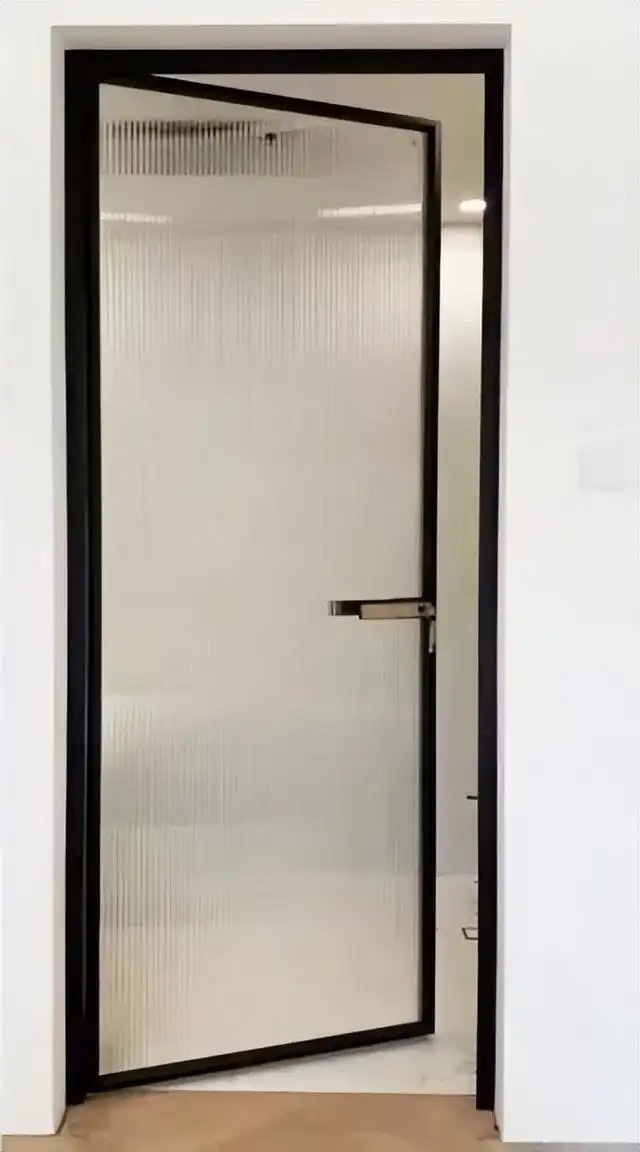
7. Do not install a threshold in the bathroom. The tiles between the bathroom and the living room should be separated from the bottom of the bathroom door to ensure that the joint is completely covered when the door is closed.
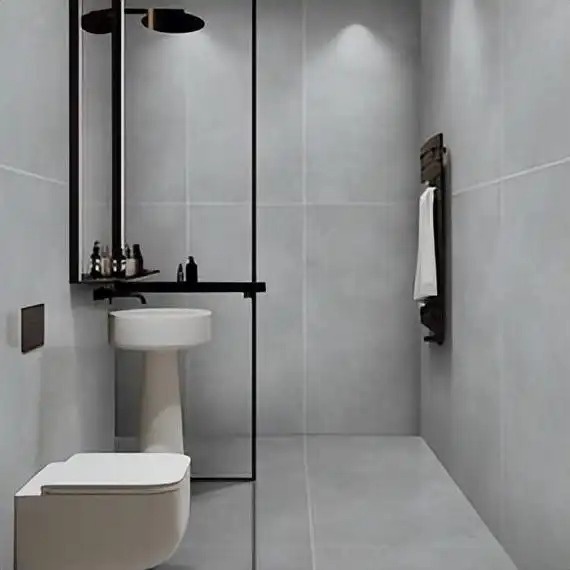
8. The bathroom wall and floor tiles should be of the same size, with the joints aligned. It is recommended to use 600*1200 tiles, with two tiles on the walls extending to the top.
9. Use 800*800 tiles for the living room and apply the same color grout.
10. Use a single-layer cover for the bathroom door, and also tile the sides of the door frame.
11. Tile grout lines should be 2mm. Remember to ask the seller for 2mm cross-shaped positioning clips when buying tiles. Clean the grout lines as you lay the tiles to facilitate a better finish.

12. For fully vitrified wall tiles, use tile adhesive for thin-layer application; do not apply backing adhesive. Always check that the tile adhesive is suitable for the tile size requirements.
Step 7: Take measurements and place an order for integrated ceiling systems
Three days after the tiles are laid, you can place an order for integrated ceiling panels for kitchens and bathrooms, as well as honeycomb panels.
Step 8: Tile Grouting
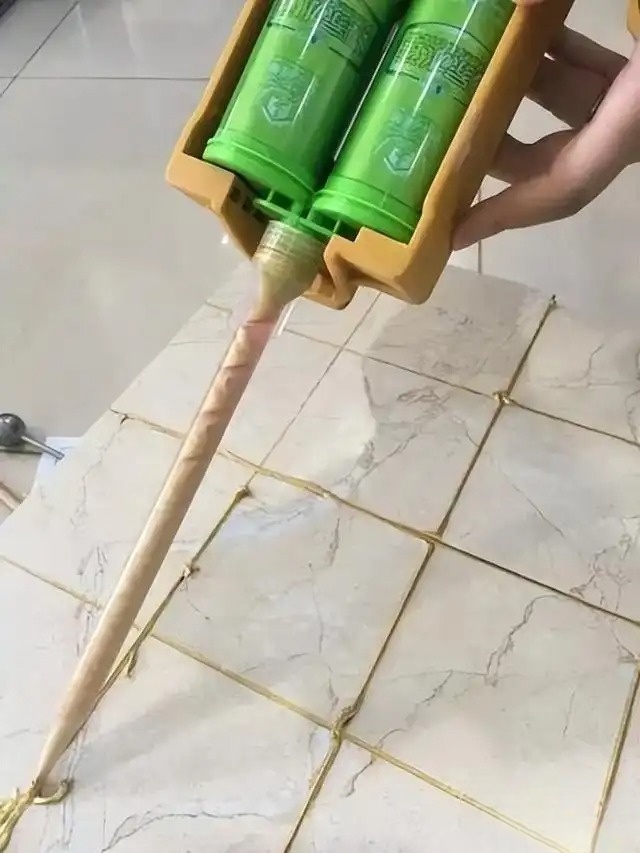
1. After the tiles are laid, stop all construction work. After the mortar layer dries completely, apply the grout sealant, which usually takes 7-10 days.
2. Use epoxy resin for glossy tiles; use epoxy colored sand for matte and soft-gloss tiles, and adjust the color according to the tile color. However, epoxy colored sand cannot be used for light colors as it will discolor.
3. If possible, use pure polyurea, but avoid buying semi-polyurea, as it will turn yellow.
4. You can buy ceramic adhesive online and apply it yourself; you can apply epoxy colored sand yourself, but it will exhaust you; polyurea cures too quickly and cannot be applied by yourself.
5. After the grout is finished, lay a protective film on the floor.
Step 9: Carpentry work includes installing the ceiling and laying the base layer for the feature wall.
1. Use national standard light steel keel; do not use wooden keel.
2. The ceiling is not load-bearing, so plasterboard costing around 20 yuan per sheet is sufficient; there's no need for anything more expensive.
3. Use green paper-faced moisture-proof gypsum board for kitchens and bathrooms.
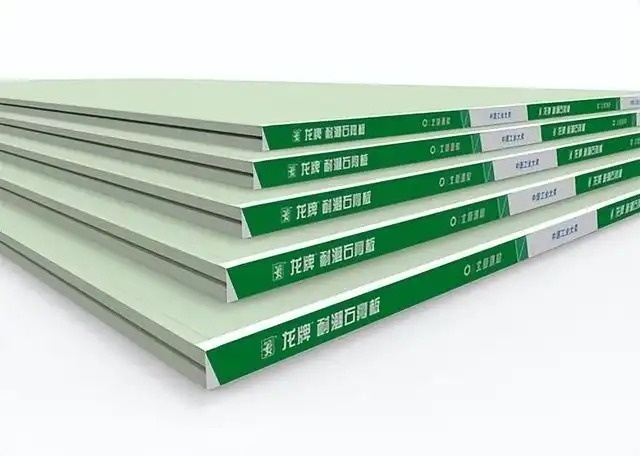
4. The joints between the boards should be staggered and V-shaped grooves should be cut to ensure that the plaster is embedded and to prevent cracking.
5. Use a 7-shaped solid board for corners to prevent stress concentration and cracking.
6. OSB board should be used as a base for the installation of the chandelier, as gypsum board has insufficient load-bearing capacity.
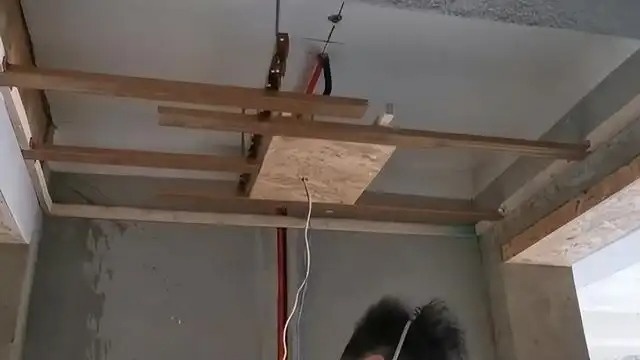
7. Keep the feature wall as simple as possible; use wainscoting sparingly, as it's expensive and easily becomes outdated. All adhesives are major sources of formaldehyde.
8. Leave 25cm for the curtain box, with OSB board as the base and plasterboard as the surface.
9. Install wardrobe ceilings according to the whole-house custom design drawings.
10. Purchase the built-in clothes rack, track lights, projection screen, etc. in advance and have the carpenter install them.
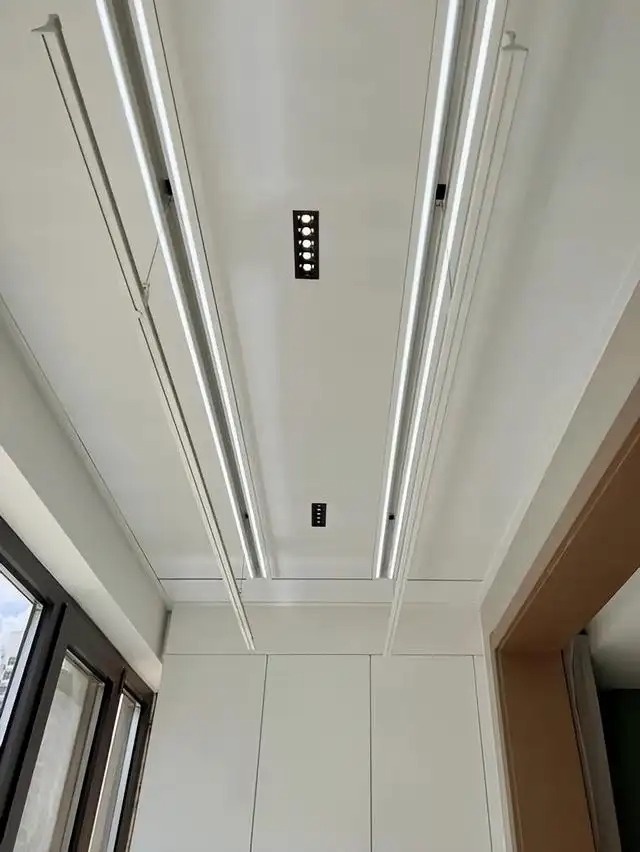
11. For recessed spotlights, downlights, etc., provide the carpenter with the diameter and location of the holes, and the carpenter will be responsible for drilling and installing them.
12. The central air conditioning and fresh air system should be installed before the carpentry work begins.
Step 10: Integrated Ceiling Installation
1. Once the tiles are laid, the integrated ceiling is ready for installation. It can be installed during the carpentry or painting stage.
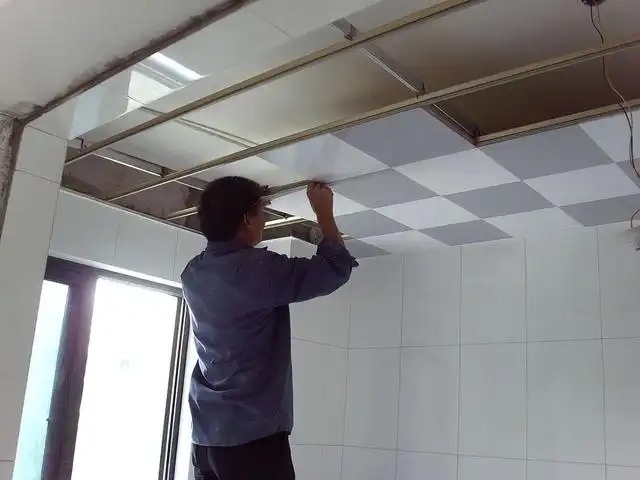
After the kitchen ceiling is installed, you can take measurements and place your order for the kitchen cabinets. However, do not rush to install them. It is strongly recommended to install them after the latex paint is finished to prevent staining and cleaning difficulties.
2. After installation, request the vendor to take protective measures to prevent pollution from the renovation.
3. Before installing the ceiling, the check valve must be installed first.
Step 11: Painting work
1. Wall primer must be applied before plaster leveling; it cannot be applied in advance. Spraying is recommended.
If the mortar is strong enough and there is no sandiness, there is no need to brush it, but the loose dust should be removed.
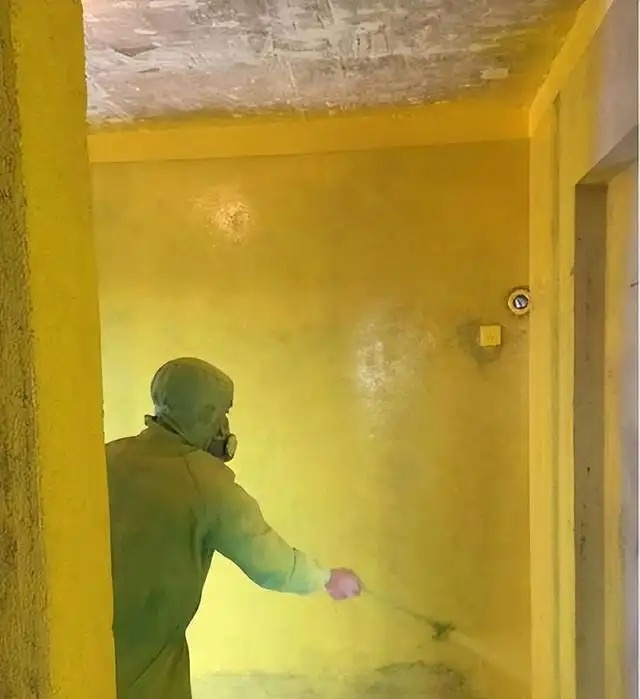
2. Level the grooves with joint compound, then apply another layer of leveling compound to the entire surface. Do not add glue to the putty.
3. Choose water-resistant putty with ten-ring environmental certification and apply 2-3 coats.

4. Ensure the walls are smooth and level, and the wardrobe and door frames are plumb. Use a leveling rod at least 1.2m long.
5. The baseboard area must be leveled, and the putty should be applied to the floor.
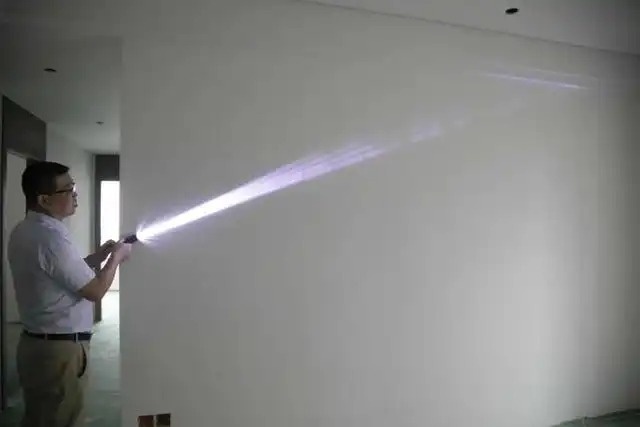
6. After the putty is sanded, use a flashlight to check the flatness of the wall surface.
Step 12: Install the windowsill stone
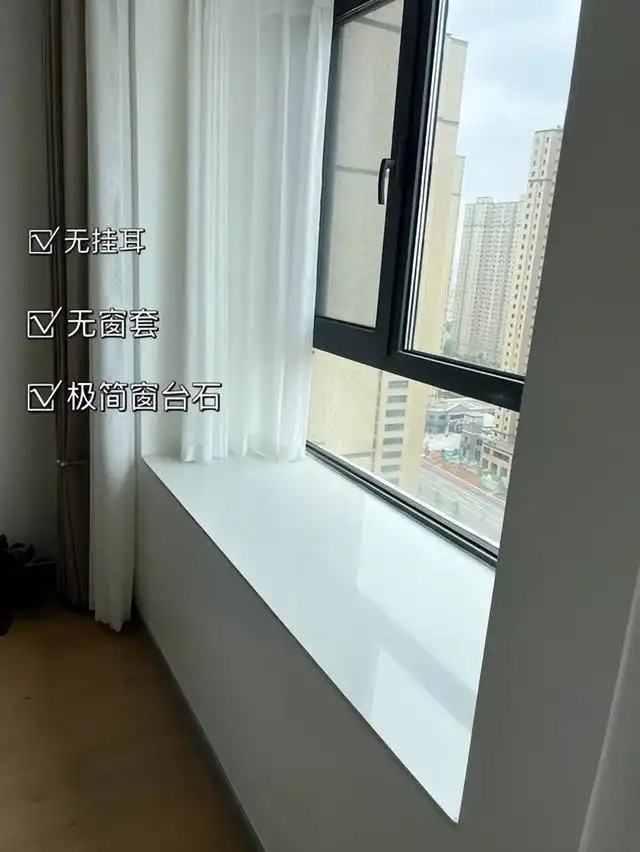
1. No window casing. The window frame is lined with waterproof gypsum board and leveled with water-resistant putty.
2. Install the window sill stone after the first coat of putty is completed.
3. Quartz stone is the first choice for windowsill stones, followed by artificial marble. Avoid small side ears and hanging ornaments.
Step 13: Measure and place orders for whole-house customization, wooden doors, and sliding doors.
1. If you are in a hurry, you can take measurements after the first coat of putty is applied.
2. Wardrobes and kitchen wall cabinets should extend to the ceiling as much as possible, with the top and bottom panels covered by cabinet doors, meaning the doors should reach the top and bottom.
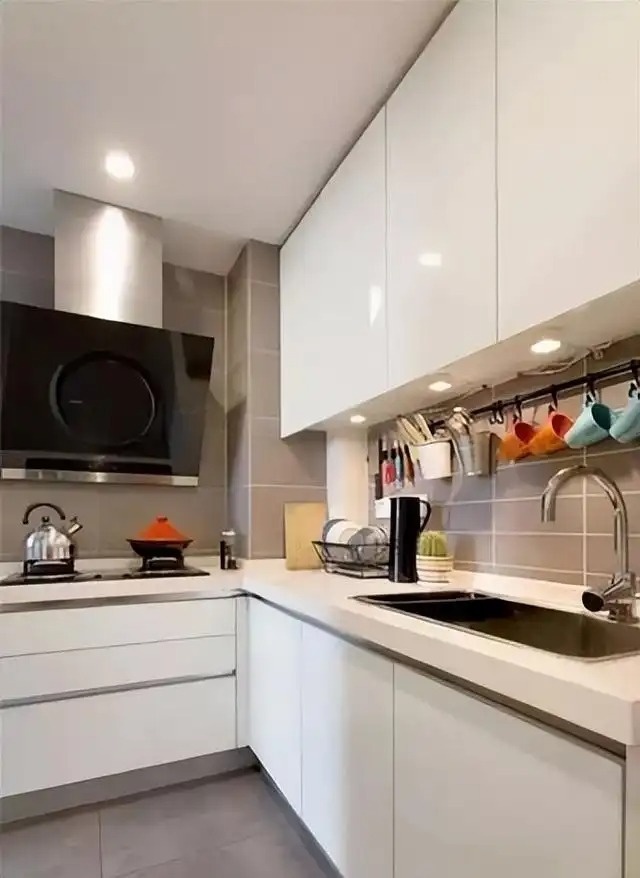
3. All cabinets are designed to be handle-free.
4. The cabinet doors use double-sided melamine, which comes in many colors and various textures, and looks very high-end. The key is that it is inexpensive and the most durable.
5. Use glass doors with caution, as they are expensive, easily get dirty, and require light strips.
Step 14: Apply latex paint by roller
1. Do not use wall coverings, wallpaper, diatomaceous earth, micro-cement, etc. on the walls. Use latex paint instead. It is environmentally friendly and has a long service life.
2. Use white latex paint throughout the house; avoid using contrasting colors.
3. Use a roller instead of a sprayer. Use a roller brush that costs over 100 yuan for better texture and a more premium feel.
White roller coating can perfectly repair any bumps or scratches later on, and even the texture will remain the same.
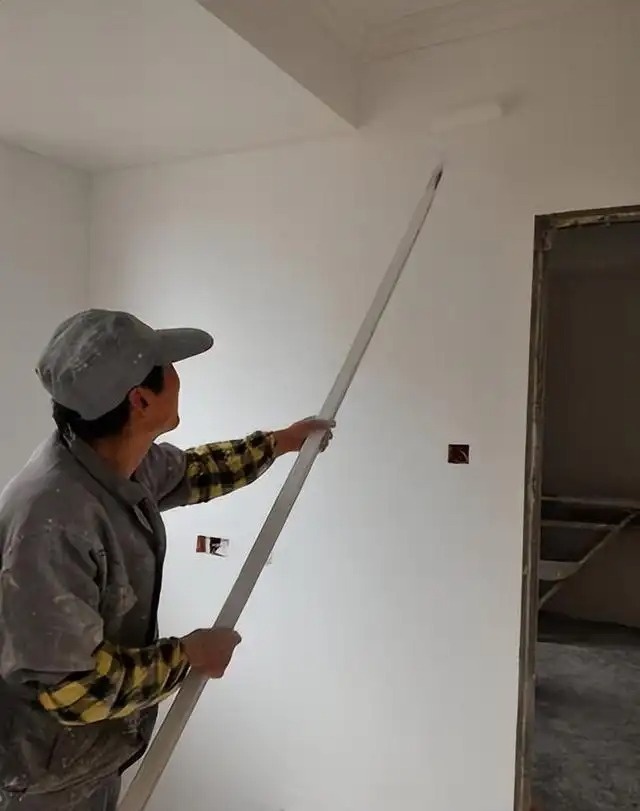
4. Apply one coat of primer and two coats of topcoat. For the ceiling, apply the primer by spraying; for the walls, apply the two coats of topcoat by rolling.
5. Five mineral water bottles were used to sample the latex paint for repairing any damage.
Step 15: Install window screens
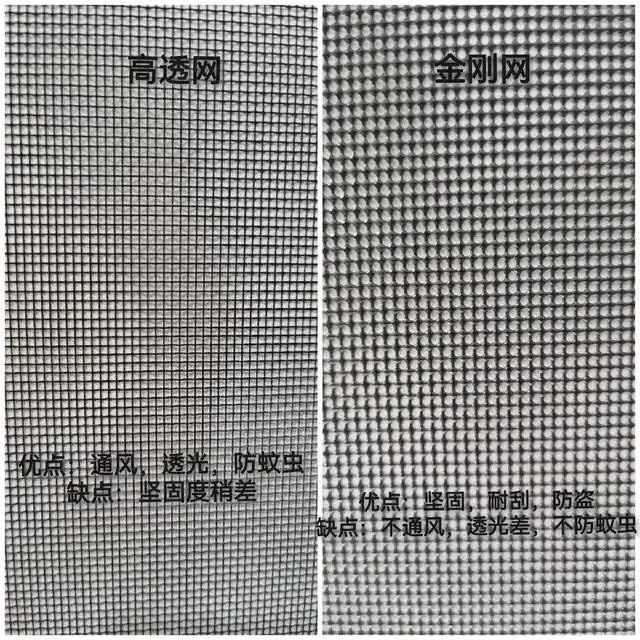
After applying latex paint, you need to prevent flying insects from entering and contaminating the paint.
High-transparency mesh should be used for window screens, not diamond mesh, as it does not provide good ventilation.
Step 16: Whole-house customization and wooden door installation
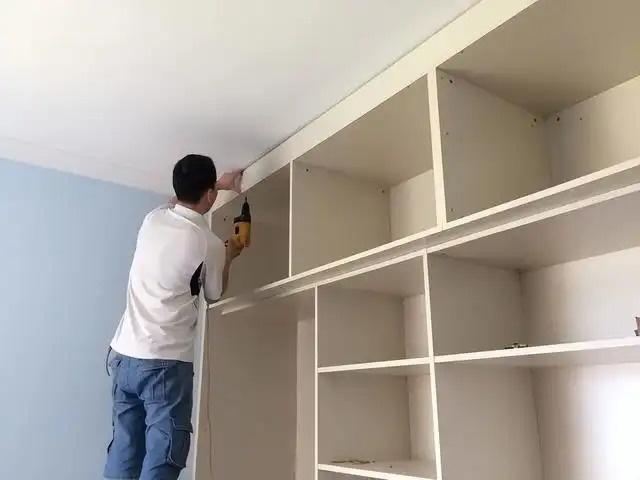
1. The wardrobe should be 1-2cm narrower than the ceiling. Leave a 5mm gap between the wardrobe door and the ceiling.
2. Built-in kitchen appliances will be delivered in advance and installed simultaneously with the cabinets.
Step 17: Installation of bathroom fixtures, lighting, switches, and sockets
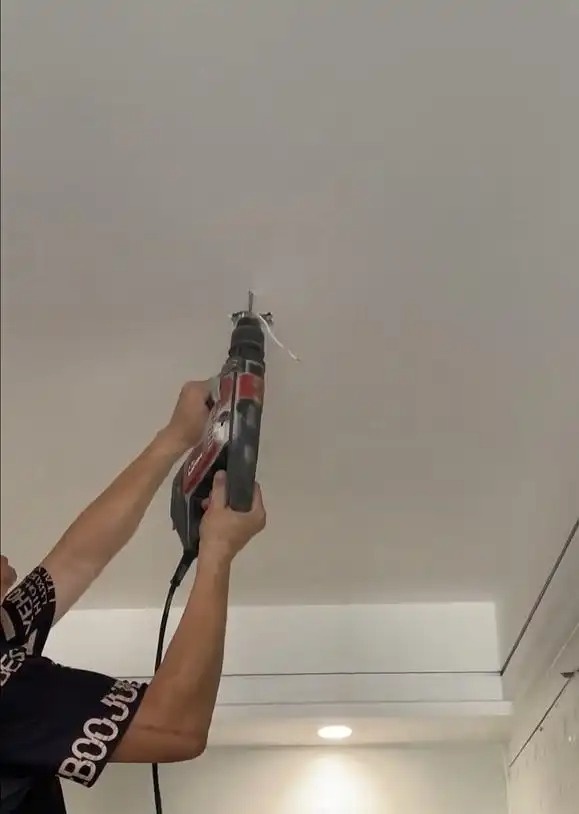
Toilets, bathroom cabinets, towel racks, bathtubs, all light fixtures, switches and sockets should be installed promptly after the latex paint is applied. The installation of these items will generate dust and debris, so they should be completed before the initial post-construction cleaning.
Step 18: Installation of the entrance door frame and kitchen sliding door (if applicable)
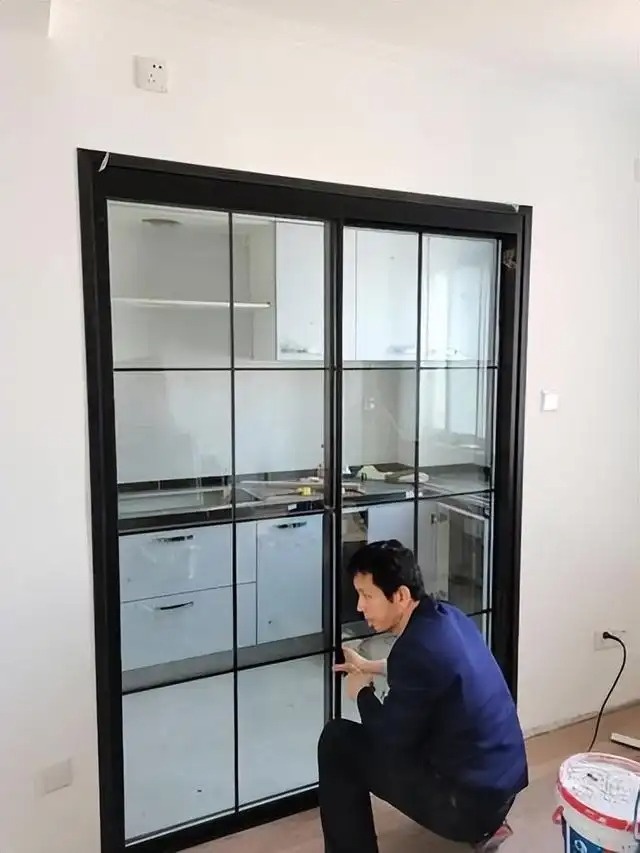
Step 19: Initial Cleaning
Remove the protective film from the floor and thoroughly clean the entire house, including the floor, walls, window gaps, and interior and exterior glass.
Step 20: Furniture, appliances, and soft furnishings arrive.
1. If you are buying a bed and sofa offline, you need to order about two months in advance. Please consult the seller for details. Online purchases take about 20 days.
2. Do not purchase non-built-in home appliances in advance, as their prices may drop at any time, but will not increase.
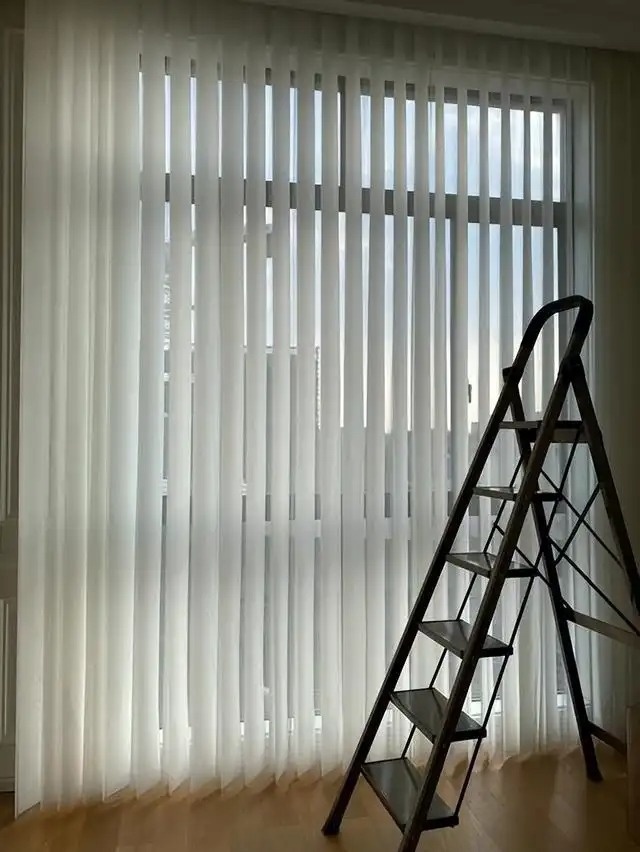
3. No noise reduction is required in the living room; a sheer curtain that allows light but not people to pass through is sufficient, and a fabric curtain is not necessary. However, the curtain box must be wide enough to accommodate the fabric curtain.
If you have floor-to-ceiling windows, we highly recommend installing motorized curtains.
4. Avoid L-shaped or 3+2+1 sofas; choose a straight-line sofa and pair it with a separate armchair in a different color.