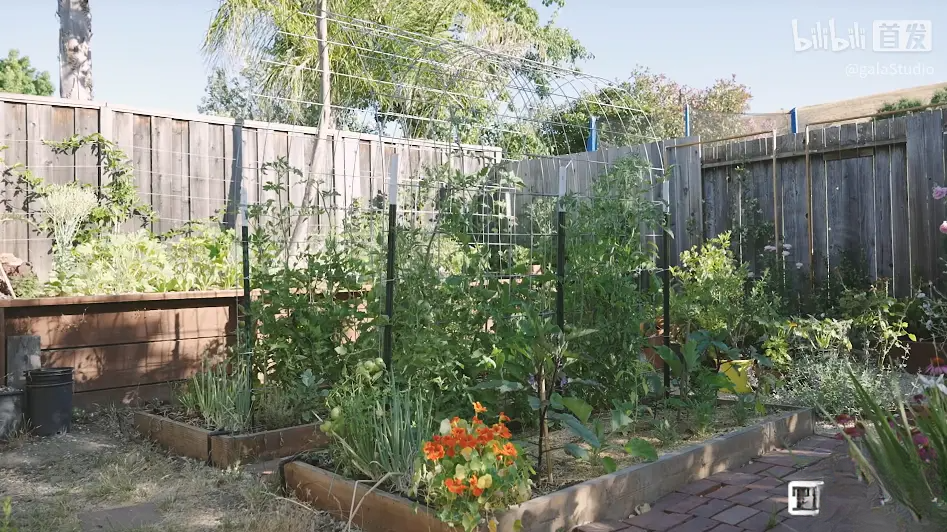
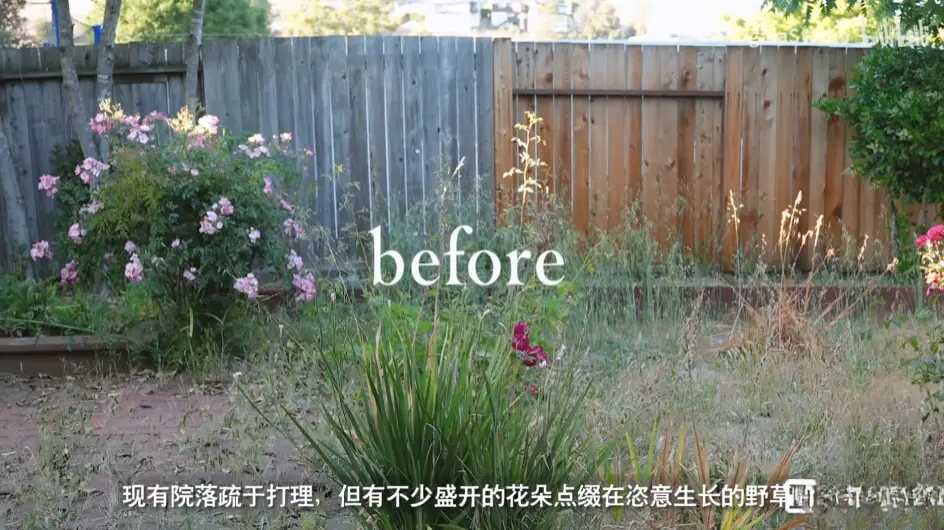
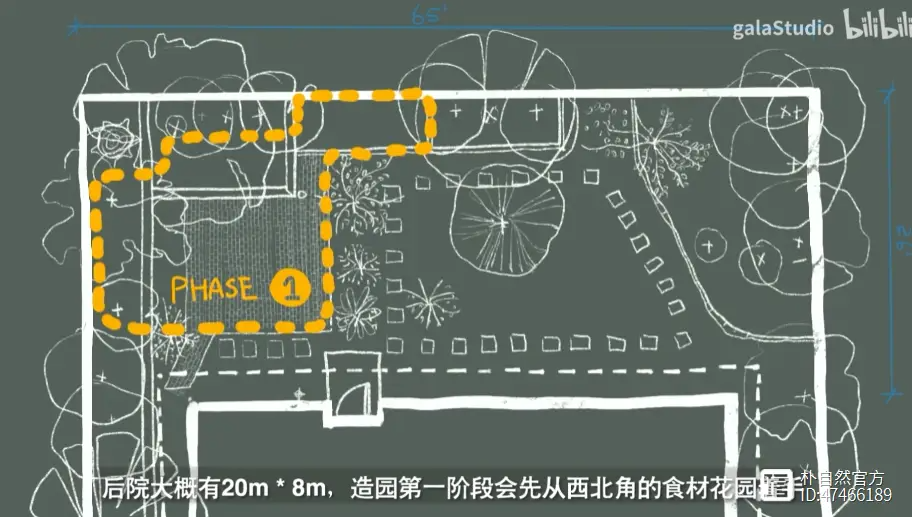
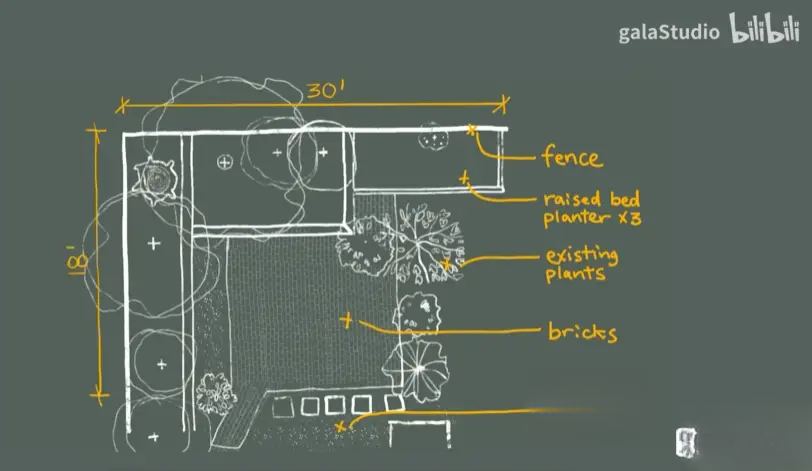
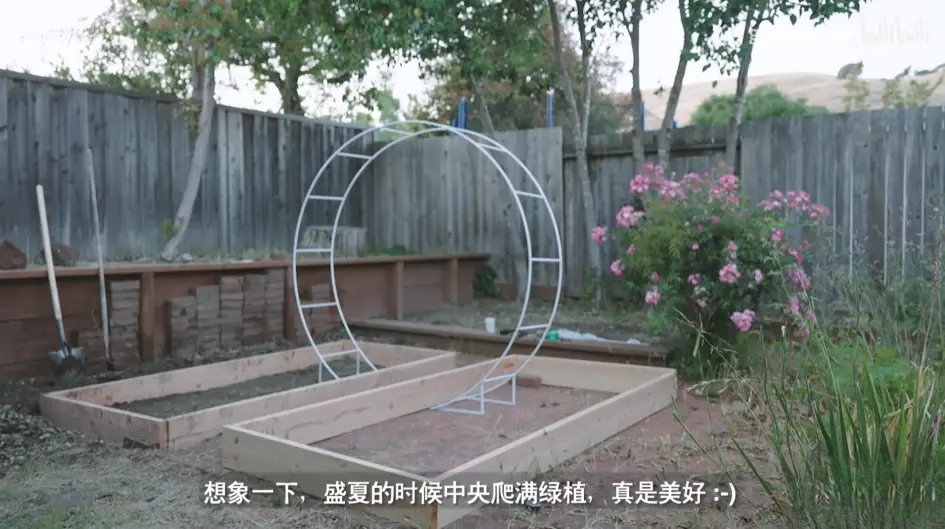
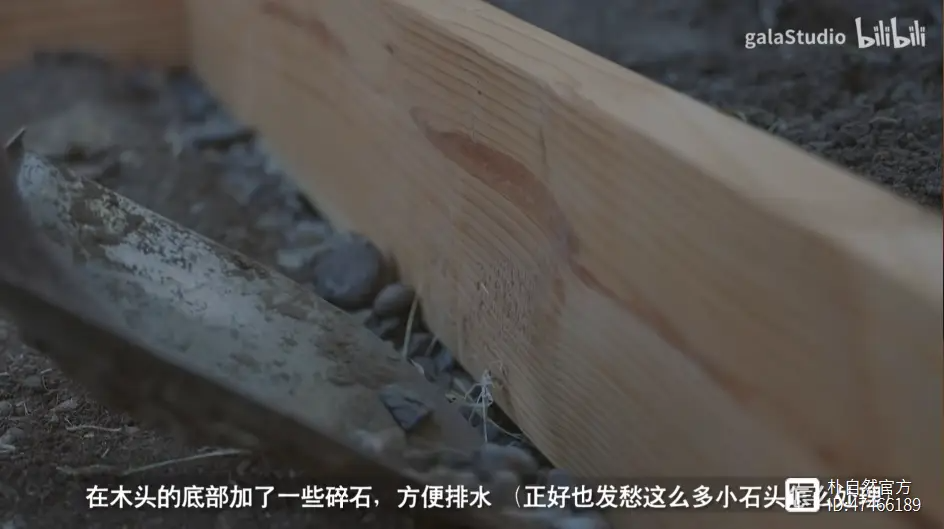
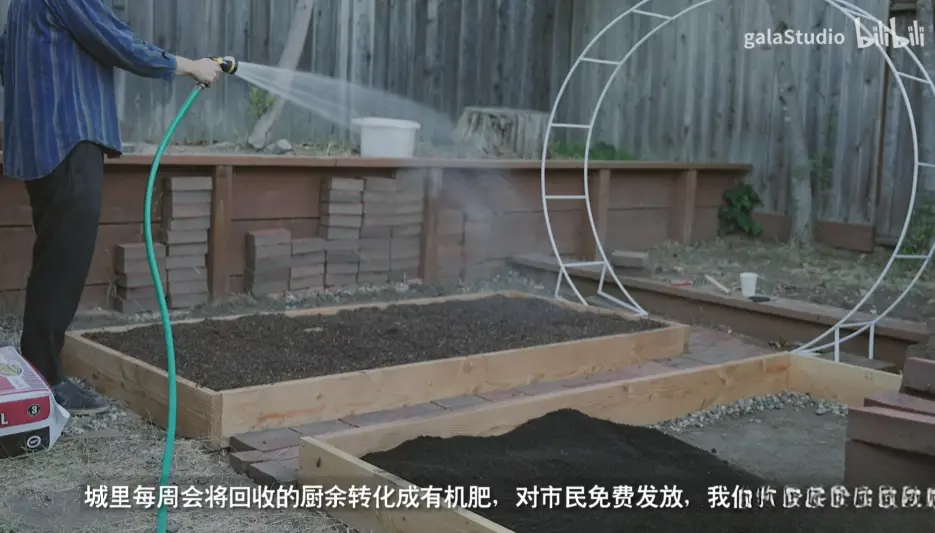
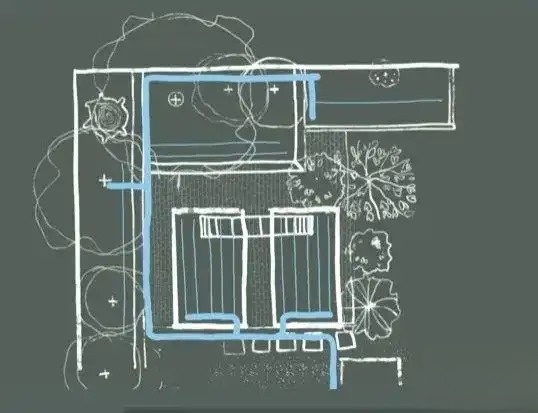
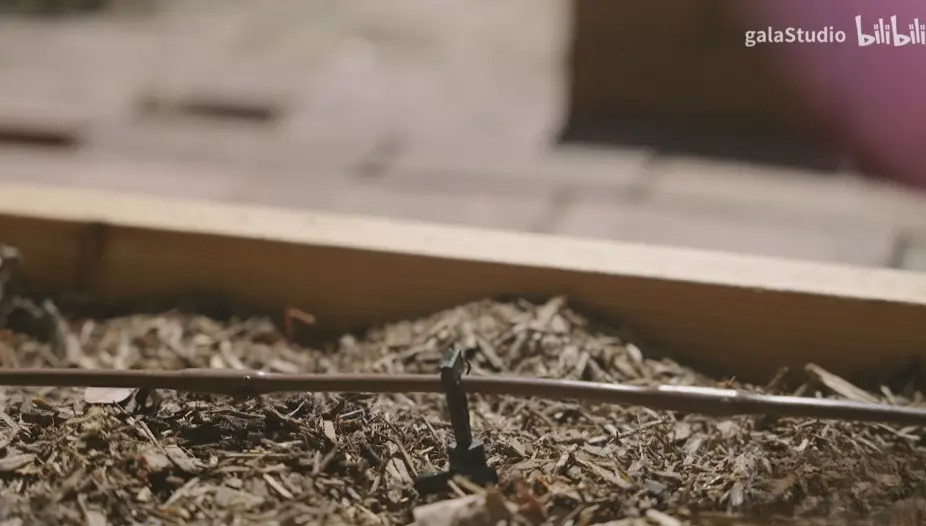
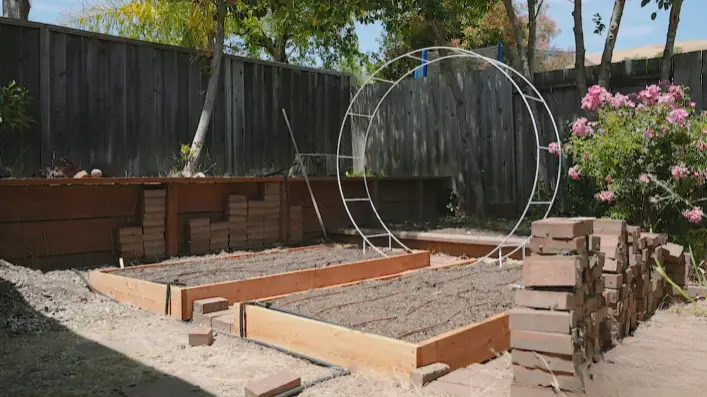
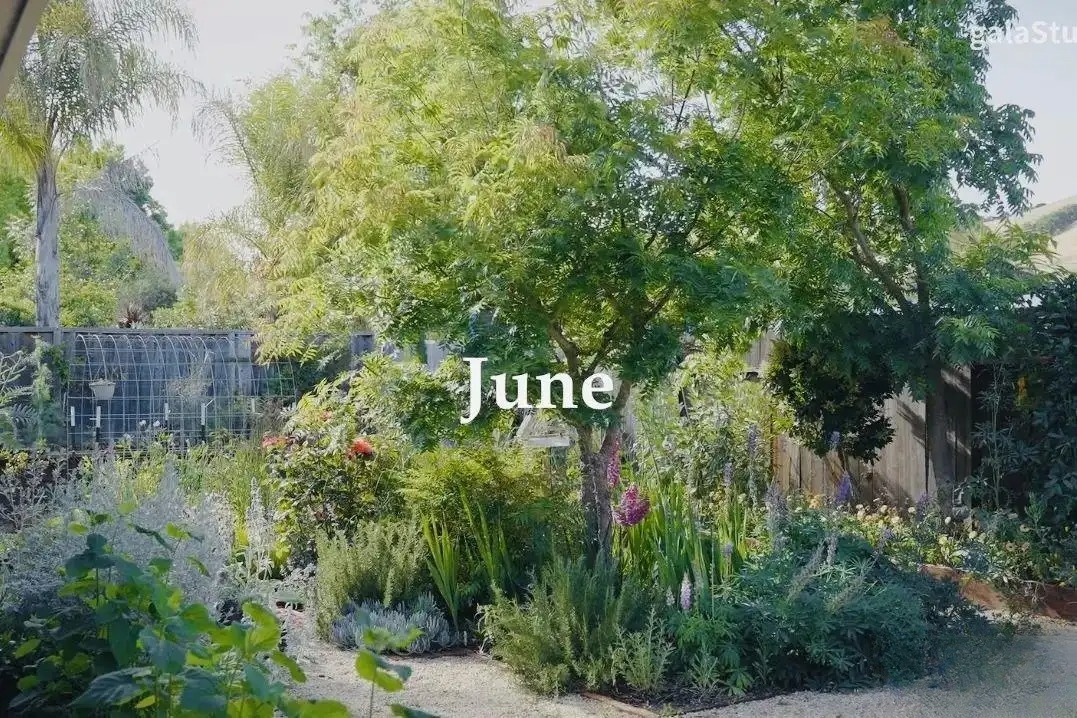
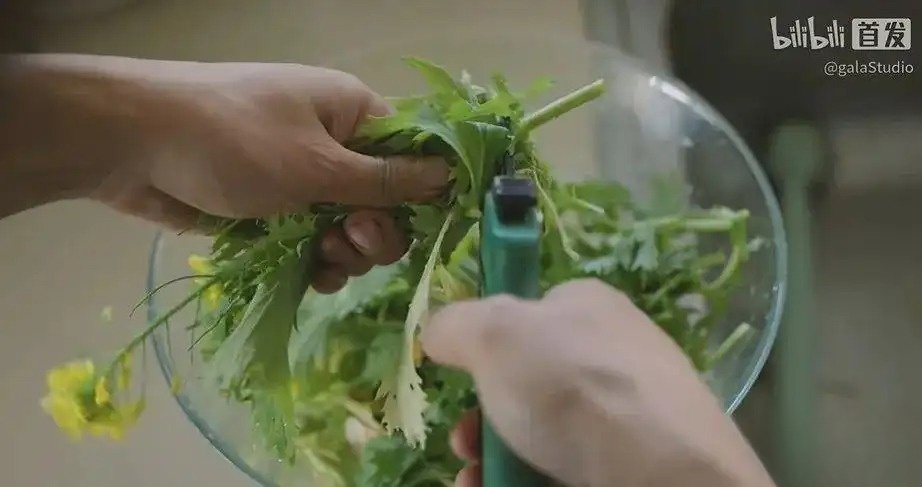
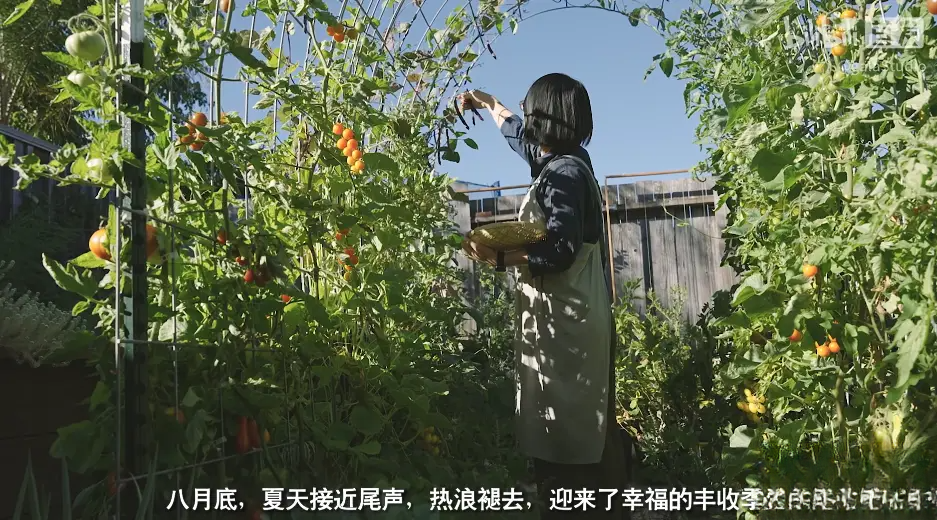
People often say that if you do things in March and April, you'll find the answers in August and September. This saying is now considered inspirational by many, but if you have personally experienced the cycle of spring planting and autumn harvest, and felt the pulse of the earth, your profound understanding of the laws of nature will allow you to more thoroughly comprehend the deep philosophy and boundless wisdom behind this saying.I recently watched a lot of gardening videos and found a beautiful backyard on Bilibili called "Gala Courtyard" . The owners of the courtyard, @galaStudio , are a Chinese couple living in California, USA. One is a landscape designer and the other is an architect.Initially, they tried growing fruits and vegetables on a 3-square-meter balcony in San Francisco. In 2021, they moved from downtown San Francisco to the foot of the mountains on the outskirts of the city and transformed a 160-square-meter abandoned backyard into an edible garden . Since then, they have truly lived a self-sufficient life with the freedom to grow fruits, vegetables and flowers.Today I want to share how they created a 9㎡ food garden in their backyard, and how to grow things in a small area. Some of their planting tips are worth learning.Main content and images in this article are sourced from: Bilibili @ galaStudioThe picture below shows what the courtyard originally looked like. Because no one took care of it, it was overgrown with weeds, with a few blooming flowers dotting the landscape.This backyard is about 20m x 8m. In the first stage of landscaping, they started with a 9m food garden in the northwest corner .The first step is planning and layout, and conducting on-site surveys.There were originally three planting beds along the fence in this part of the yard that could still be used. The middle part was made of red bricks. The owner plans to keep part of it as a garden path and remove the rest to add two new planting beds of 1.2m*2.4m.A circular climbing pole is placed in the middle, which will be a great visual focal point when the crops cover the ground in summer.The soil here isn't very good, so planting beds are easier to manage than traditional field farming, and you don't have to bend over deeply.The owner used unpressurized natural cedar wood, simply applying two coats of Danish oil for preservation and moisture protection before assembling it. Once assembled, some gravel was added to the bottom to facilitate drainage.The second step involves calculating the required soil and then selecting high-quality soil. To further enhance soil fertility, the owner also added 20% organic compost.The wind was strong at night, so to prevent half of the precious soil from being blown away the next day, we watered the soil before finishing work.The third step is the installation of the automatic drip irrigation system.
Drip irrigation is economical, labor-saving, and the preferred method of irrigation. An outdoor irrigation plan can be designed first to see how to efficiently cover five planting beds. Although considerable time will be required initially to research the drip irrigation system, it is a worthwhile investment over time. (Repairs may be necessary later.)The drip irrigation system was installed according to the design, and it was initially set to water for ten minutes every morning, and then fine-tuned according to the results.The entire food garden, from planning to completion, took two weeks.
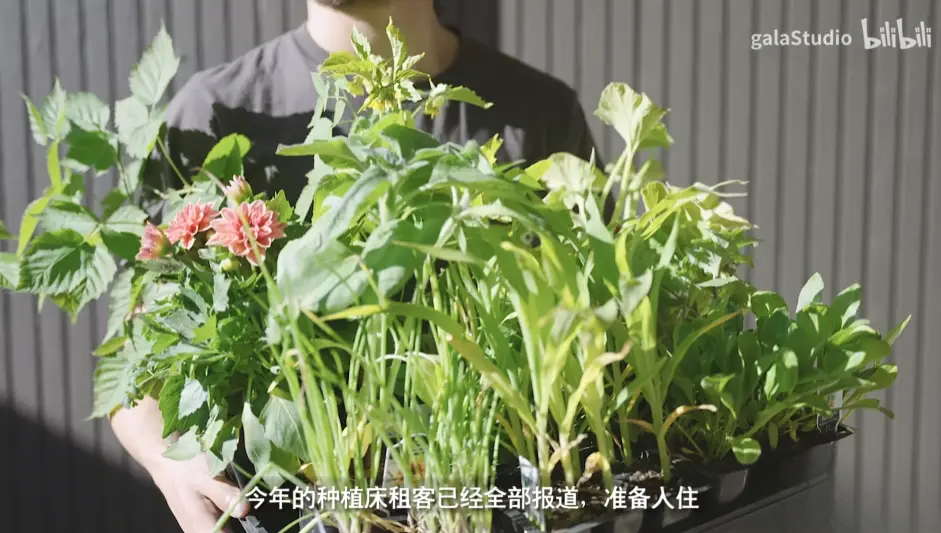
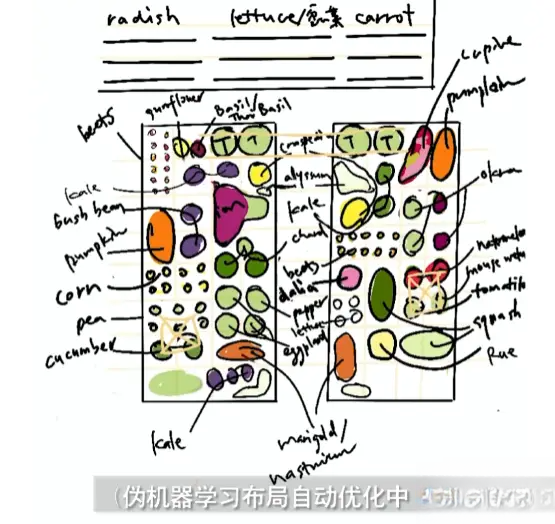
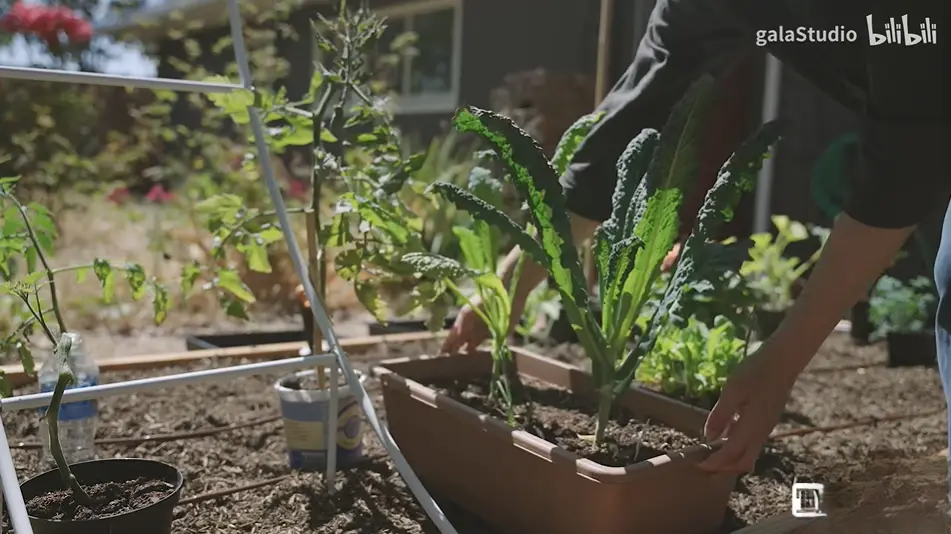
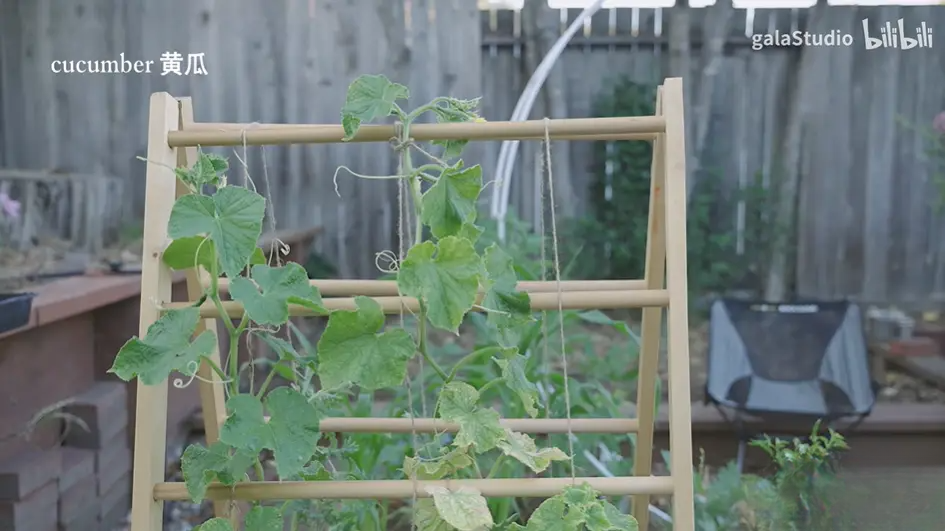
After the planting beds were left empty for a week, the garden owners began looking for seedlings, some purchased and some they had grown themselves. "Some landscaping work can be postponed, but the cultivation and planting of seedlings cannot be delayed."The owner is accustomed to making plans first, and then implementing them in practice.Before planting, it is necessary to decide on the crops that can be planted according to the season, plan the location of the seedlings, and also consider the height, canopy width, soil requirements, etc. of the seedlings, and whether it will affect harmonious neighborly relations.To attract more pollinators, ornamental flowers can be interplanted in layers among the seedlings. They also released 1,500 ladybugs into the yard.Once the plan is in place, the seedlings can be placed on the actual site according to the plan, and then each seedling can be taken out and buried in the soil.For some climbing crops, trellises are needed to facilitate plant growth. Trellises can be DIY-made according to your needs.With everything prepared, all that's left is to wait for the crops to grow and be harvested.
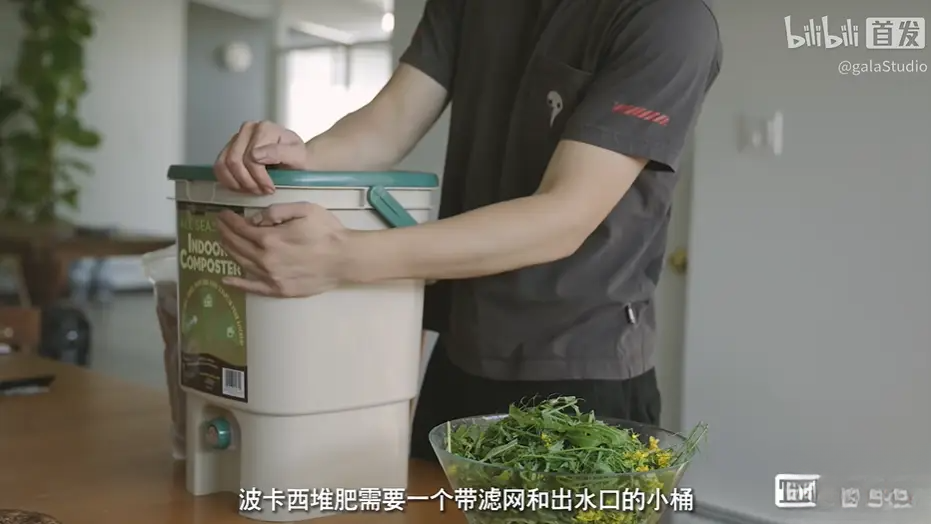
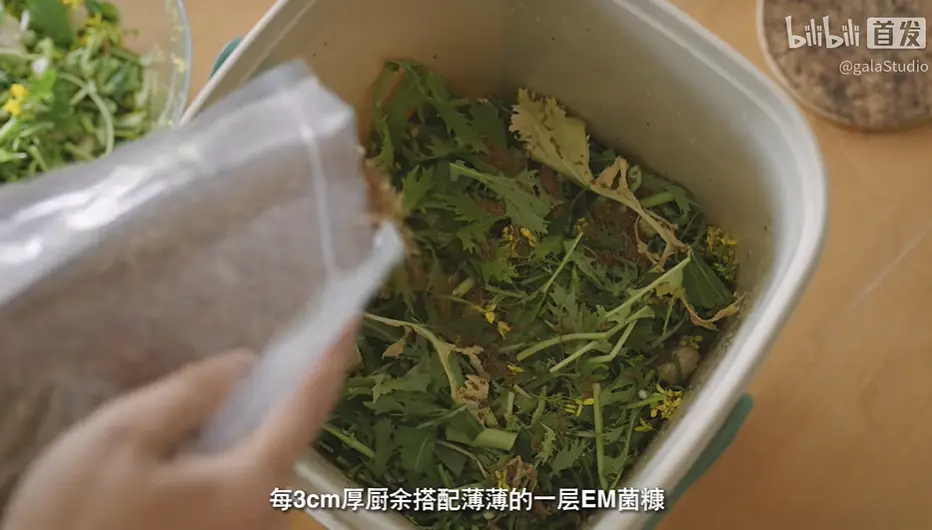
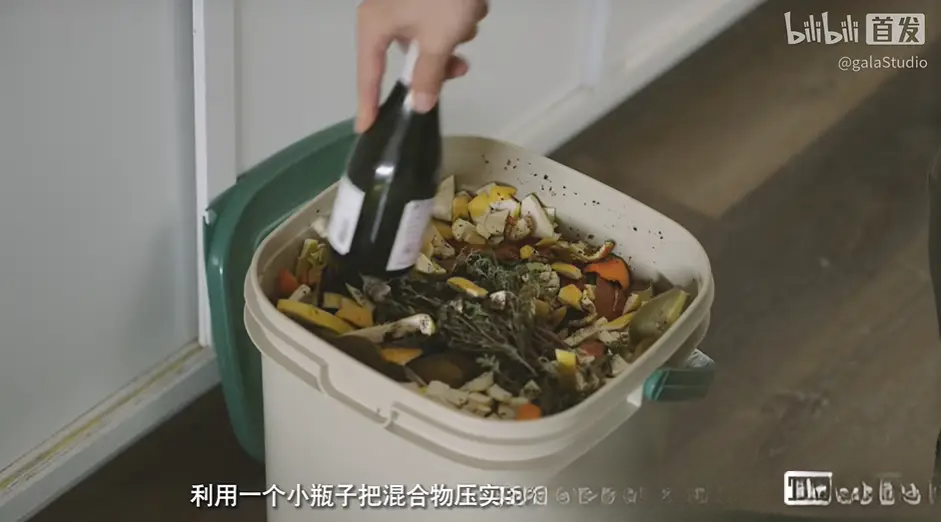
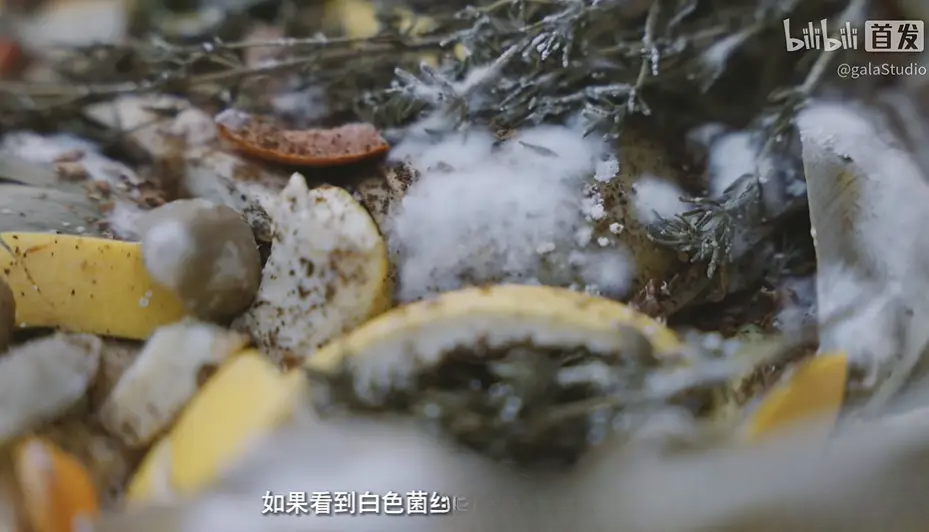
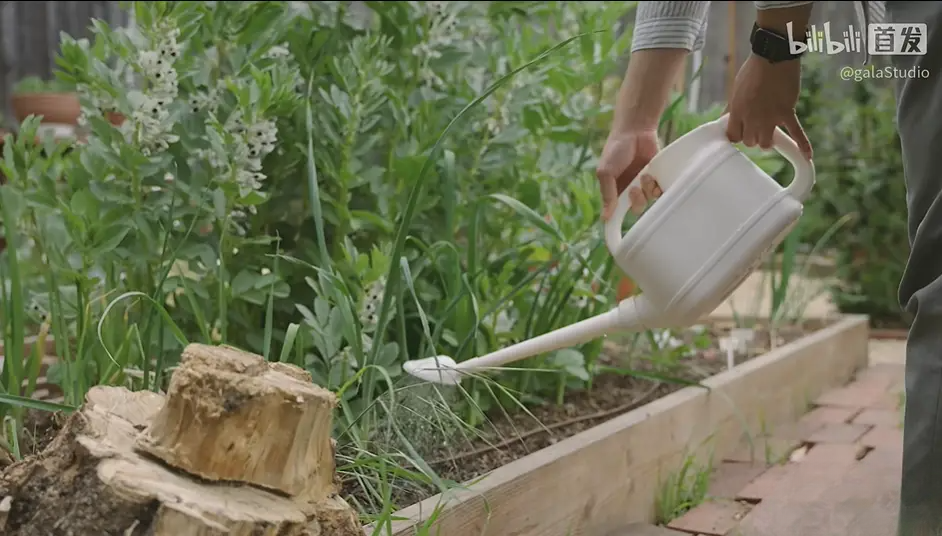
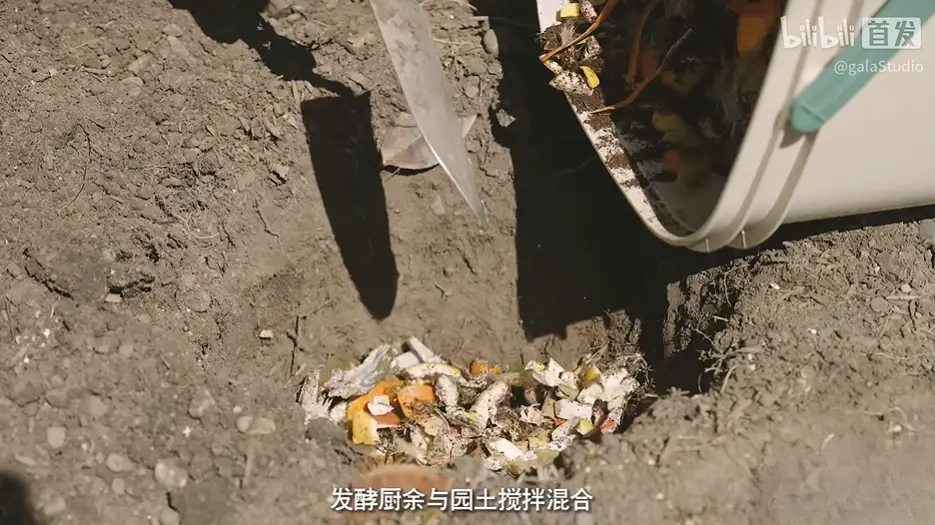
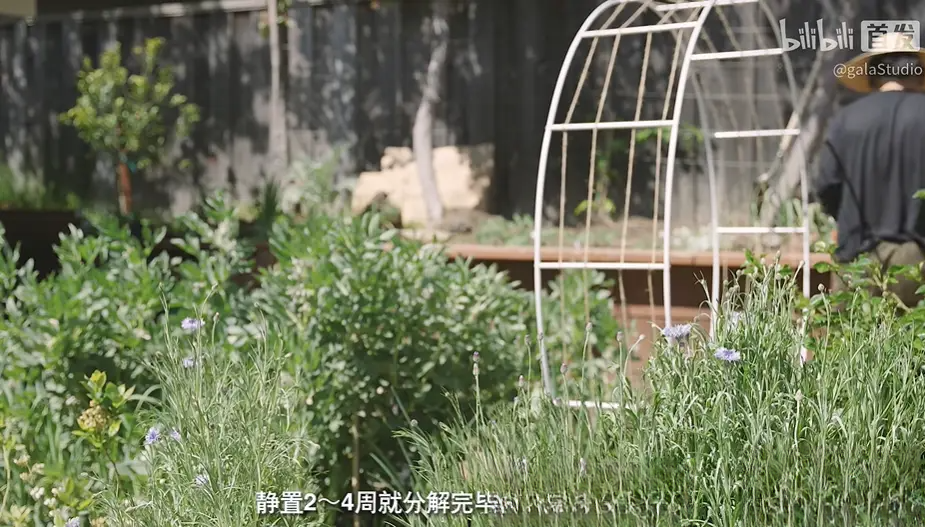
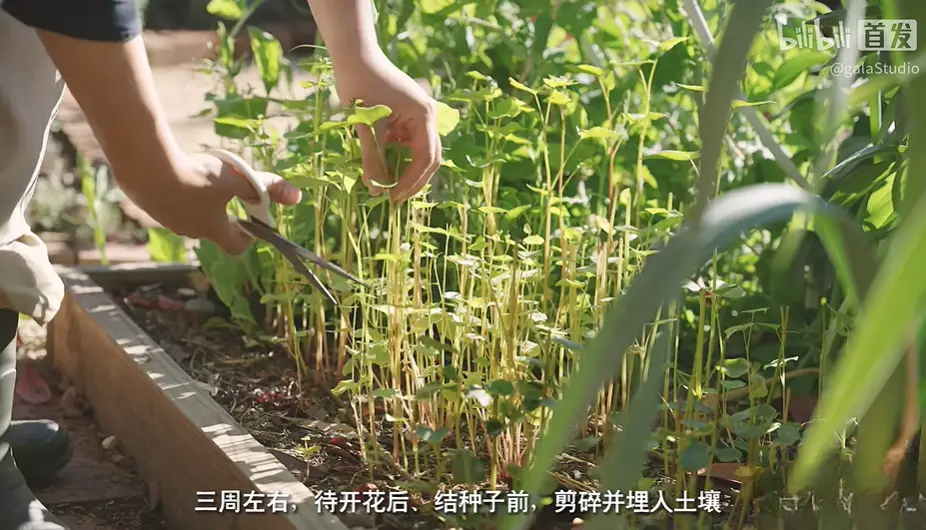
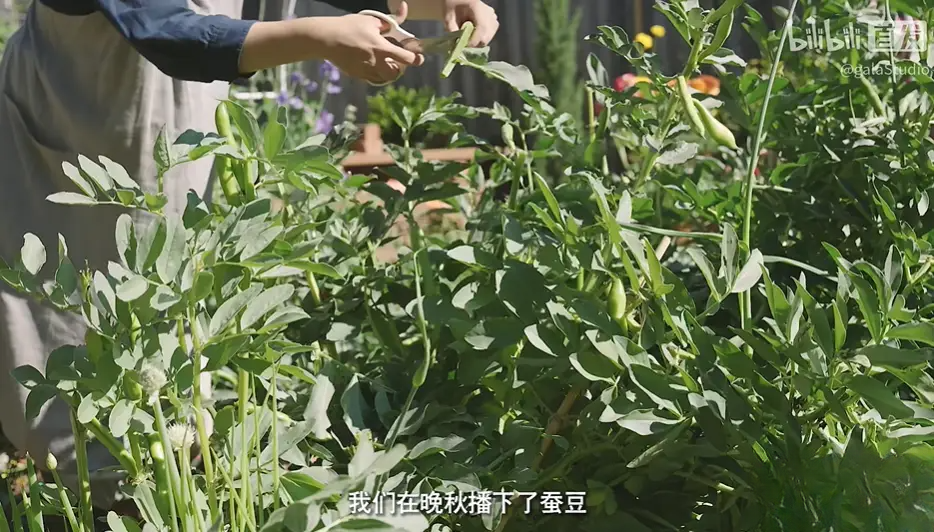
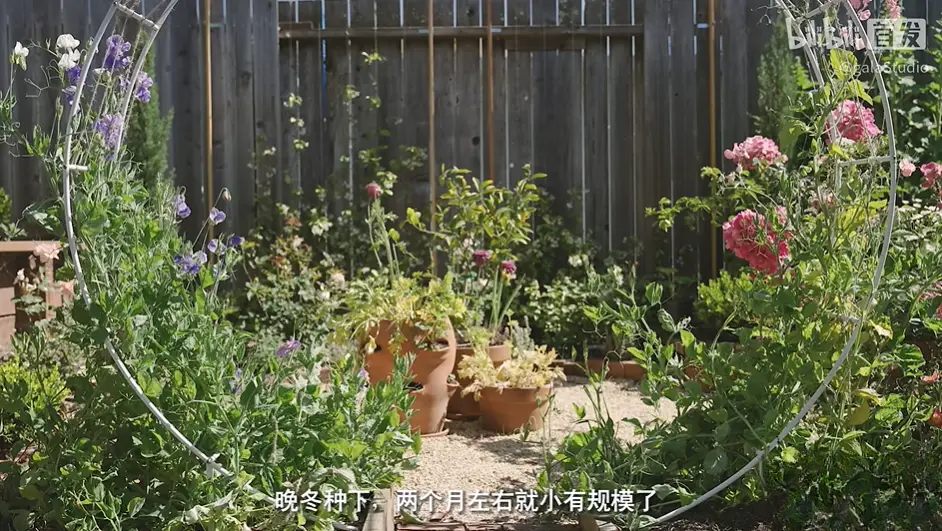
There are many ways to grow food, and the owners hope that their food garden can be both practical and aesthetically pleasing.So they kept renovating and upgrading the backyard, building a garden path, turning the tree pits into a rose garden, creating a cut flower garden, and planting many flowers and fruits... In the end, this place was transformed from a weed-infested yard into a paradise full of fruits and vegetables, and birdsong and fragrant flowers.Sunrise and sunset, blooming and withering flowers, gardens, ingredients, time and the seasons weave together stories that belong to them alone.Farming is a process of continuous learning and trial and error .For example, at first, gardeners are often attracted by the colorful fruits and vegetables, but they overlook the soil that supports their growth and fruiting. Only after a long period of practice do they realize that the inconspicuous soil is often the foundation for plant growth.Therefore, when expanding into other planting areas, they always prioritize improving soil quality and have shared several soil improvement methods.Method 1: The simplest indoor composting method – BocasiIf traditional thermal composting is a game of carbon-to-nitrogen ratios, then Bocasi is an effort to achieve a zero-waste kitchen lifestyle.This is a composting fermentation system suitable for indoor, small-space operation, providing a quick and easy way to process all kitchen waste (4-6 weeks).For Bocasi composting, it's best to use a small, sealed container with a filter and a drain. The sealed lid ensures the subsequent anaerobic fermentation process and prevents odors from escaping. You can put common kitchen waste such as vegetable and fruit peels, eggshells, coffee and tea leaves, and even small amounts of chopped oil, milk, meat, and bones into it.When storing kitchen waste, add a thin layer of EM bacteria bran for every 3cm of kitchen waste . The live bacteria preparation inside will transform the kitchen waste into lactic acid through anaerobic fermentation.Repeat this process until the bucket is full and compacted. A family of three can typically fill a one-gallon bucket in about four weeks.If you see white mycelium after letting the container stand for two weeks, it means that the fermentation has been successful. After that, drain the liquid fertilizer every 2-3 days to prevent the fermented kitchen waste from rotting.If the liquid fertilizer is properly drained and preserved in the early stages, successfully fermented kitchen waste will have an aroma that is a mixture of rice bran and somewhere between fruit and kimchi.Bocasi liquid fertilizer is a nutrient-rich natural fertilizer. The liquid fertilizer itself is highly acidic, and it is generally before being applied to plants.There are several ways to dispose of fermented kitchen waste. The first, and most common, method used by gardeners is to bury it directly in the soil. The recommended burial depth is around 30cm. Mix the fermented kitchen waste with garden soil, then cover it with 10-15cm of soil to prevent scavengers from eating it.Besides direct landfill, the gardener also tried mixing garden soil, placing it in a sealed container , letting it stand for 2-4 weeks until it decomposed, and then spreading it back into the garden.Method 2: Covering with crops/green manure in winterUsing cover crops is another way to improve soil fertility. Planting them during the off-season can effectively control weeds and slow down soil compaction. Different varieties of cover crops can be selected to suit different temperatures and needs.As temperatures changed, the owner experimented with three different cover crops. The first was a fast-growing cover crop, such as buckwheat, clover, winter rye, and oats.If you want to kill two birds with one stone, you can choose edible cover crops. Nitrogen-fixing legumes are a good choice, such as broad beans, soybeans, and chickpeas.The third type is decorative cover crops , such as sweet peas, alfalfa, and red clover. However, it should be noted that the entire sweet pea plant is slightly toxic and should never be eaten, although composting is fine.In addition to the soil-building method, the gardener also shared several methods for pest control. Although they have taken many measures to avoid pests as much as possible, some pests often gain the upper hand during the seedling stage of plants. For example, the most inconspicuous pill bug can eat tomato plants so much that they have no chance to grow.At this point, you need to have a clear understanding of the common pests affecting plants and their habits, and then treat them accordingly.
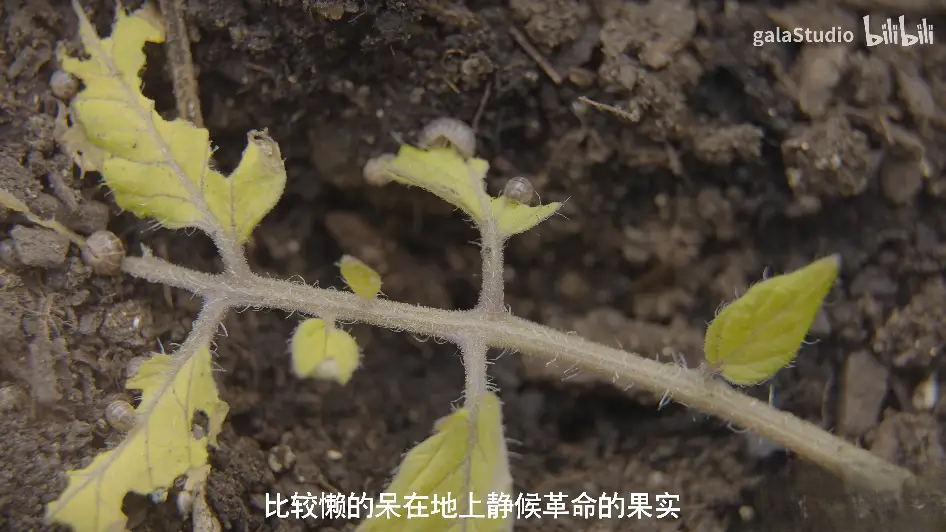
They have three methods for prevention and control:
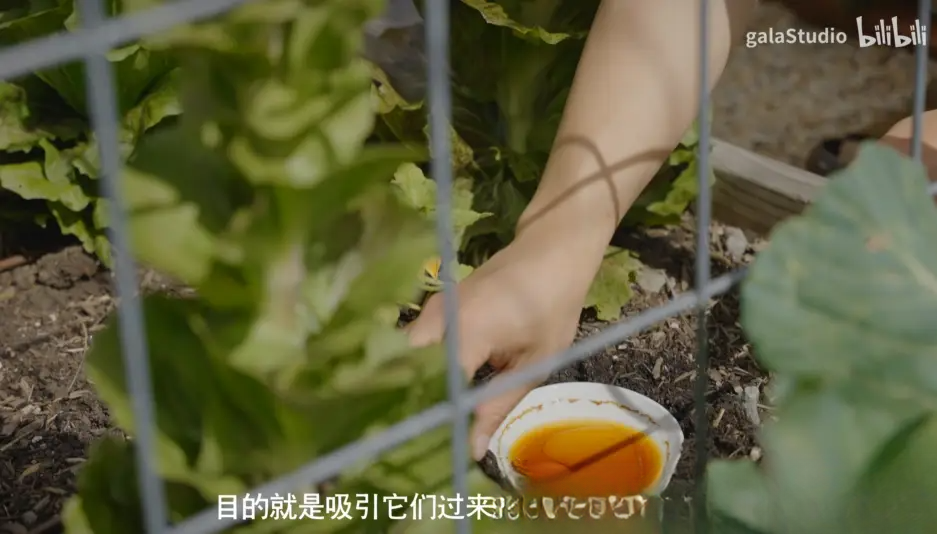
Method 1: Use a mixture of soy sauce, vegetable oil, and water to set up traps in two heavily affected areas. The goal is to attract the fish, cause them to fall into the water, and die from the salt.
Method 2: Diatomaceous earth (also called diatomaceous soil) . When pill bugs pass by, they will get covered in powder, dehydrate, and die.
Method 3: Luring away the tiger from the mountain. Pill bugs like damp and dark environments. Fruit peels can be used as bait. After a large number of them gather, shovel them all away at once.
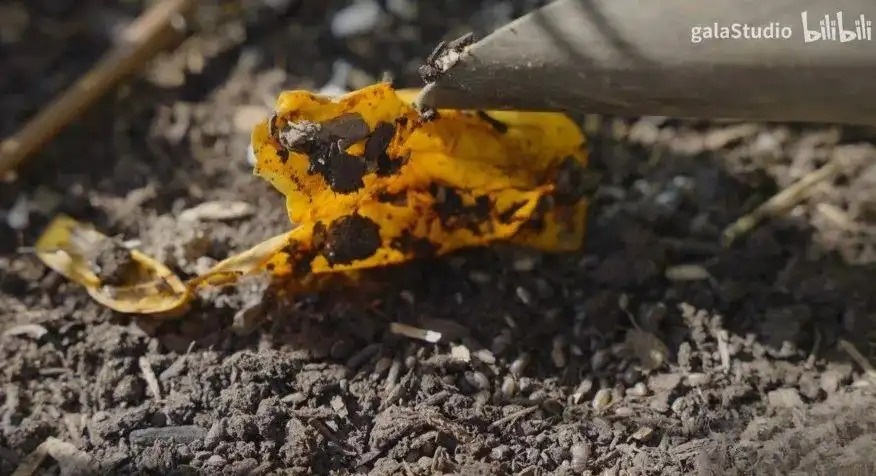
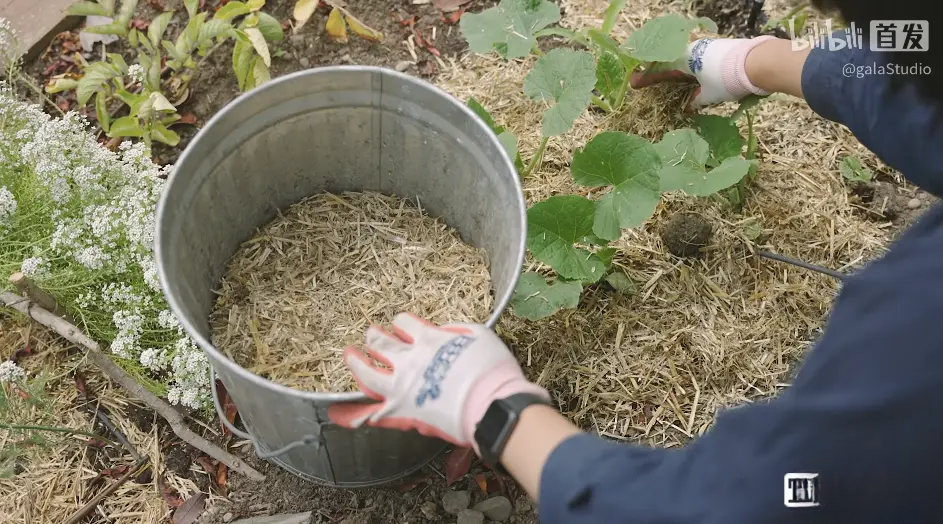
Plant seedlings are quite fragile, so gardeners often mulch the base of the seedlings with dry grass. Mulch effectively suppresses weeds and slows down soil moisture evaporation.
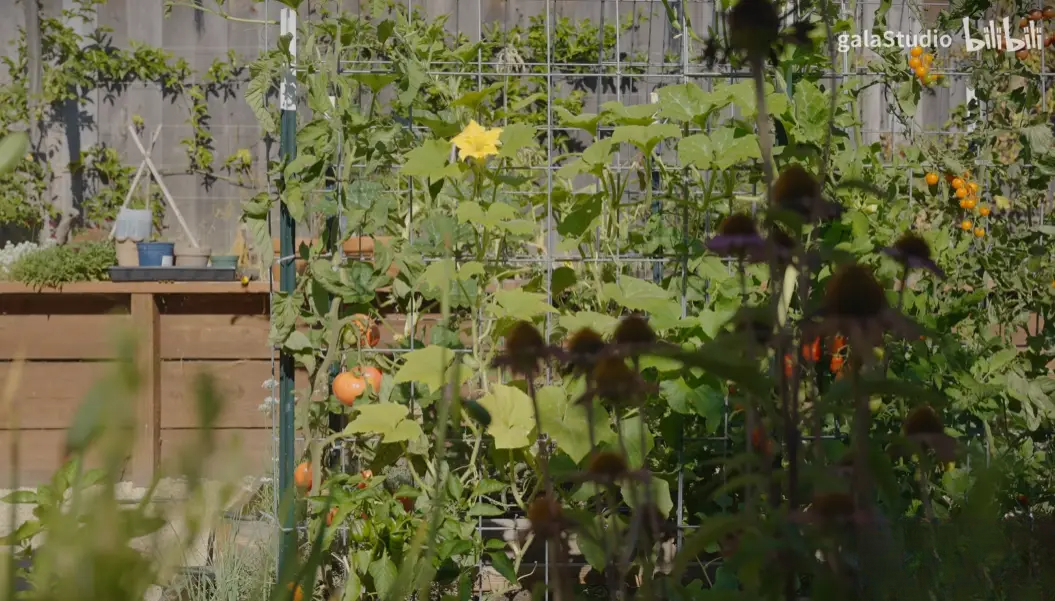
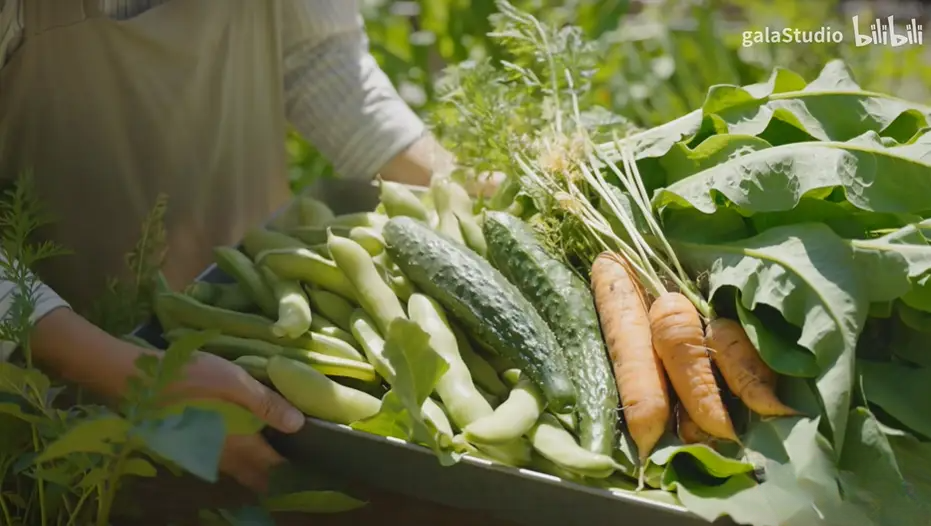
Of course, this is not all. They also shared many other details about the garden. The 9-square-meter vegetable garden provides enough vegetables to meet the daily needs of the family of three. During the harvest season, they have to pick vegetables twice a week to ensure that the garden is not too crowded.The owner's yard isn't small, but they believe that even if you live in a crowded city, it doesn't mean you can't have a lush, green vegetable and fruit garden.
Because of the long-term stay at home due to the pandemic, they carved out a "territory" on their small 3-square-meter balcony in the city.
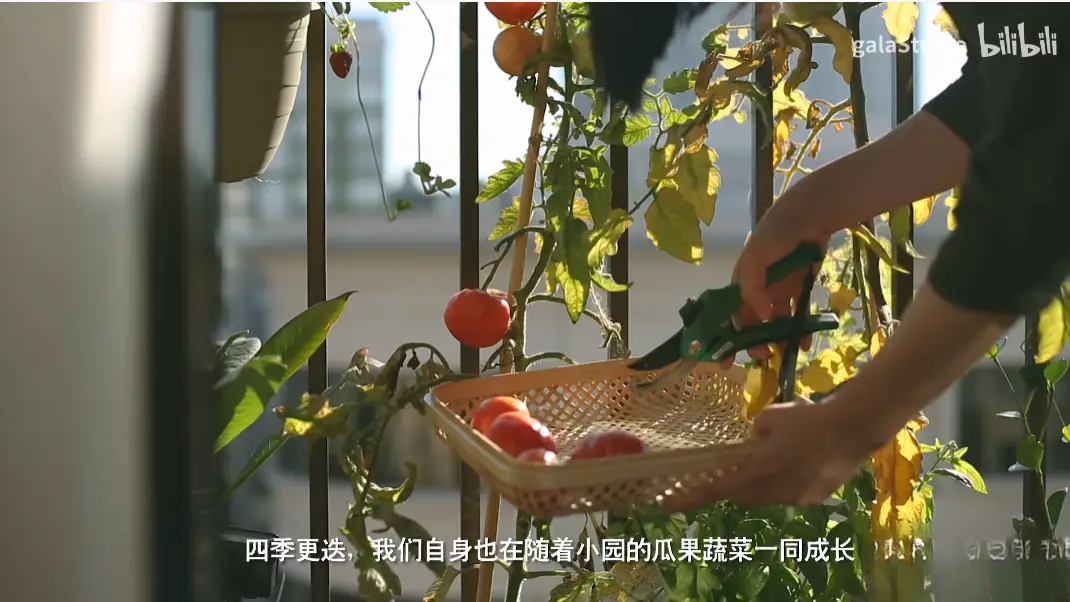
If you're also thinking about growing vegetables on your small balcony, these practical tips might be helpful. Before you start, ask yourself a few questions:
1. How much time and effort am I willing to spend on gardening?
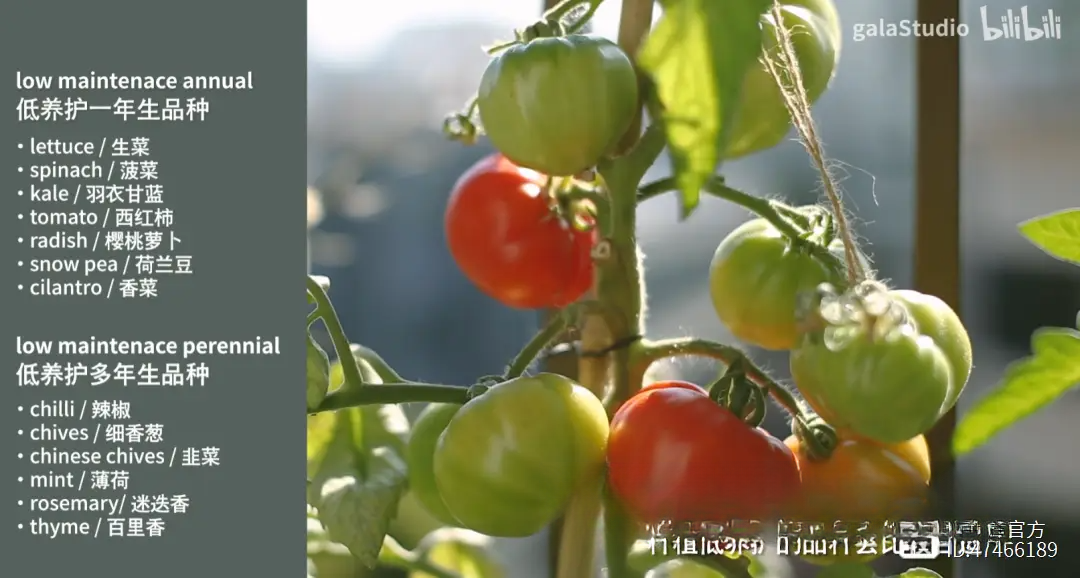
To achieve a healthy garden, plants require continuous observation and care from their owner. If you are a beginner or have limited time and energy, you can try planting plants that require minimal care, are less susceptible to pests, and have a fast growth cycle .
2. How much budget do I have to allocate?
Raising seedlings is much cheaper than buying them directly, so if you have the time, you can raise your own seedlings. For varieties that are difficult to raise yourself, it's better to buy seedlings directly, such as watermelon and rosemary.
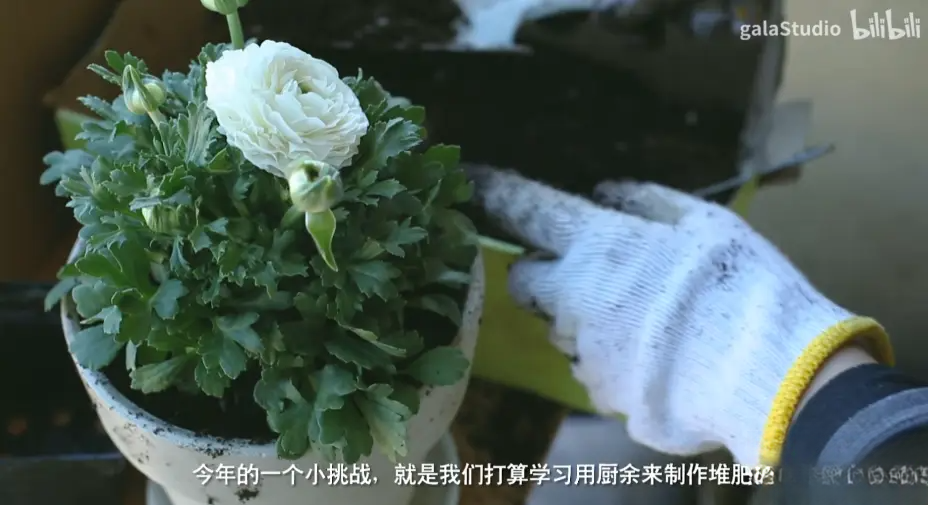
Buying soil is also a significant expense, so you can try making compost from kitchen waste.
3. What functional requirements do I have for the balcony? What is the load-bearing capacity of the balcony?
Plants need space to grow, and we also need to consider sufficient working space when assisting them, taking into account our own needs, and preparing for the next step.
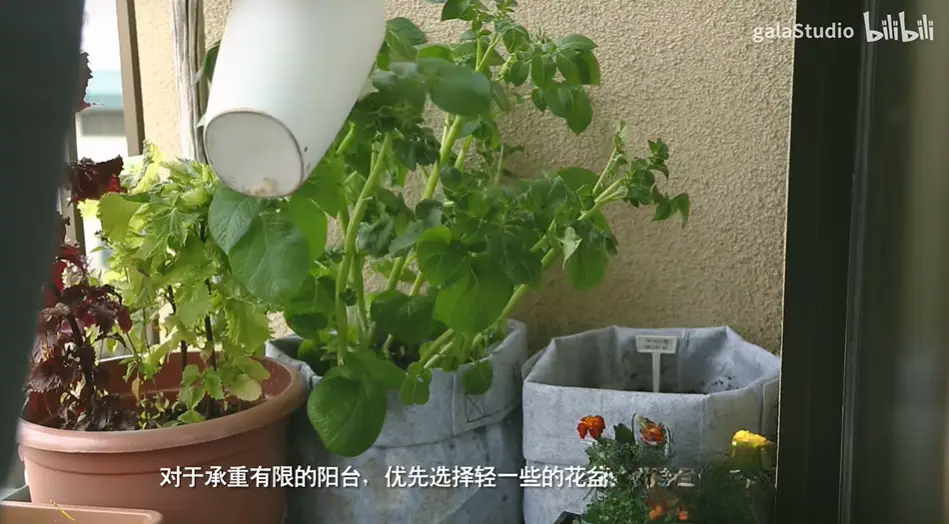
For balconies with limited load-bearing capacity, lighter flower pots are preferable, such as cloth bags, plastic basins, or takeout boxes.
4. How much sunlight does the balcony receive?
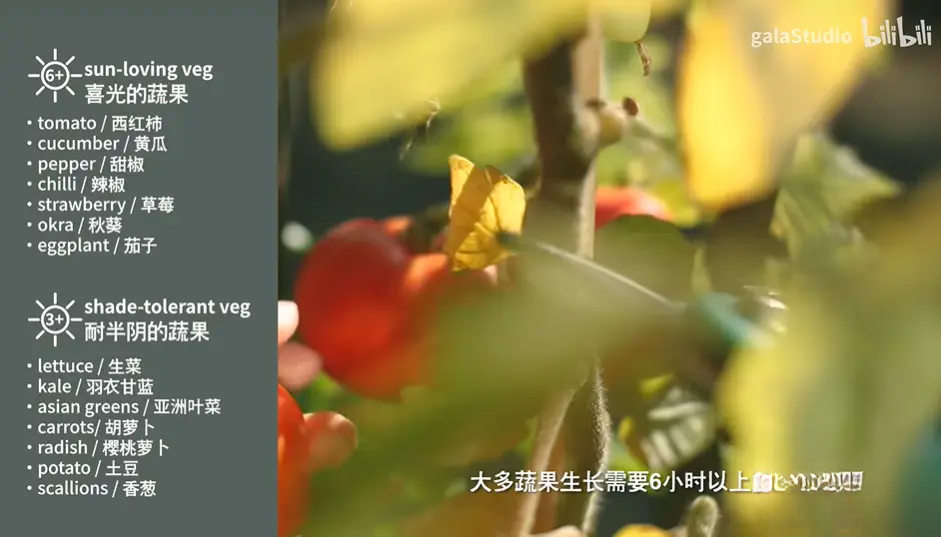
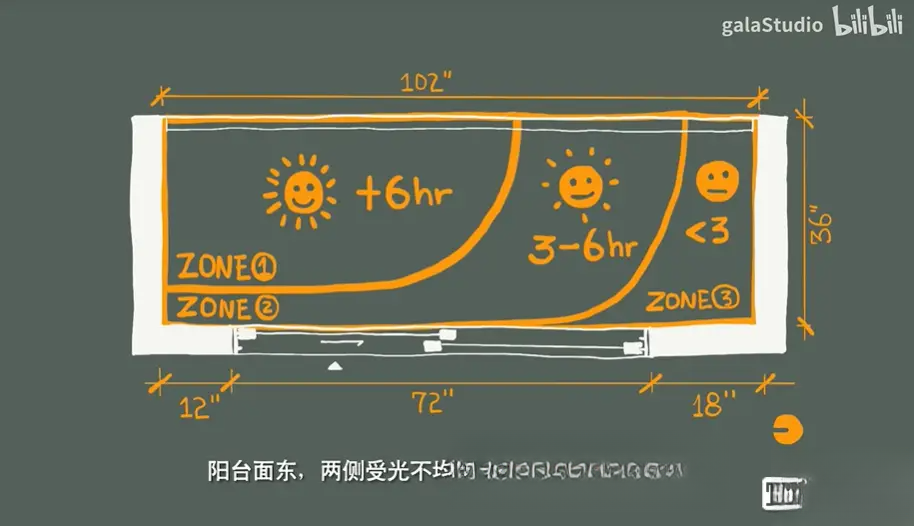
The amount of sunlight directly affects the varieties of fruits and vegetables that can be grown and their yield and quality, so it's essential to take the time to understand the orientation of your balcony and the duration of sunlight it receives. Most fruits and vegetables require more than 6 hours of direct sunlight to grow. If your balcony doesn't provide this, consider varieties that tolerate partial shade.
5. How big is my balcony?
To make efficient use of small spaces, it's crucial to understand the dimensions, and railings are a very important spatial element. The balcony layout can be rationally planned based on its size and the amount of sunlight it receives.
In situations where space is limited, vertical expansion can be achieved by making flexible use of flower pots and railings.
6. I am familiar with the drainage situation of the balcony.
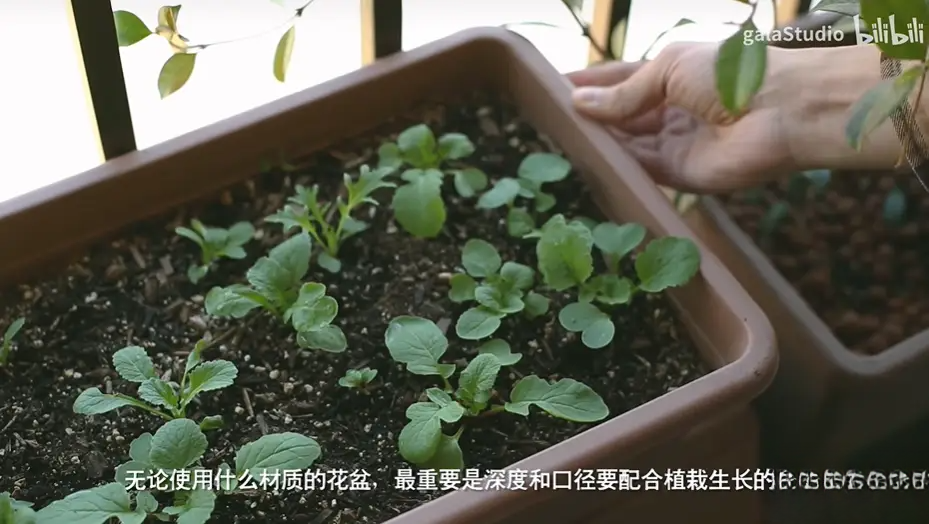
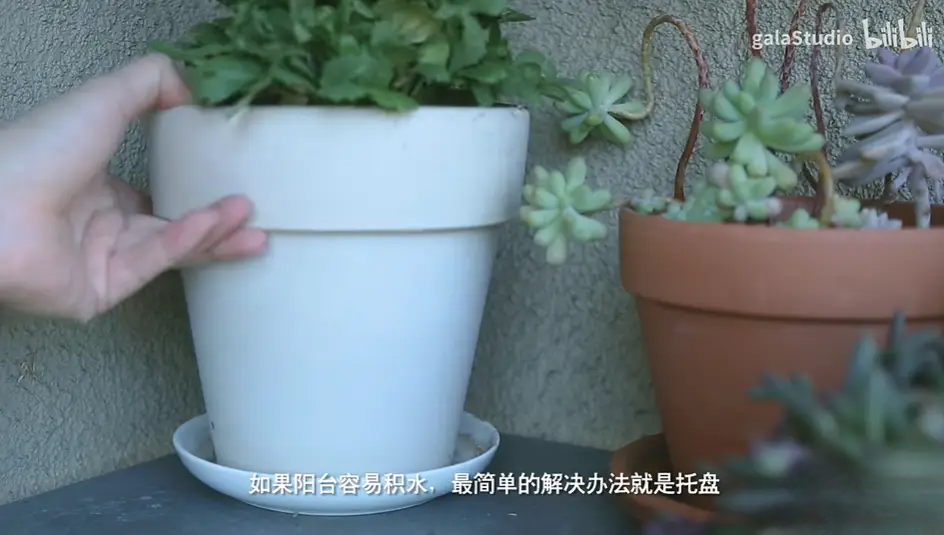
When studying the duration of sunlight on a balcony, you can also measure the balcony's drainage/water accumulation condition. If the balcony is prone to water accumulation, the simplest solution is to use a tray.
7. Do I know anything about plants?
Since balcony space is relatively limited, it's essential to learn about the characteristics of different varieties beforehand, including their light requirements, size, and fertilizer needs.
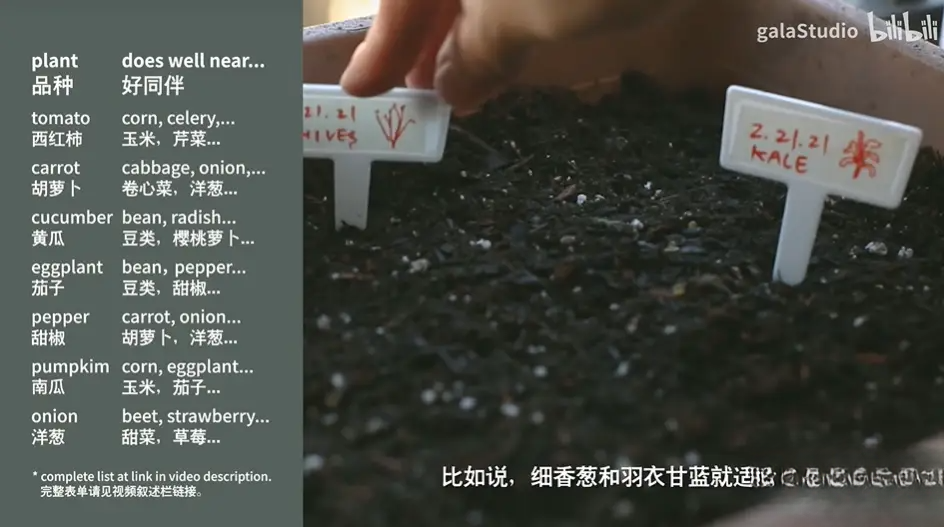
Planting like-minded friends together not only makes efficient use of space and helps control pests and weeds, but also allows them to share nutrients.
If you have answers to all these questions, then you can start creating your vegetable garden.