30year master shares | Common problems and solutions for home wood spraying
Troubleshooting methods:
Cause
1. The paint itself has poor leveling
2. The base coat is too smooth
3. There is water, oil, various acids, alkalis and other substances on the painted surface
4. The temperature of the workpiece being coated or during construction is low

4. The coating is too thick, and the solvent is difficult to evaporate
. 5. The temperature and humidity at the construction site are high.
6. The curing agent is not used or the curing agent is too much.
7. The diluent is not used properly.
8. The oil-water separation in the air compressor is not sufficient.
1. Adjust the construction viscosity appropriately and leave it for a while before use
5. Add moisture-proof agent and slow dry ice as appropriate
. 6. Use curing agent in conjunction with the coating, strictly following the weight ratio.
7. Use thinner in conjunction with the coating.
8. Drain oil and water regularly and inspect the separator.
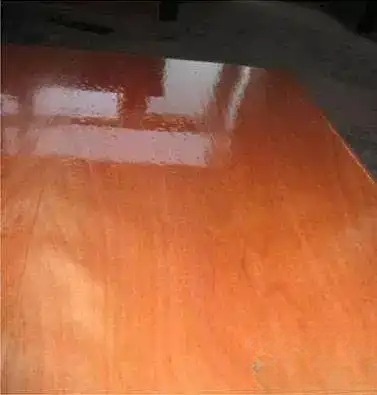
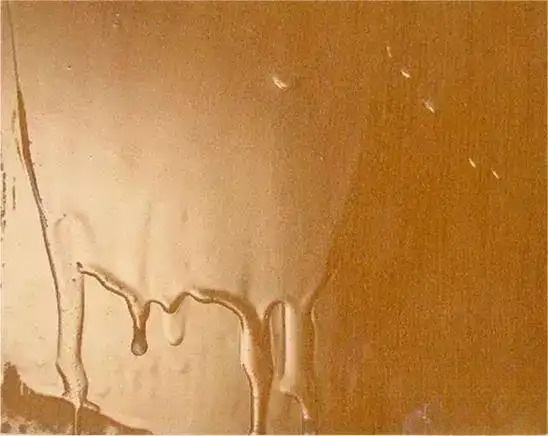
1. Rapid solvent evaporation, resulting in poor paint leveling.
2. Poor paint leveling.
3. Large nozzle diameter, resulting in high paint viscosity.
4. Improper spraying distance, insufficient air pressure, and poor paint atomization.
5. Uneven surface finish affecting paint leveling.
6. Water absorption in the paint or thinner .
7. Incompatible thinner.
Troubleshooting:
1. Select appropriate thinner .
2. Choose the right paint.
3. Adjust the paint viscosity and select a spray gun with the appropriate diameter.
4. Maintain appropriate air pressure and atomization, and adjust the spray distance
. 5. Ensure the surface is even.
6. Seal any remaining paint or thinner.
7. Use the appropriate thinner.
1. There is oil or moisture on the surface of the coated object.
3. The wood has a high moisture content and is not properly dried before construction.
1. Keep the surface dry and clean.
2. Choose a water-resistant and moisture-resistant paint.
3. Ensure the wood moisture content is consistent with the local equilibrium moisture content (e.g., 10% in Beijing). 4. Add slow-dry ice to adjust the evaporation rate.
5. Avoid placing the coating in high-temperature and high-humidity locations.
6. Avoid applying too thick a coat at a time; avoid exceeding 30µm.
7. Drain oil and water regularly or inspect the separator.
8. After stirring, let it sit for 15 minutes (at 25°C).
9. Adjust the air pressure to normal.
1. The thinner has insufficient solubility and cannot fully dissolve the paint, so that the resin and curing agent in the paint cannot fully contact to produce a chemical cross-linking reaction.
2. The amount of curing agent is insufficient, and there is residual resin that does not participate in the reaction
. 3. The resin type and curing agent component type are different, and the cross-linking reaction cannot be completely completed.
4. The air humidity is too high.
5. The temperature is too low, and the molecular activity is not large, which affects drying.
6. The sandpaper's sand grain arrangement structure is unreasonable, so that the sand is difficult to fall off after entering the sandpaper, or the sandpaper model is inappropriate.
7. Improper sanding method.
8. A coating film is too thick, or the interval between layers is too short.
1. Choose a matching thinner with stronger dissolving power.
3. Choose a matching curing agent that can fully react and cross-link.
6. Use sandpaper with reasonable sand grain arrangement or appropriate type.
8. Use two or more layers to extend the interval between layers.

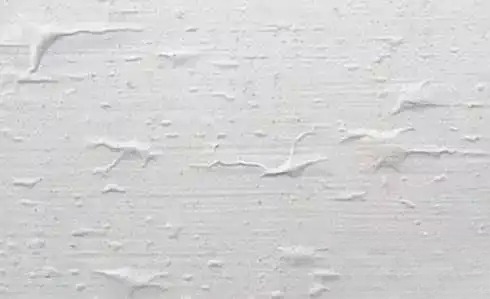
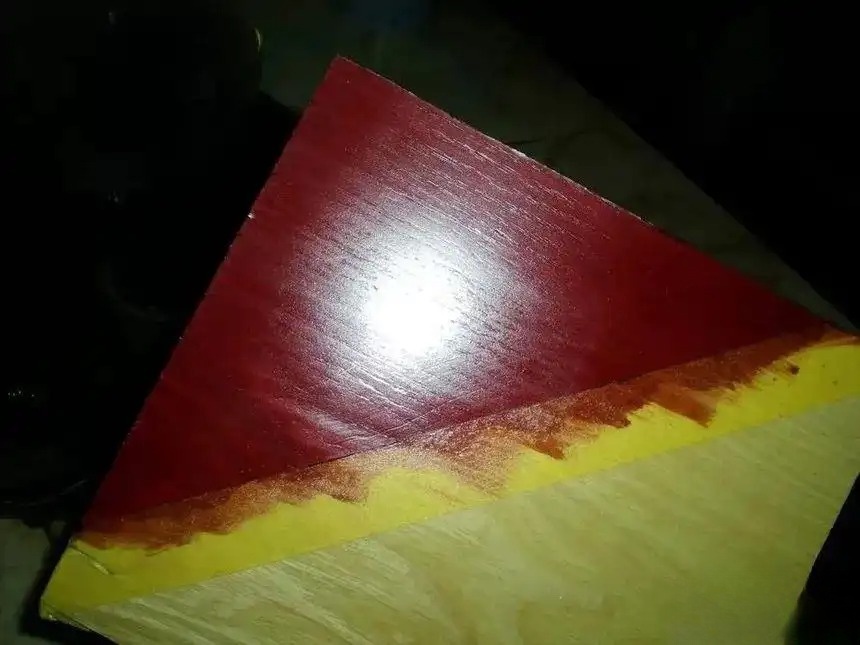
Causes:
1. The base coat is too thick, and the topcoat is applied before
it is completely dry. 2. Too much drier, causing the topcoat to dry too quickly.
3. The paints are incompatible, with a significant difference in hardness between the base and top coats
. 4.
resistance. 5. The paint is expired, causing the pigment and resin to separate, and uneven mixing can lead to cracking
6. The environment is harsh, such as use in hazardous gases.
7. The topcoat has a low solids content and poor film-forming adhesion.
Troubleshooting:
1. Apply the topcoat after the base coat has fully solidified.
. 3. The base and top coat paints should be matched.
4. Choose a paint with good weather resistance.
5. Check the production date and stir well when using.
7. Pay attention to the solid content in the paint and do not add too much volatile matter.
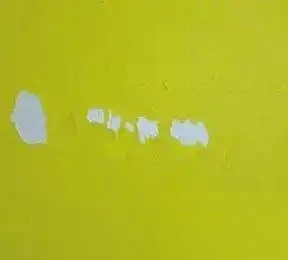
1. The surface of the object being coated is not clean and there are other harmful substances
1. The surface of the coated object should be thoroughly treated
. 2. The surface of the substrate should have appropriate roughness.
3. Apply the topcoat (nitro lacquer) after the base coat is completely dry.
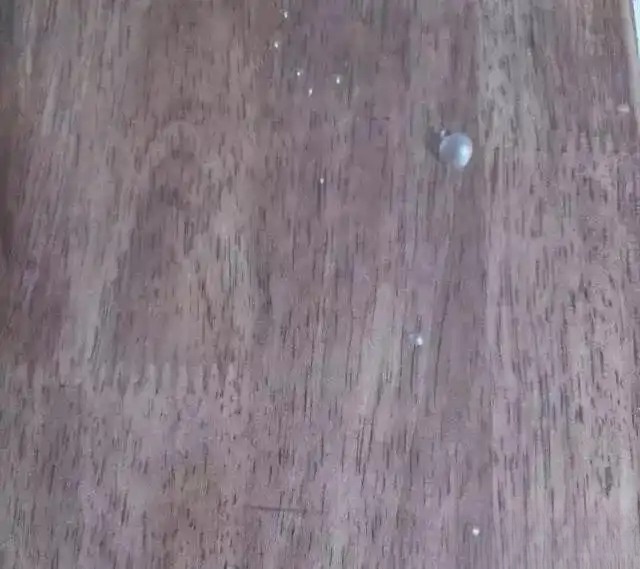
1. Water or oil in the paint and thinner drips onto the coating surface
4. The viscosity of the paint
is too high or too low. 5. The surface of the object being coated is rough and uneven, and the polishing is incomplete
. 6. The environment is polluted.
Troubleshooting methods
1. Take good care of the oil-water separator to prevent water from mixing into it, or avoid oil and wax from falling on the coating surface.
2. Clean the surface of the object being coated
. 3. Adjust the air pressure and the distance between the spray gun and the workpiece.
4. Adjust the viscosity of the paint.
5. Check whether the workpiece is polished evenly and carefully before painting.
6. Cut off the pollution source or change the air inlet.
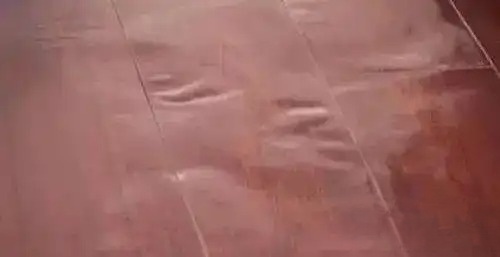
Causes:
1. The surface of the object being coated is damp or contains acid, salt, alkali and other substances.
2. There is water mixed in the paint and thinner
. 3. The surface of the object being coated is too rough, absorbs a lot of paint, and the coating is too thin.
1. Remove impurities from the surface of the coating.
2. Store the coating properly to prevent moisture from entering
. 3. Adjust the indoor humidity or stop construction.
4. The construction environment temperature is generally above 10°C.
5. Remove moisture from the air compressor and maintain the oil-water separator.
6. Apply the coating according to the correct ratio.

1. The spray gun is blocked, and the oil and gas output are uneven.
3. Severely uneven spraying
4. Insufficient base coating or puncture, resulting in suction.
5. Poor paint quality
6. Uneven stirring before spraying
Troubleshooting
1. Clean the spray gun and pay attention to maintenance.
2. Improve technique
3. Pay attention to normal operation
4. Spray enough oil on the base and polish it smooth after a few times
5. Use a high-quality paint.
6. Stir evenly before spraying
1. Poor working environment
2. Too much curing agent is added or the mixing is uneven.
3. The paint is mixed with granular objects and is used without filtering.
4. The effective service life of the paint has been exceeded, or the paint is unevenly dispersed.
5. The coating is not standardized.
6. The dust exhaust system is not good.
7. The thinner is not used in a matching way.
Troubleshooting methods:
1. Improve the environment and avoid pollution sources
. 2. Mix according to the required ratio and stir thoroughly.
3. The relevant containers must be cleaned and filtered with a suitable filter before use.
4. Check before use.
5. The work stand, spray table, dust exhaust equipment, and conveyor belt must be clean.
6. Improve the dust exhaust system.
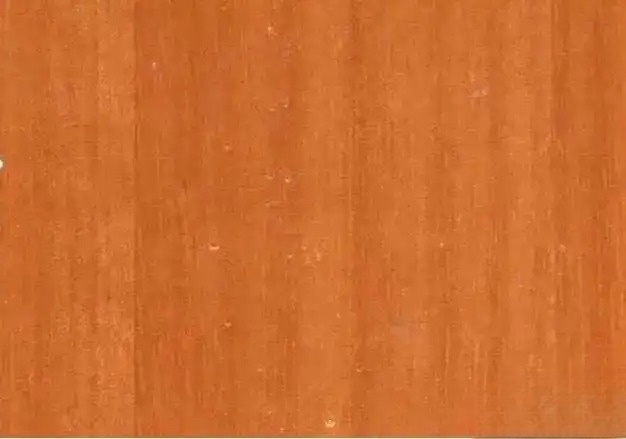
4. The construction environment is not clean and there is a lot of indoor dust
. 5. The filter mesh is too large, paint crusts, and debris is mixed in without being removed.
6. The spraying tools are not clean.
7. The spray is too thin, leaving no room for leveling.
8. The spraying distance is far, the air pressure is high, and the spray gun has a small caliber
. The solvent has evaporated when the paint reaches the surface, and the coating cannot be leveled. 9. The paint is expired and deteriorated, and the resin and pigment are precipitated, causing the paint to be rough.
10. The paint and thinner are not matched, and the dissolving power is insufficient.
3. Control the distance between the spray gun and the caliber of the spray gun should not be too large
. 4. Pay attention to environmental hygiene
. 5. Filter the paint carefully to prevent debris from falling in. The topcoat filter should be about 200 mesh.
7. Each coat should maintain a leveling effect.
8. According to the spraying process requirements, adjust the reasonable parameters of the construction process.
9. Pay attention to check the production date of the paint to protect your legal rights.
1. The coating is packaged before it dries.
2. Insufficient dosage of cross-linking curing agent.
3. Too much slow-drying solvent and incomplete evaporation of the solvent
. 4. The coated object is contaminated.
5. Poor air circulation and impact of heat.
6. Sudden climate change, high temperature or construction in rainy season
. 7. Poor paint quality.
2. Apply according to the normal ratio
. 3. Use the appropriate thinner and do not add excessive amounts
. 4. Clean the surface to be coated.
5. Ensure good ventilation to ensure complete evaporation of the solvent
. 6. Extend the drying time or heat appropriately.
7. Use high-quality paint.
1. Low paint viscosity, resulting in excessively thick coating.
2. Spraying distance too close, spray gun movement too slow.
3. Spray gun caliber too large
. 4. Uneven spray air pressure
. 5. Paint contains high-density pigments, resulting in uneven mixing.
6. The surface of the object being coated is too smooth.
Troubleshooting:
1. Adjust the paint viscosity appropriately; the coating thickness should not exceed 30 μm at a time.
5. The paint should be stirred several times during construction
6. The surface roughness of the coated object should be ensured, and each layer should be carefully polished
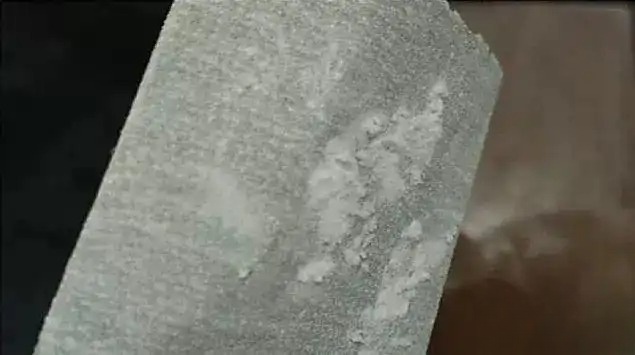
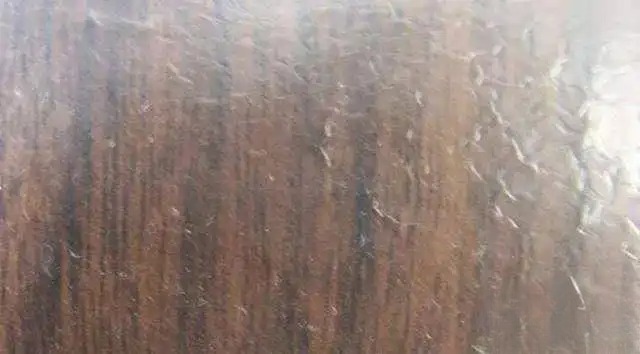
Causes:
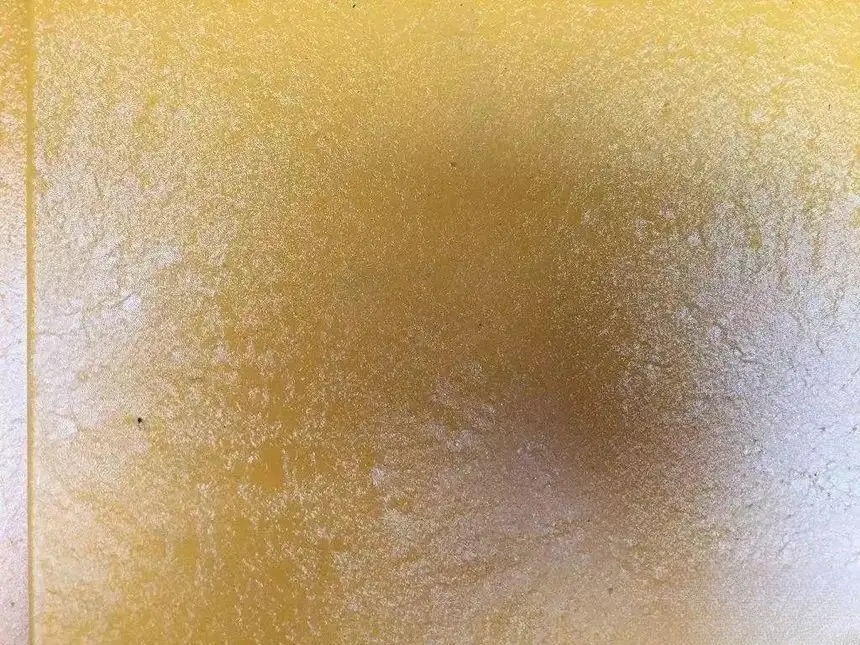
1.High humidity and temperature during construction, resulting in rapid evaporation.
2. Water is contained in the paint or thinner
3.The oil-water separator fails during construction, bringing moisture into the paint.
4. The thinner's solubility is insufficient, causing the paint's resin to precipitate and turn white.
5. Hand sweat stains the workpiece.
6. The moisture content of the substrate is too high.
Troubleshooting methods:
1. Adjust the temperature or humidity in the construction environment, and add moisture-proof agents or slow dry ice
. 2. Be sure to choose genuine products.
3. Repair the oil-water separator to prevent moisture from entering the coating.
4. Use matching thinners.
5. Wear cloth gloves when working, and polish the areas stained by hand sweat.
6. The moisture content of the substrate must be balanced with the moisture content of local wood.
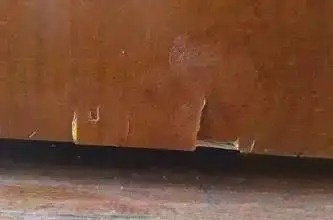
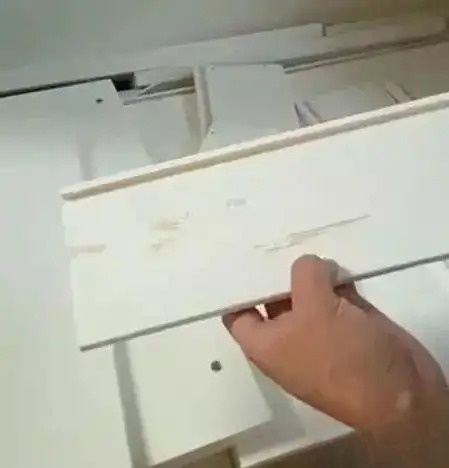
1. Apply the topcoat before the base layer is dry.
1. The bottom layer and the surface layer are not matched, such as nitro primer and polyvinyl surface layer
3. The primer layer is too thick.
Troubleshooting
: 1. Use the base coat and topcoat together.
2. For the same type of paint, apply the topcoat after the base coat has dried thoroughly.
3. Avoid applying too thick a layer; no more than 30µm per coat should be used.
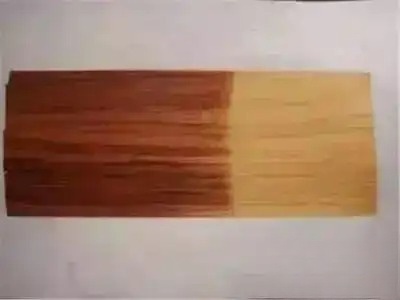
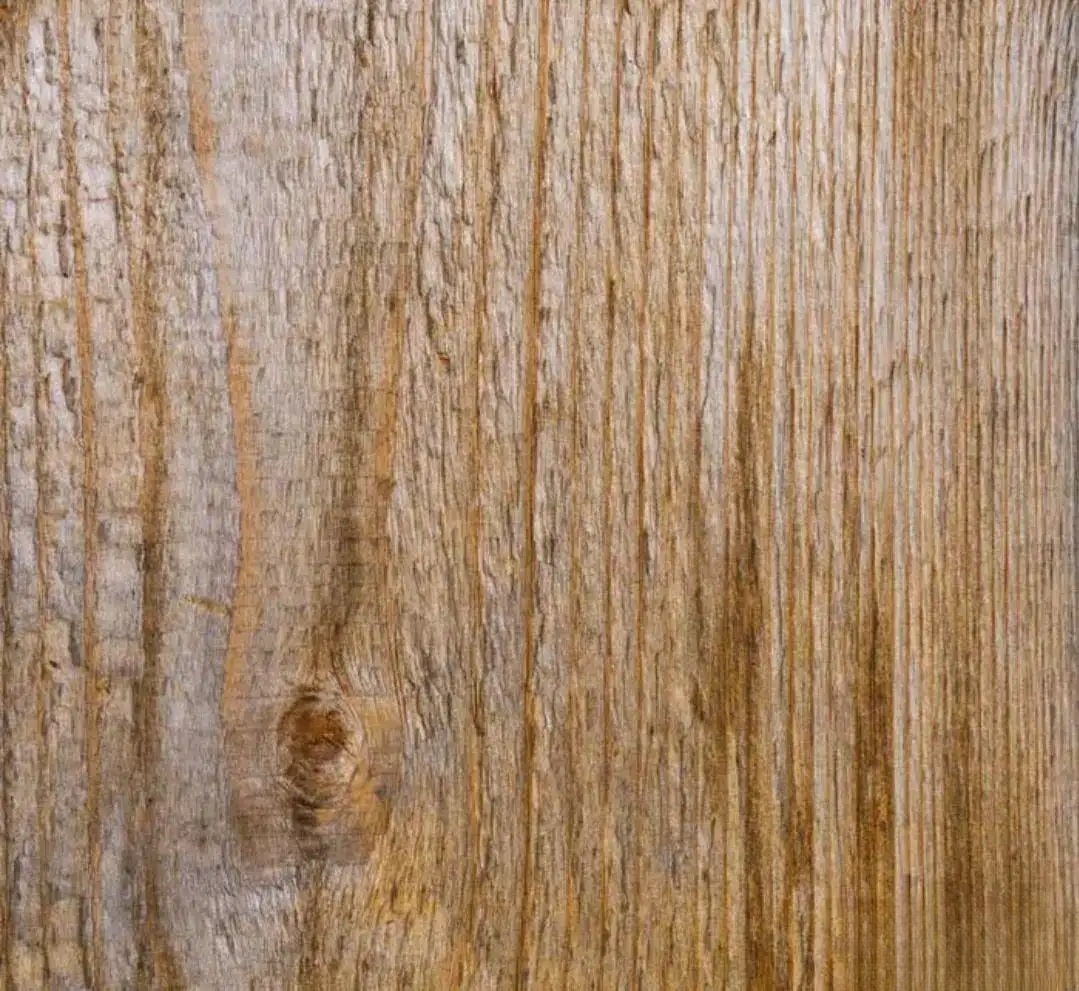
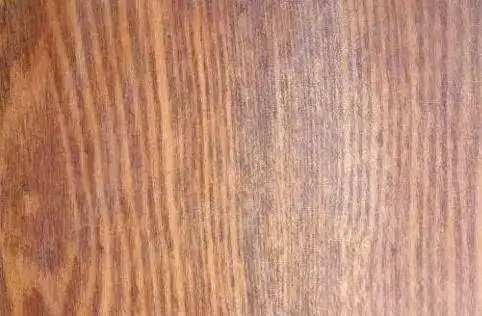
1. Substrate bleaching, etc.
2. Direct sunlight, paint film aging and decomposition.
3. Environmental factors (e.g., air, water, etc.).
4. High-temperature drying.
5. Use of non-yellowing-resistant paint.
Troubleshooting:
1. Ensure substrate preparation meets requirements.
2. Use yellowing-resistant paint.
3. Enhance furniture maintenance measures (e.g., waxing).
4. Avoid excessively high heating temperatures (below 60°C) and prolonged heating.
5. Use appropriate paint.
1. The sandpaper used for grinding is too coarse
method
: 1. Pay attention to the use of appropriate sandpaper and emery cloth when grinding.
3. Add a primer coat, grind it flat and then apply the top coat.