16 easy and practical gardening tips from a 16year veteran!

We previously introduced a popular "growing tips" video by gardening blogger Hugh Richard on YouTube. Richard quickly followed up with a second episode – 17 Smarter Vegetable Growing Techniques. We also included it in our "Pu Classroom" mini-program, but haven't written about it until now. So, here it is, to make it a complete series.
Those who frequently read our articles should be familiar with Richard. From a young man tending his garden to a bearded man, he has consistently shared his thoughts and practices on gardening and permaculture. " Minimalism, diversity, following nature, and making the most of resources " are Richard's principles for gardening and life, which are reflected in these 17 gardening tips (due to their similar functions, the two have been combined into 16 below):

1. Watering beverage containers


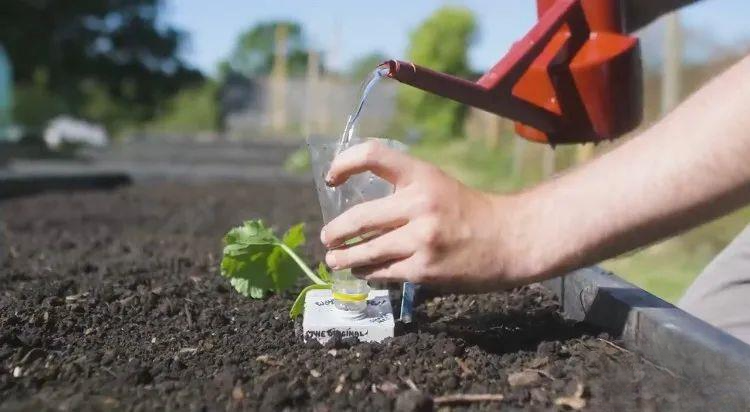
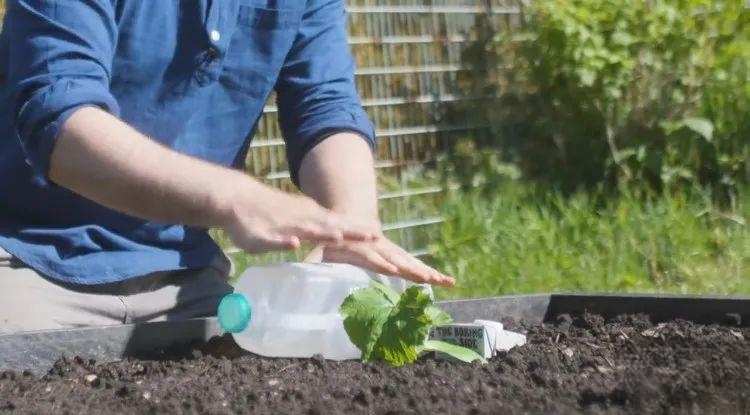
Punch a few holes in an empty milk carton, bury it in the soil next to a plant, open the lid, and add water (you can use an inverted plastic bottle as a funnel, as shown in the picture above). Close the lid and let it drain naturally. The water will penetrate deep into the soil, which is very beneficial for plants with deep root systems, such as tomatoes or pumpkins. Similar containers can be used instead of the carton; this method actually originates from the ancient Chinese "buried container watering method" and is still popular in areas with low rainfall.

2. Thermal storage and insulation


This is a clever trick invented by "Permaculture Pope" Sepp Holzer for growing pumpkins in the Austrian Alps: using stones as a heat reservoir. Placing stones around the plants allows them to absorb sunlight and transfer heat to the soil, thus warming the plants. However, a friendly reminder: ensure the planting bed is free of slugs, otherwise, while the temperature rises, the slugs will also find a home under the damp stones. This method is worth trying in areas with good sunlight but low temperatures. (About Sepp Holzer: Pure Black Gold Old K - Sepp Holzer )

Other similar heat preservation methods include: utilizing the heat storage properties of water, filling water bottles with water and placing them next to plants; the effect will be even better if they are coated with natural black pigment or covered with a layer of black material.


Alternatively, you can use a jam jar or other small cup, fill it with water, place it next to the plant, and cover it with a small black flowerpot to achieve the same effect. Providing plants with some extra warmth at the beginning of the planting season is very beneficial for their growth.

3. Water storage in the basin


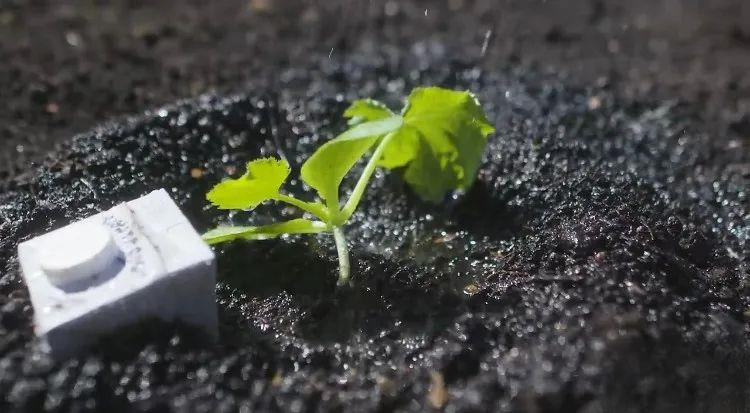
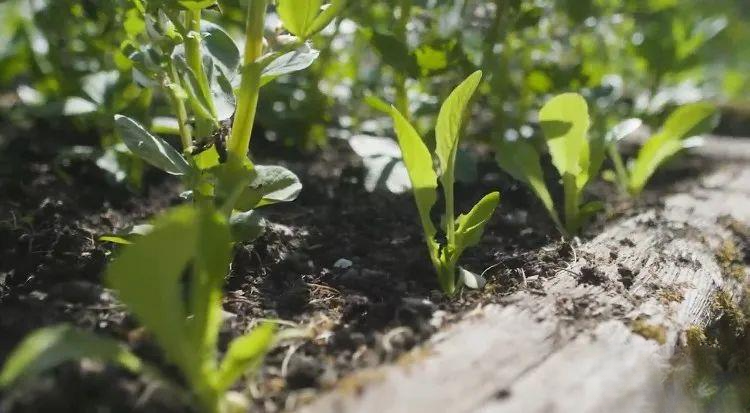
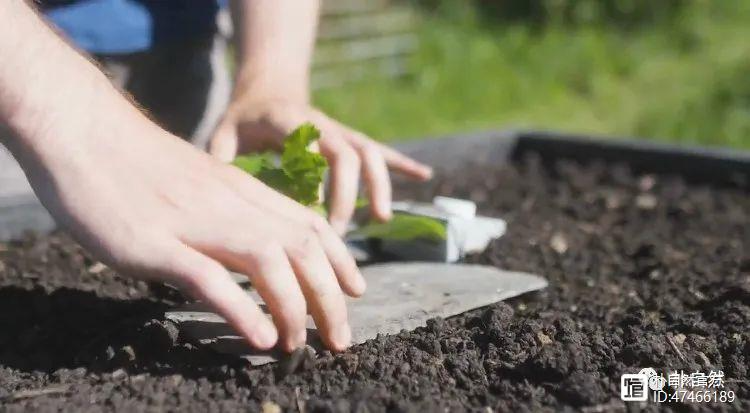
This method is perfect for melon planting season. Rainfall is very scarce during the dry season, so using it efficiently is a way to make the most of nature's bounty. Use your hands to mound up the topsoil around the plant, creating a raised mound around the roots (as shown in the picture above). When it rains, this "basin" will store more water, guiding it to the roots instead of causing it to drain quickly.

4. Tool storage


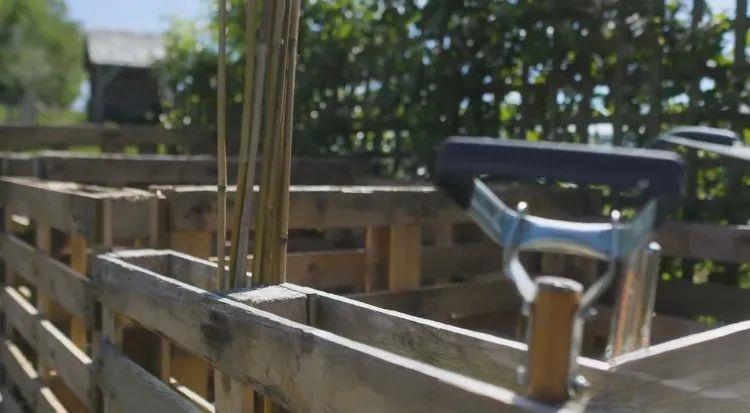
Richard is close to other permaculture practitioners, and this method is used by another veteran permaculture enthusiast, Lisa Zolab: using wooden pallets to secure the compost bin enclosures, with each space also serving as a tool area to store long and large tools—a multi-functional solution. (About Lisa Zolab: What are the secrets to her permaculture garden, which produces 1800 pounds of food annually while she's over 50 and raises cats and grows vegetables? )

5. Shading with climbing trellises


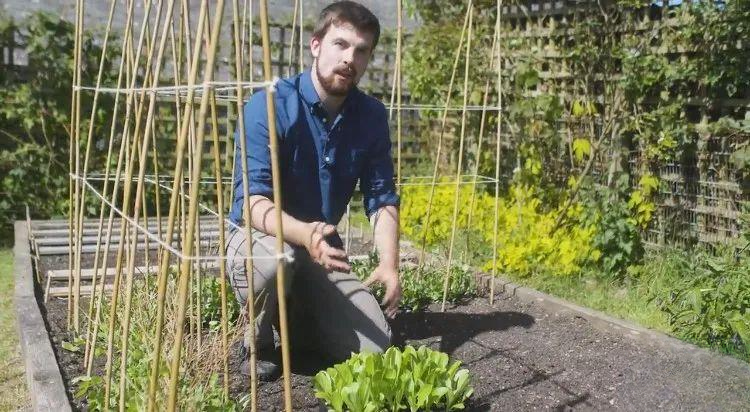
I was impressed by this method when I introduced Marty Harlan, the founder of Permaculture magazine: planting lettuce under trellises and letting beans climb on the supports. The shade cast by the beans after they climb up the supports is very suitable for the growth of salad vegetables, so as to prevent them from bolting due to the heat and to have a good harvest in the warm season.

6. "Fighting poison with poison"


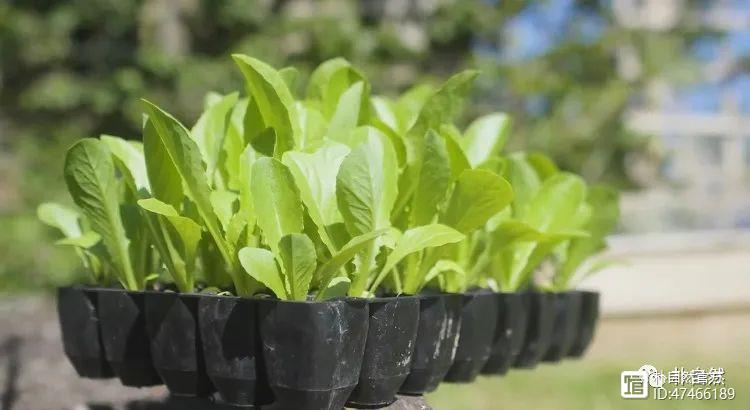
Slugs love to attack lettuce, so why not "grow some lettuce" for them to eat? Plant lettuce in seedling trays and let it grow larger before transplanting. Don't worry, the slugs don't have much of an appetite for it. They prefer tender vegetable leaves; these large leaves aren't as attractive. However, even if you do get an infestation, you'll only lose a few leaves. (Regarding slug control: 18 tips to fight slugs )

7. "Blooming to its fullest"


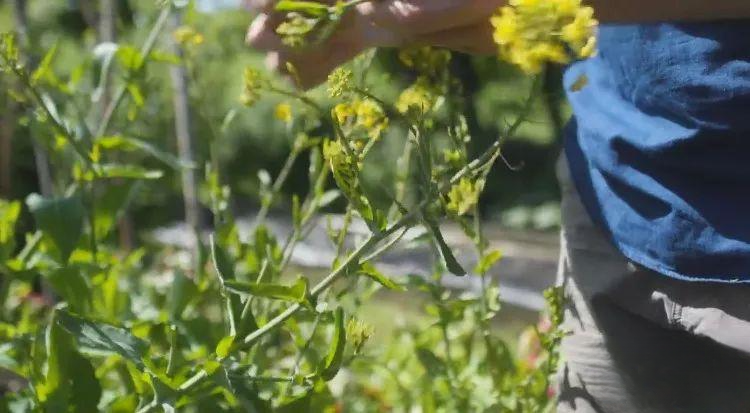
This is the laziest and simplest planting method. You don't have to end the harvest period in time. Let the plants continue to bloom, and there may still be a harvest at the end of the bloom. Or, when cruciferous plants and Swiss chards bolt or produce seeds in advance, it is also another kind of harvest.

These plants are completely edible when they bloom, and they have a very tender texture. They are delicious when simply stir-fried. If you are tired of cherry radishes, why not let them bloom and harvest their small green pods? Mix them with salad for a spicy and crunchy treat.

8. Utilize space


If you happen to have some extra space in your planting area and some plants on hand, don't hesitate, plant them right there. This method allows you to harvest more plants in the same space. Fast-growing plants like lettuce, parsley, and cherry radishes are perfect for "planting in gaps." Of course, you should know some information about the other plants beforehand to maximize the benefits.

9. Water when dry.


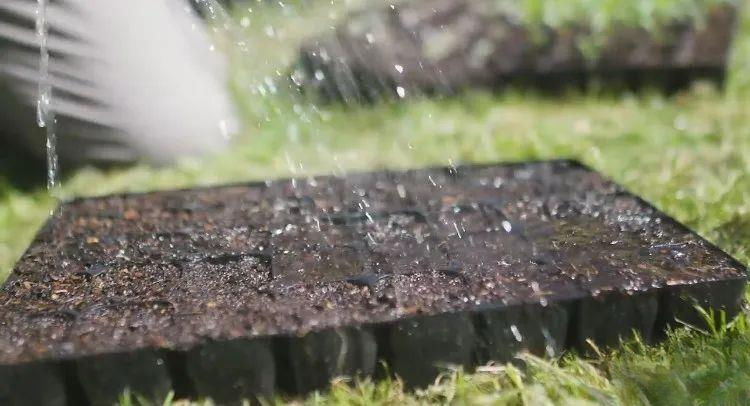
Sowing seeds after adding compost to the seedling tray yields excellent results. But what if the compost has been left out for too long and dried out? The seeds won't be able to feel the moisture in the soil. In this case, simply pick up a watering can and water the seeds thoroughly for about 2-3 minutes. After the compost absorbs the water, gently press down with your fingers to easily poke out the planting holes.

10. Cardboard Moisture Retention


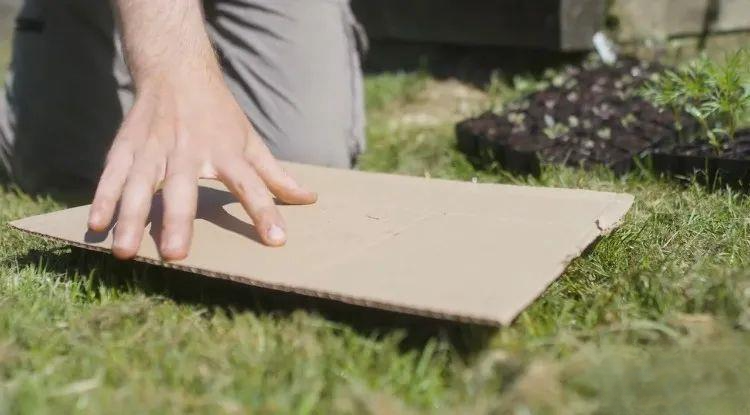
The seedling tray is full of seeds and watered, but you're worried that the soil will dry out quickly and affect the germination rate. You can cover the tray with a piece of cardboard and add some weight (such as a flowerpot). Regularly lift the cardboard to check if the seedlings have sprouted, then remove the cardboard. This will result in a more even germination rate.

Moreover, this method only requires watering once before the seedlings appear, as there will be almost no water evaporation within two weeks; if you want to save time, this method is worth a try.

11. "Dirty composting"


The "dirty culture" has been quite popular lately, and Richard is introducing his "dirty composting" method here. During the composting process, some seed-producing plants, such as dandelions and nettles, are not recommended to be added directly to ordinary compost piles because they will quickly sprout again once they come into contact with the ground.

Therefore, creating a separate "dirty compost" is beneficial. Plants that are inconvenient to compost directly, such as flowering and seed-bearing plants, can be placed in it. After 1-2 years of complete decomposition, they can be taken out and used . Adding a layer of "dirty compost" before transplanting perennial plants is also very effective. Most importantly, this reduces the amount of garden waste.

12. Slant plate insect repellent


I just mentioned using lettuce to fight slugs with "poison against poison," and now I'll share another simple and fun tip. Although you'll encounter fewer insects when using a growing bed compared to planting directly in the ground, it's not entirely free of them. Many growers who use growing beds and cover their plants with cardboard or wooden boards still struggle to keep out slug attacks.

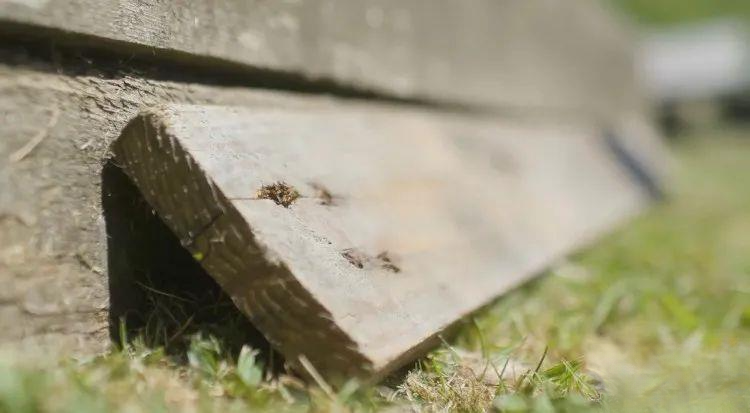
Richard says, "After eating the vegetables, slugs love to crawl out along the planting bed and find a place to hide on the path or somewhere else." Therefore, he suggests placing a plank at an angle at the bottom of the planting bed; you can catch a bunch of slugs alive in the afternoon or evening. Place several planks in the garden for simple pest control.

13. Homemade gardening spoon


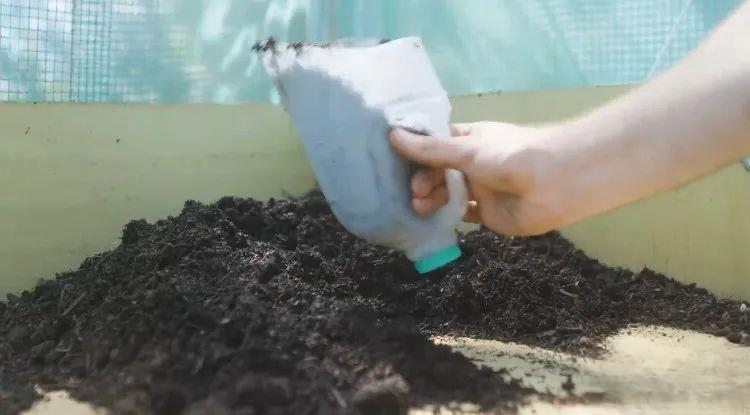
Some tools may seem insignificant, but they are truly indispensable. I believe every vegetable garden needs a scoop—whether for scooping water or holding compost—it's always put to good use. Permaculture emphasizes "making the most of everything," so look for any old containers you have on hand, preferably those with handles. Cut them diagonally, and you've got a durable gardening scoop.

14. Liquid fertilizer for weeds


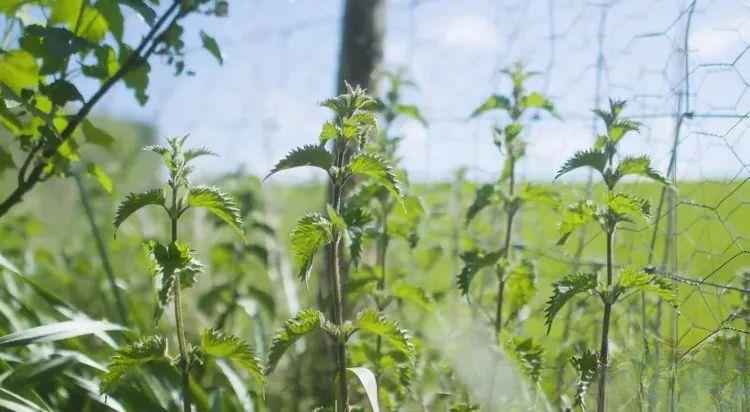
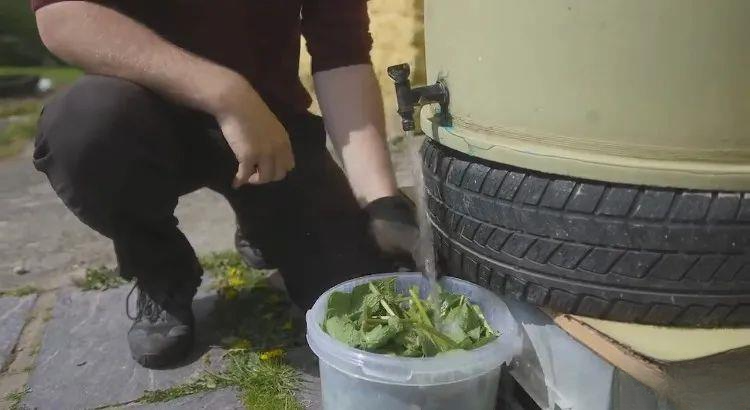
Fertilizer for vegetables doesn't really need to cost money, and it's not complicated at all. It's simply an "organic matter cycle" process— taking from nature and using it for nature . Even weeds can be made into highly effective liquid fertilizer. Pick nettles, comfrey, and other similar plants, put them in a container, fill it with water, and let it sit for a few weeks (it will smell bad). Then dilute it 1:10 (10 is water) and spray it on the plants.

15. You can grow vegetables without compost.


Growing vegetables doesn't necessarily require a long period of composting. If you don't have time to compost, you can use other plant fertilizers. For example, sprinkling a layer of chopped grass around the plants can add nutrients and organic matter to the soil, especially nitrogen, which is crucial for soil health.

Mix wood ash and coffee grounds (50:50) and lightly sprinkle some around the plants. This is a good short-term solution for container planting or nutrient-poor soil.

16. "Composting by the community"


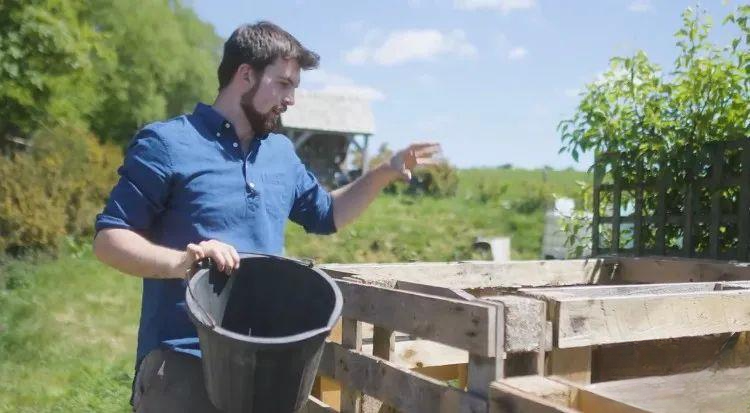
This method serves as a reminder: compost bins are difficult to fill because there isn't enough raw material or garbage. You can ask relatives and friends for help. Just give them a bucket or other container to throw in kitchen waste, collect it once a week, and the compost bin will fill up quickly. It also greatly strengthens interpersonal relationships—a true example of mutual help.


Gardening