Sofa Cushion Tutorial (with Pictures)
Sofa Cushion Tutorial (with Pictures)
There have been many questions about sofa cushions, so today I just took some photos and made a tutorial. Pictures are worth a thousand words.
Row 1: short stitch. Stand up 1 stitch, turn over and crochet the second row.
2nd row: short stitch, hook on the side of the short stitch braid facing outwards in the first row. Stand up 2 stitches braid, turn over and hook the third row.
3rd row: medium-long stitch, hook on the side of the short stitch braid close to the body. Stand up 2 stitches of braid, turn over and hook the fourth row.
4th row: medium-long stitch, hook the inner and outer sides of the medium-long stitch braid. Stand up 1 stitch braid, turn over and hook the fifth row.
5th row: Fold the two rows of medium-long needles in half, and connect the short needles on the outside of the fourth row and the remaining side of the second row. Don't tie the thread too tight when crocheting, otherwise the whole blanket will roll up like a boiled squid. Stand up 1 stitch braid, turn over and crochet the sixth row.
Line 6: Same as line 2.
Line 7: Same as line 3.
Here comes the picture:
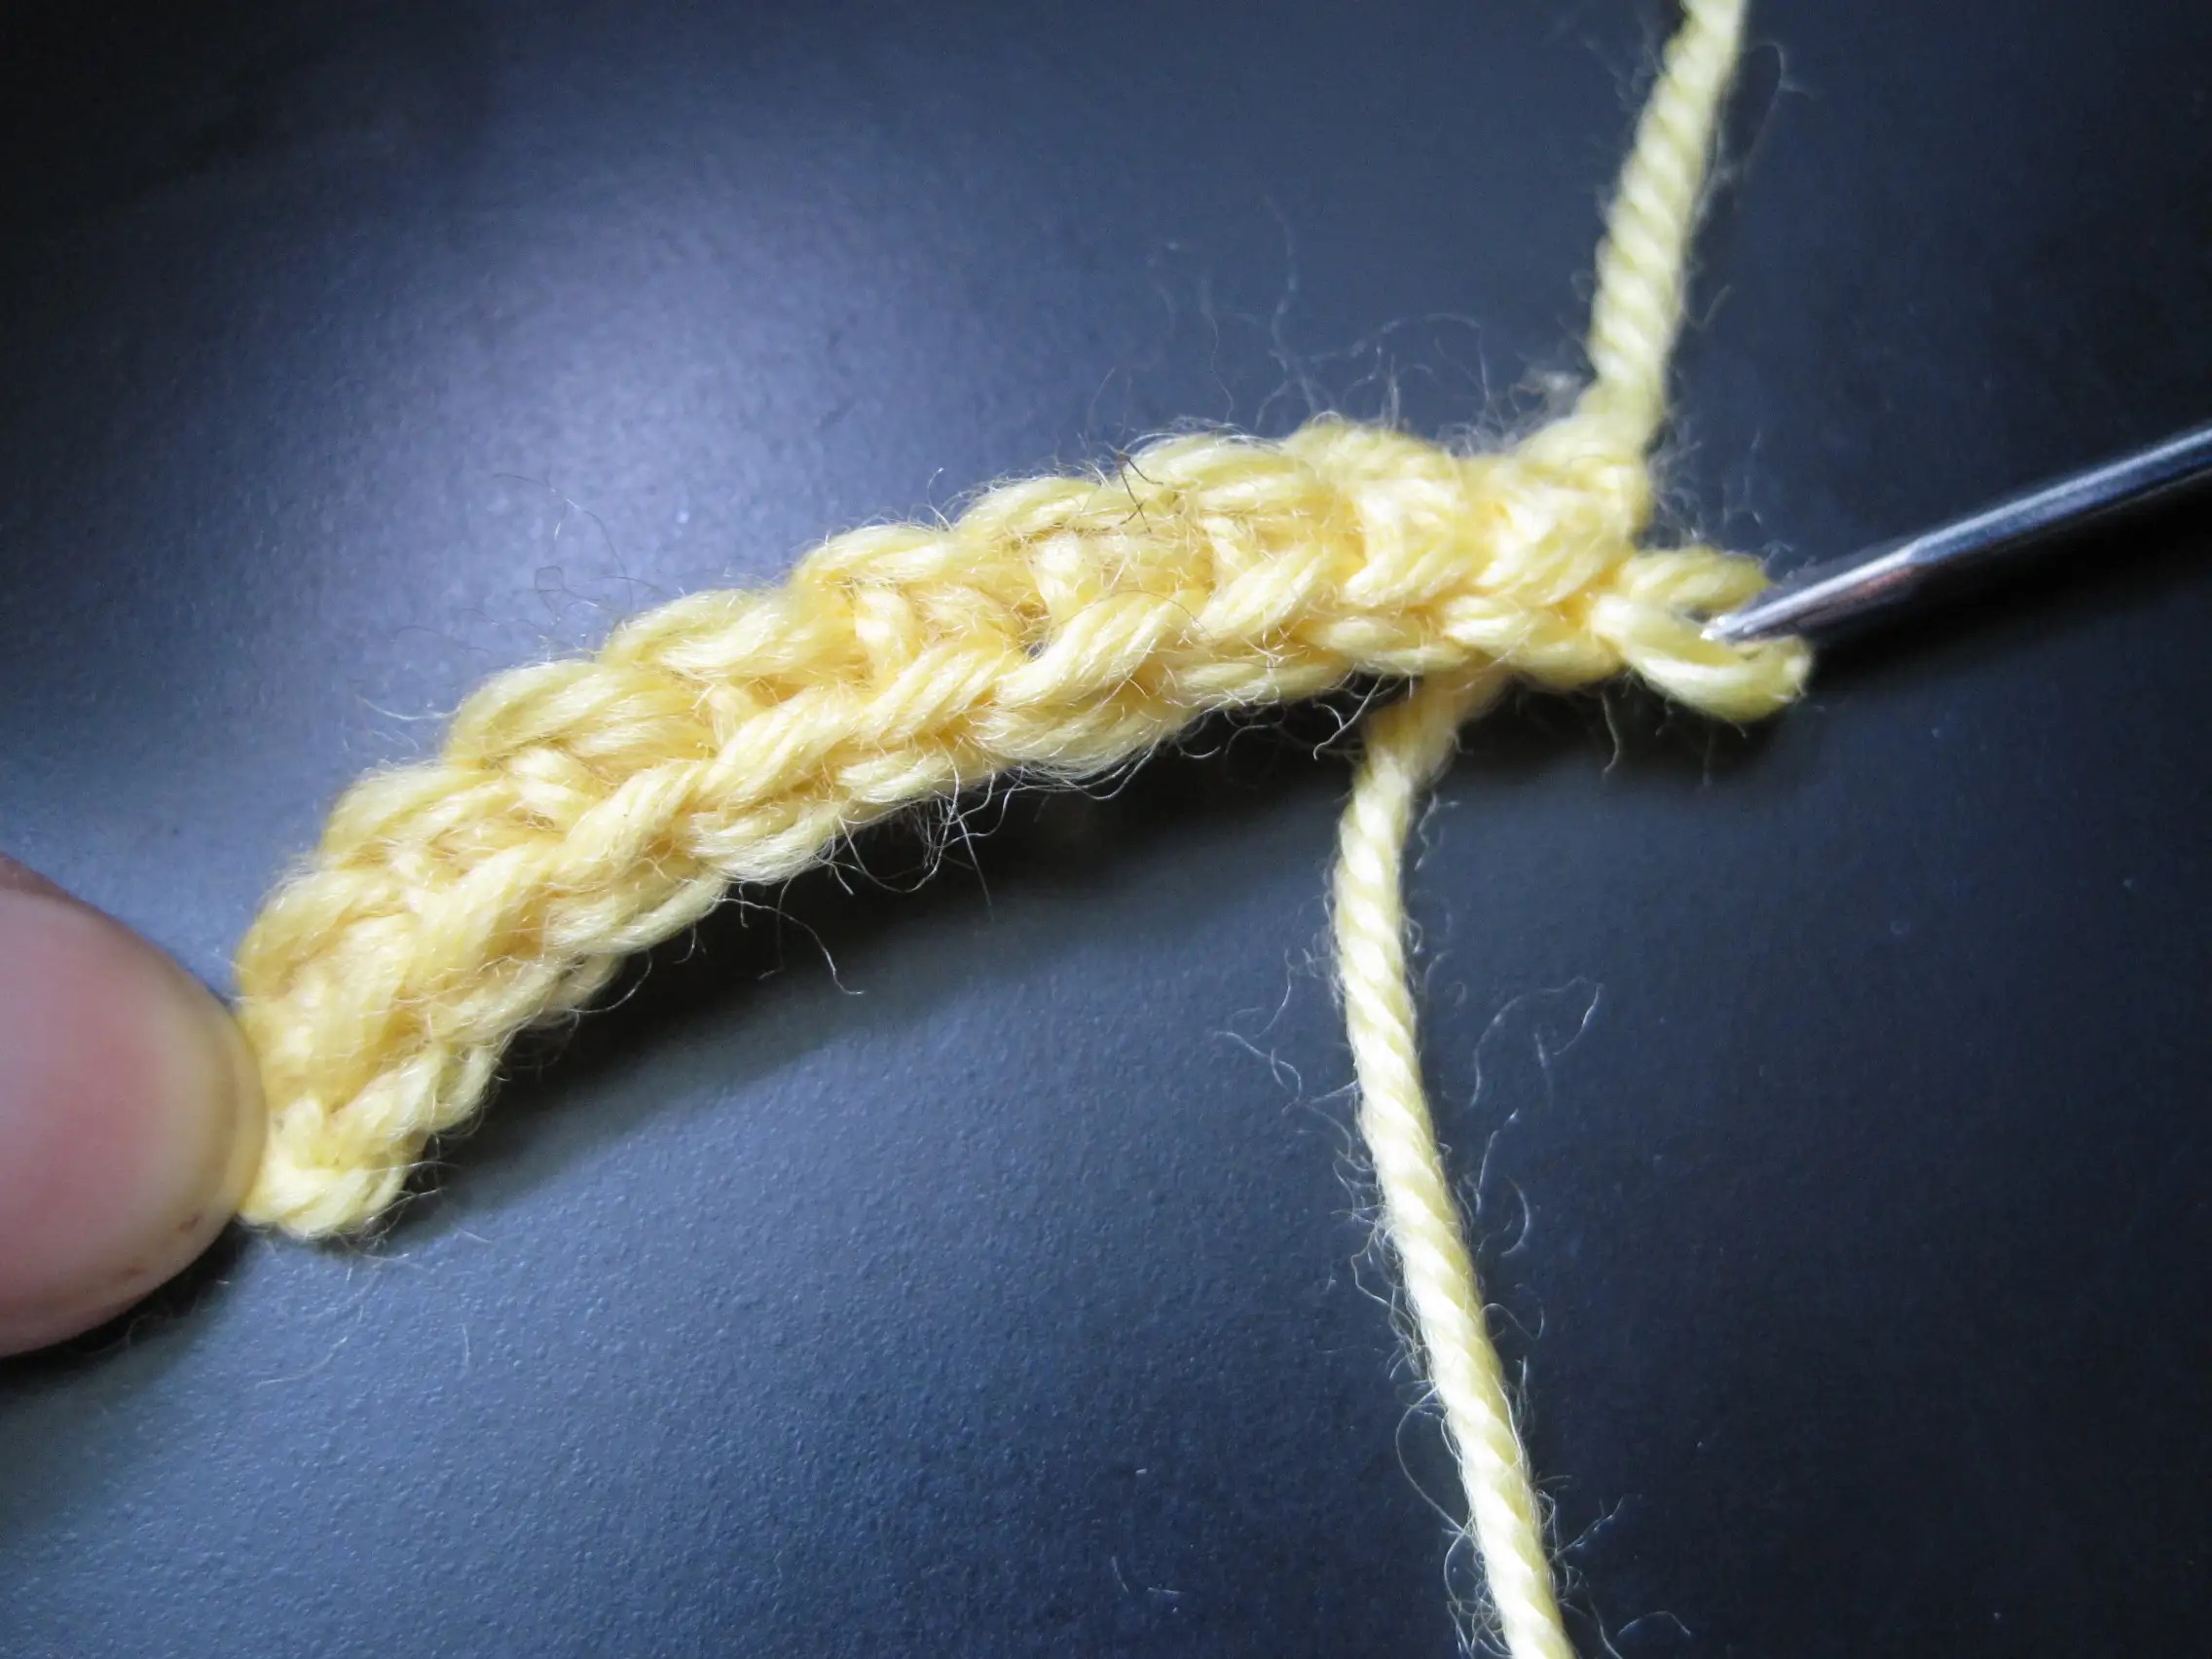
Start crocheting and crochet, and finish the first row of short stitches.
Make one braid and crochet the second row of short stitches, with the short stitches crocheted on the outward side of the braid.
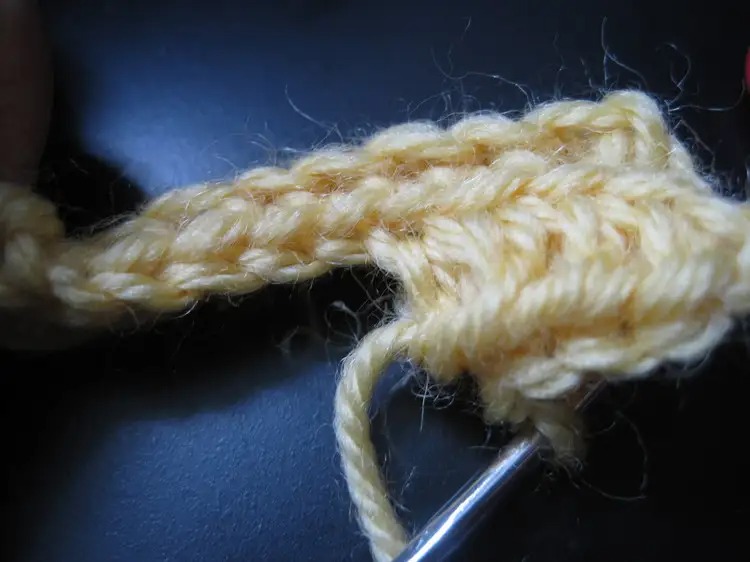
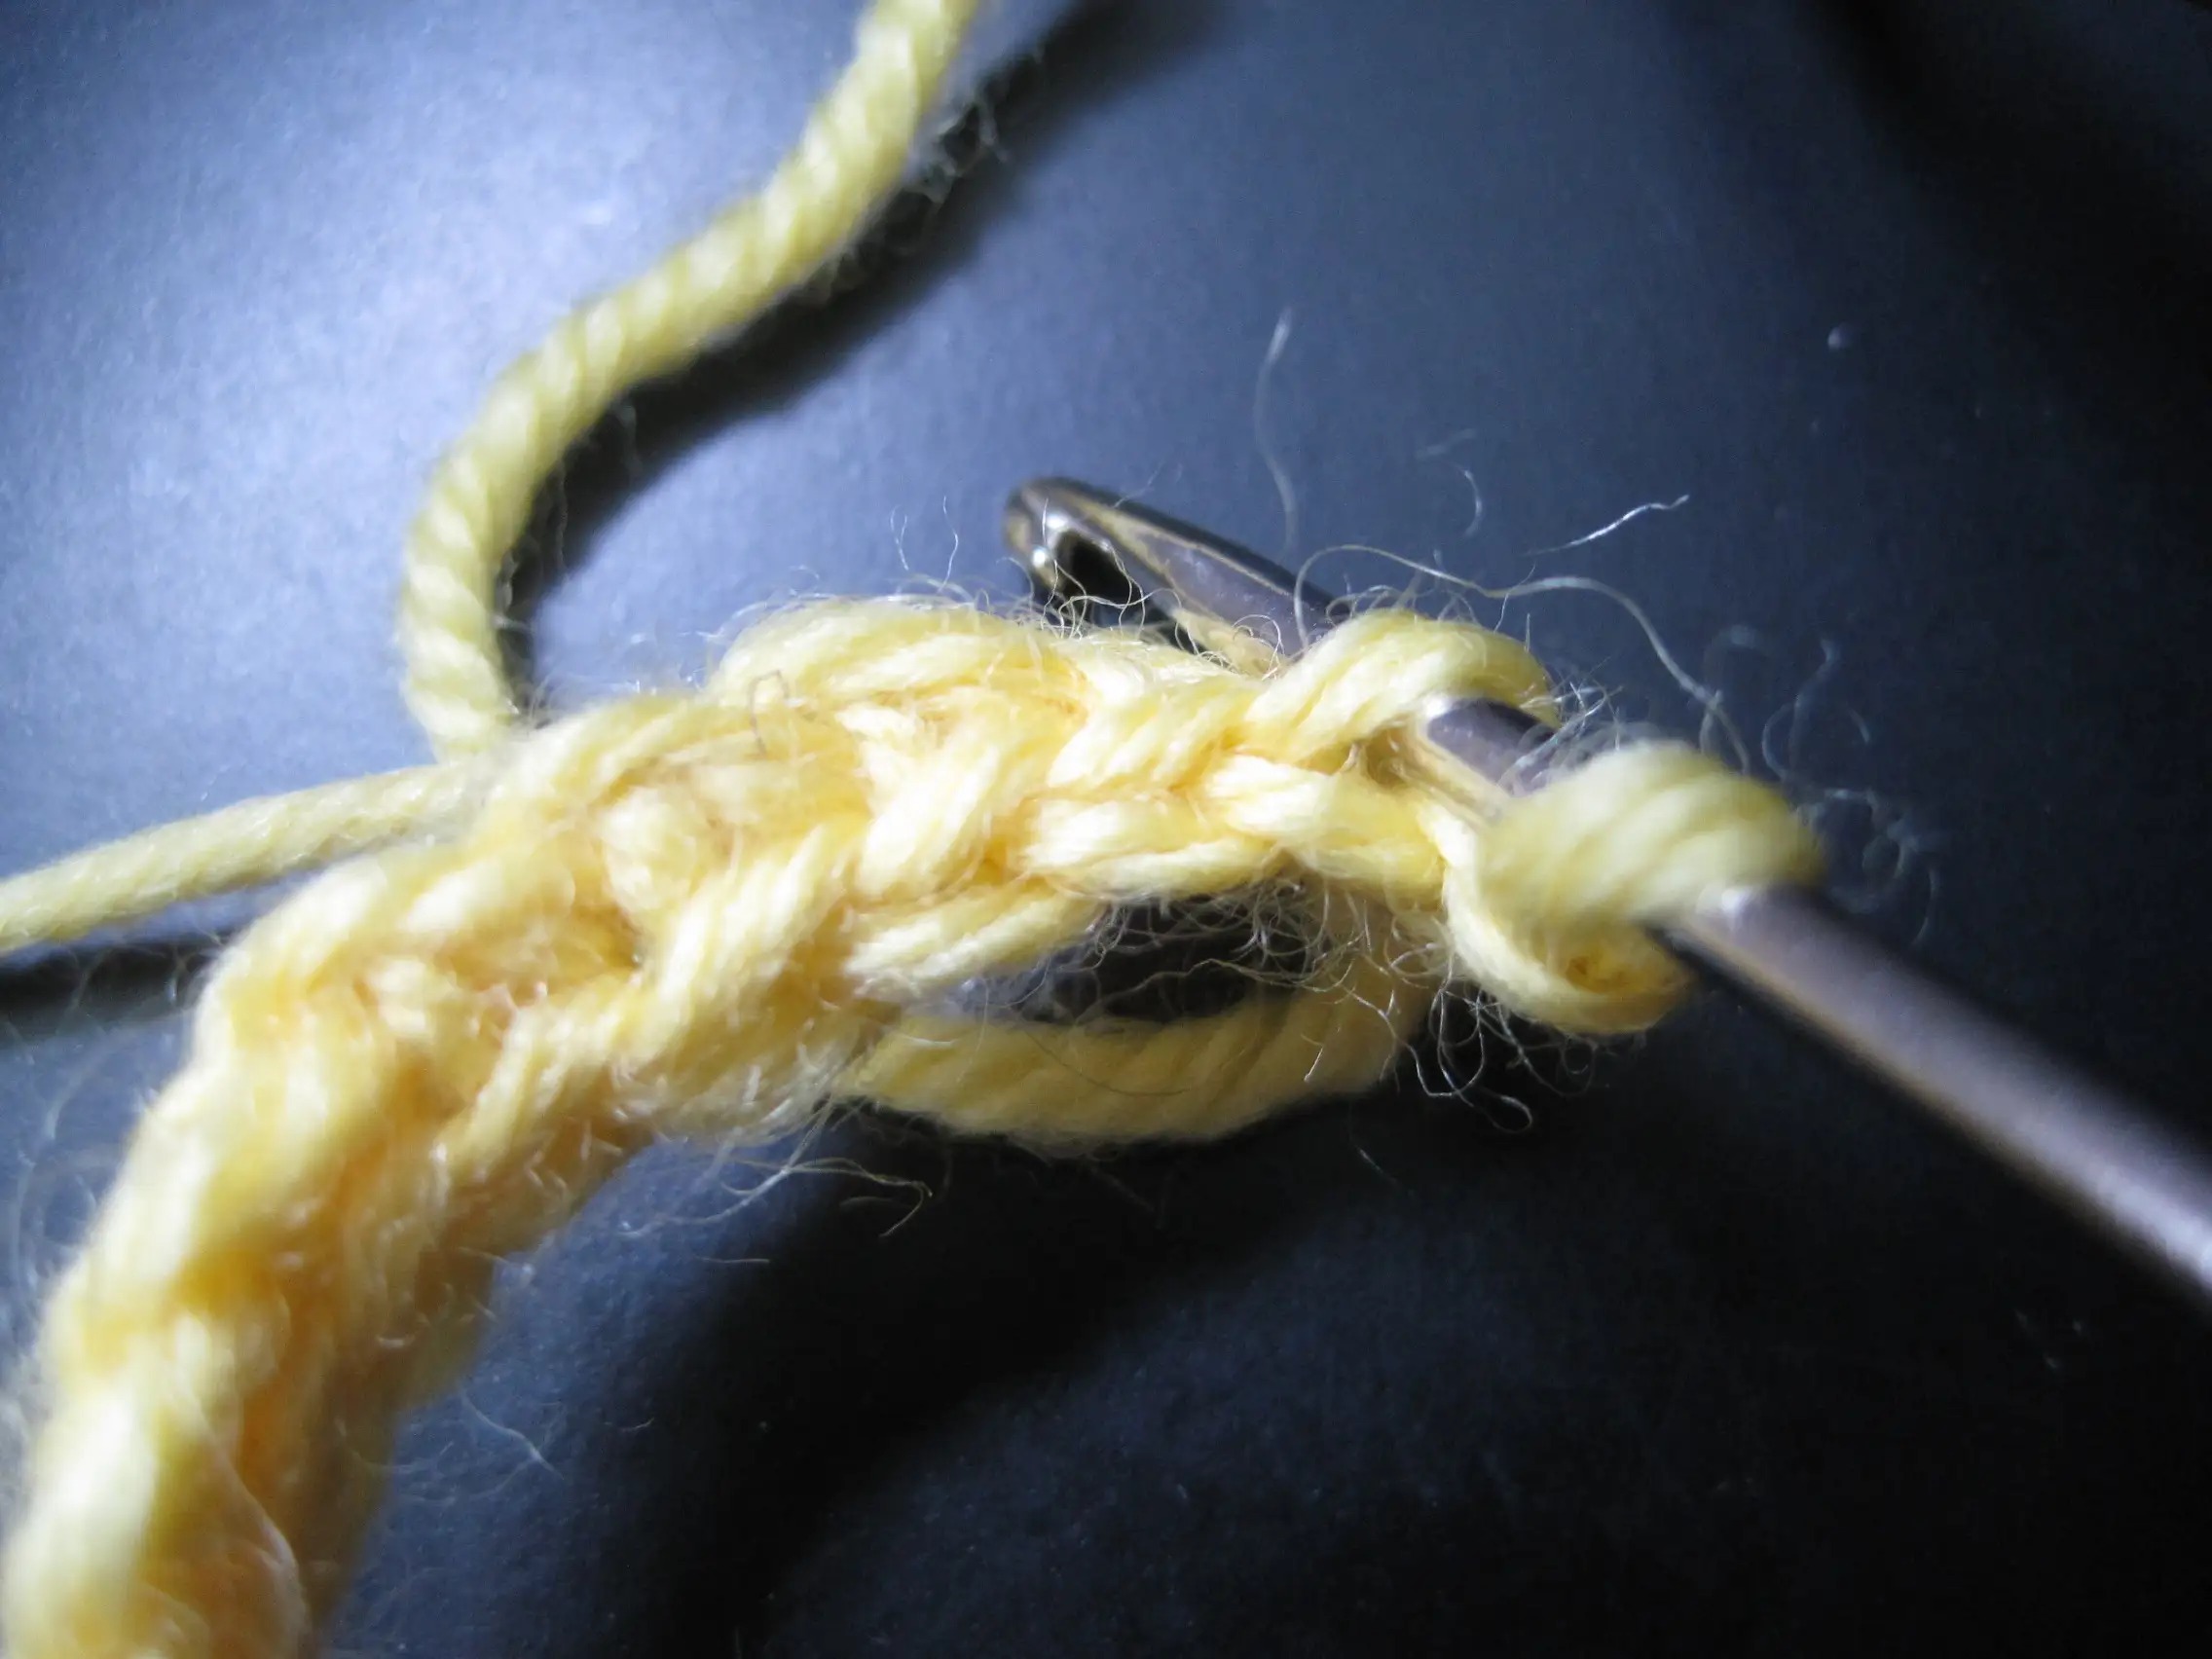
In the third row, make a long stitch on the side of the braid close to the body. After finishing the stitch, make two braids stand up and prepare for the fourth row.
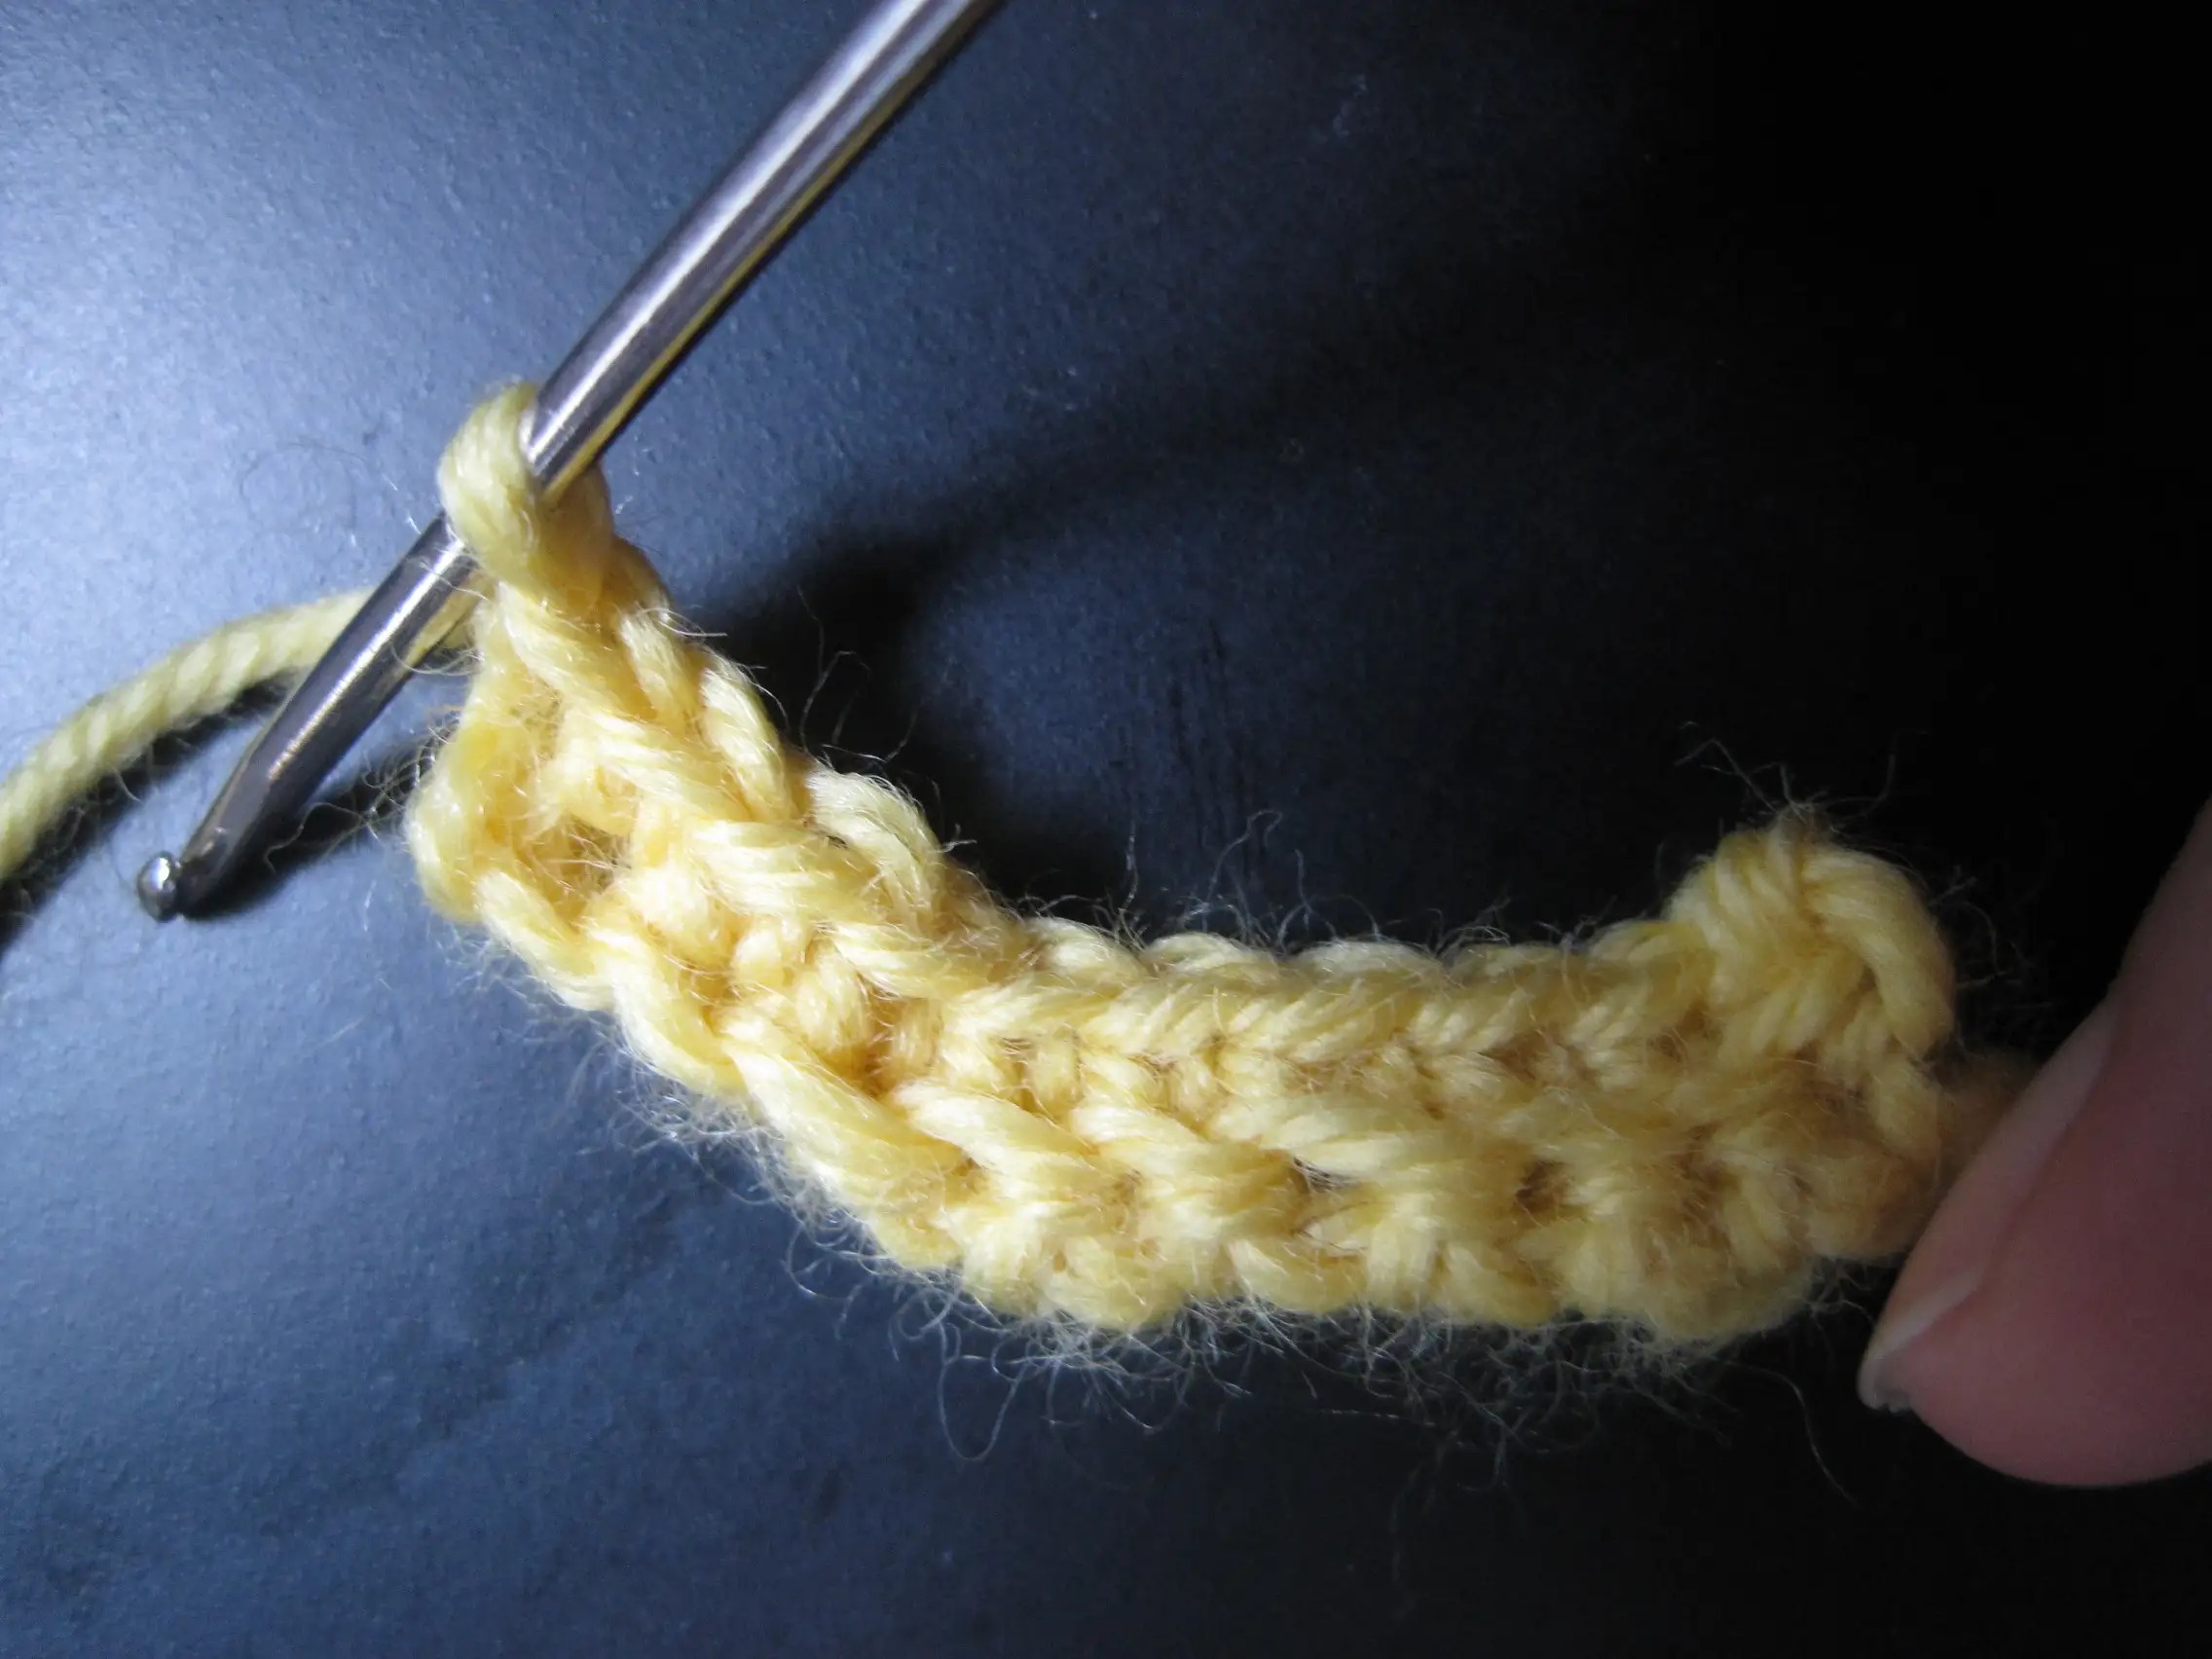
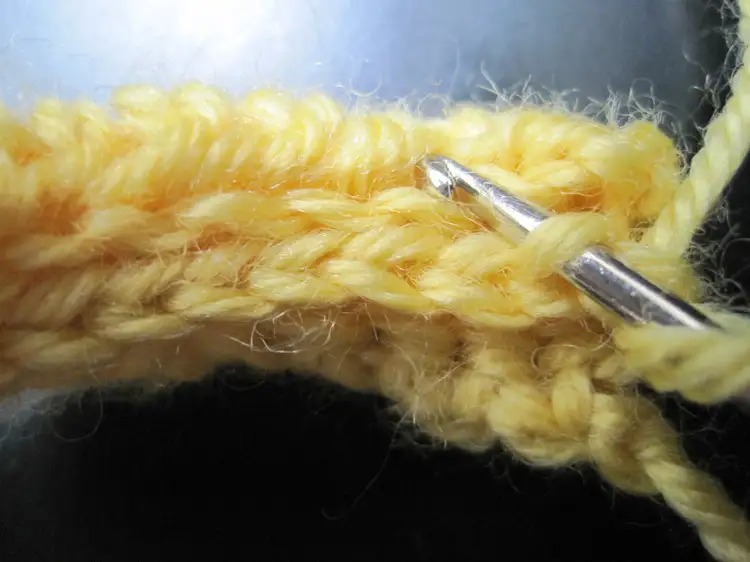
Row 4, medium-long stitch, hook both sides of the braid. After hooking, stand up 1 stitch braid and prepare to hook row 5
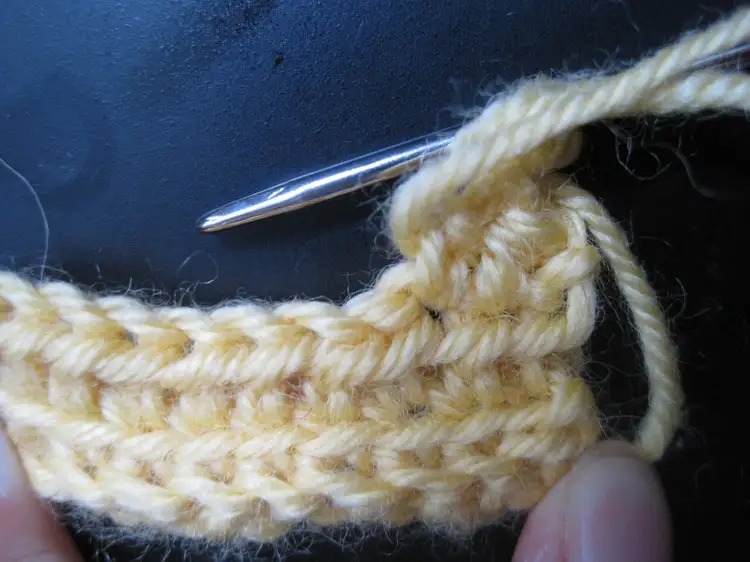
Row 5, fold the two rows of medium-long needles in half, and connect the short needles to the outside of the fourth row and the remaining side of the second row
After folding it in half, it will look like this. After crocheting, stand up one braid and prepare to crochet the 6th row.
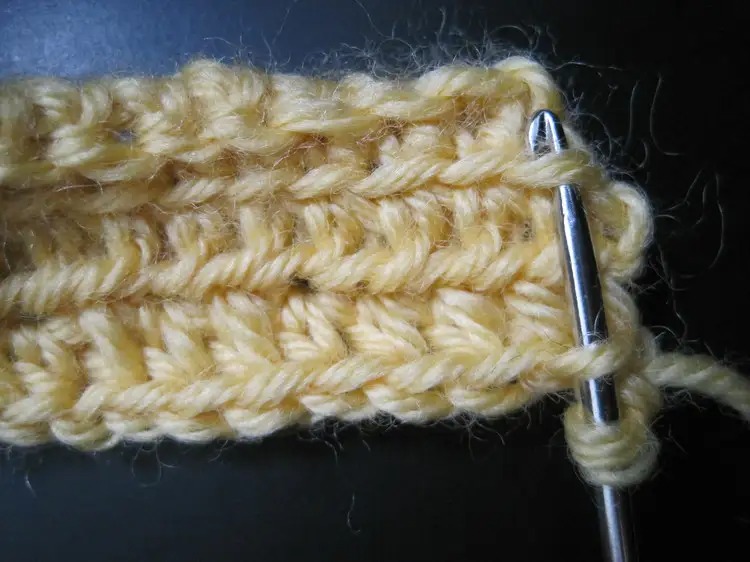
Row 6 is the same as row 2, with short stitches on the side of the braid facing outwards
After the 6th row is crocheted, the reverse side
front
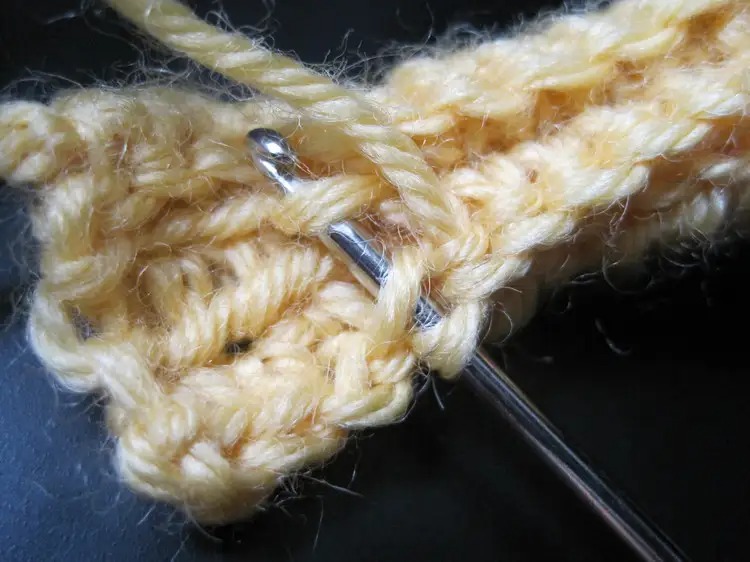
7 rows are the same as 3 rows, with the medium and long needles on the side close to the body
After crocheting, the reverse side looks like
The next step is to repeat and repeat. As long as you have patience, no matter how big the mat is, it will not be a problem.